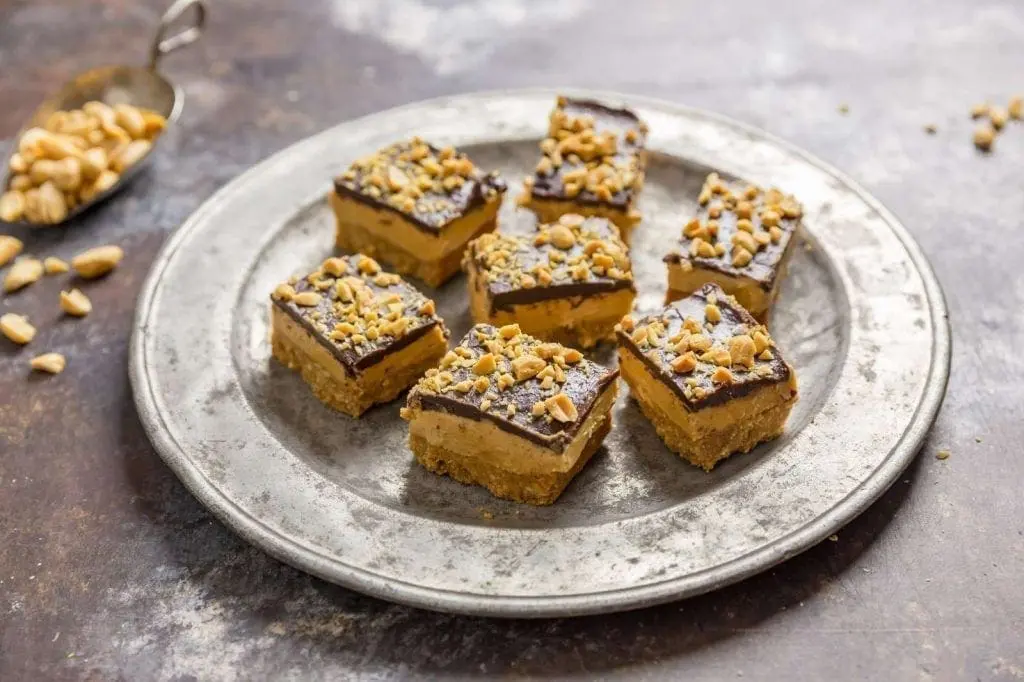
Three-Layer Whipped Peanut Butter Bars

Whipped Peanut Butter Dream Bars

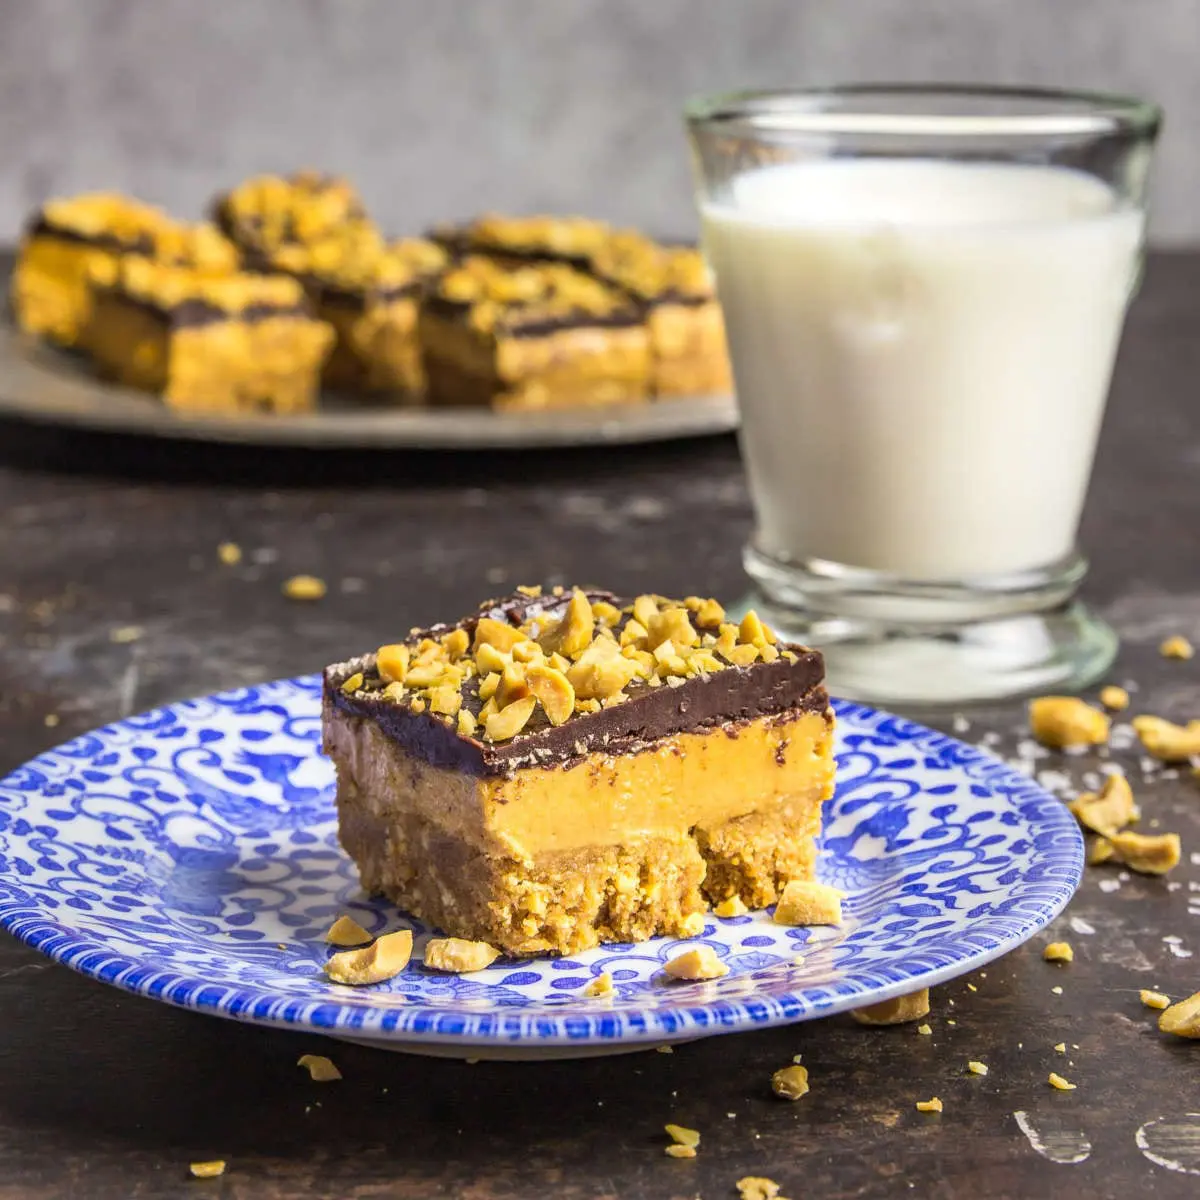
Three layers of delicious: these ultra-decadent peanut butter bars are a guaranteed crowd pleaser. The base is a crunchy, buttery graham cracker cookie, the middle is a generous layer of creamy whipped peanut butter and the top is silky chocolate ganache sprinkled with chopped roasted peanuts. Get ready to perform some crowd control.

Emily’s story

A couple of weeks ago, I was working on a list of ideas for treats Matt and I might make for the fifth annual For Goodness Bake sale (an amazing event, hosted by our lovely friends, Kristen Pratt and Tara Tornello). This thing is a big deal and our fellow Beaconites go all out, making all kinds of delicious cookies, cakes, tarts, cupcakes and savories, all to sell for a good cause. It’s kind of like the Great British Baking Show, but without a tent and with a lot more cursing (we are Americans, remember). 

So I’m reading the list to Matt who, to be fair, has spent a long day fixing computer whatsits and thingamajigs (technical terms), so he’s on the Playstation, drinking a can of beer, and barely paying attention to what I’m saying. “Brown Butter Hazelnut Blondies” get a shrug. “Lemon and Rosemary Tarlets” get a pout and narrowed eyes. “Salted Caramel Cheesecake Bars”: a huff and a raised eyebrow.

“Whipped Peanut Butter Bars with Chocolate–“

“That one,” he interrupts, throwing the game controller aside, suddenly as focused as a lion in Sainsbury’s that just spotted a shepherd’s pie in the sale bin. I described my idea, a buttery cookie crust studded with crunchy peanuts. Whipped, almost airy peanut butter buttercream. Chocolate ganache topped with chopped roasted salted peanuts. Yeah, now he’s paying attention. 

Three Layer Whipped Peanut Butter Dream Bars

Read more

Blueberry-Lemon Curd Tartlets with Almond Crust

Blueberry-Lemon Curd Tartlets with Almond Crust

The perfect use for our gorgeous pink blueberry lemon curd, these pastry tartlets are flavored and decorated with almonds. Each tartlet is a miniature delight, yet sufficient to share with a loved one (or keep to yourself, of course, you gannet).

When we saw how striking our blueberry lemon curd turned out, we knew it wouldn’t be enough simply to slather it on some toast (as delicious as that might be). Something that gorgeous and cheeky deserved to be showcased – and this was our solution: adorable little blueberry lemon curd tartlets. A shortcrust base generously flavored with ground almonds and a little fresh rosemary, pre-baked, cooled, and filled with the curd, which we decorated wth more ground and sliced almonds, some fresh blueberries and a few flowering mint sprigs.

Blueberry-Lemon Curd Tartlets with Almond Crust

Read more

Cheesy Zucchini and Corn Fritters with Herb Sour Cream

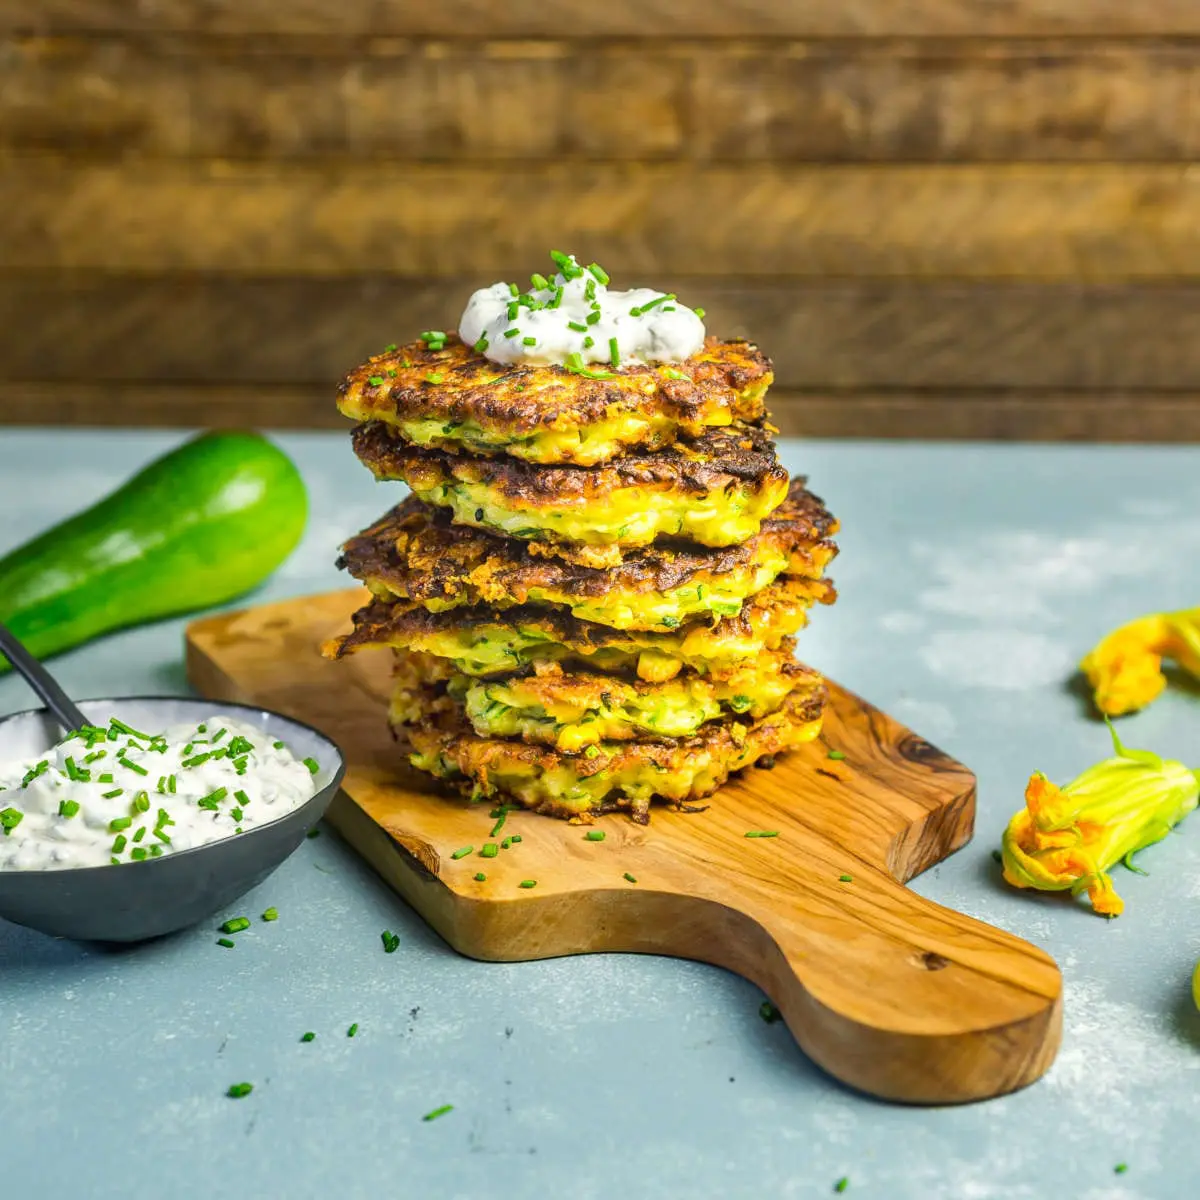
If you grow your own summer squash, or belong to a CSA, the weekly glut of produce can be overwhelming. Our solution? Shred it, squeeze it, mix into a cheesy batter and fritter it away. Literally. 

If you grow your own summer squash, zucchini can sometimes feel like a plot device in a horror sci-fi movie. At the beginning of the season, you carefully harvest the first zucchini, cradle it like an infant and rest it with pride on the cutting board. The next day, you have two more, and with the proud thrill of the backyard farmer, you slice and grill your summer bounty. The next day you have two more, and two more the following day. By the end of the first week of peak zucchini, you’re nervously eyeing the stack of squash that has built up on the kitchen counter, wondering how many more friends you can gift your harvest to before even they stop answering the door.

And woe betide you if you skip checking for a few days – when you return to the garden and lift up the lowest squash leaf, you’ll inevitably find one monster marrow lurking like a squat green fiend.

Note: We originally blogged zucchini fritters back in 2013, when we were all a little more fresher of face and bouncier of step. We make these fritters all the time in the summer, and we’ve adapted the recipe by adding fresh corn and cheese, so we’ve been meaning to re-blog this recipe ever since. So finally, here is the updated article.

This recipe is part of our ongoing series with Serious Eats

Read more

Crostini with Blistered Cherry Tomatoes, Burrata and Chive Oil

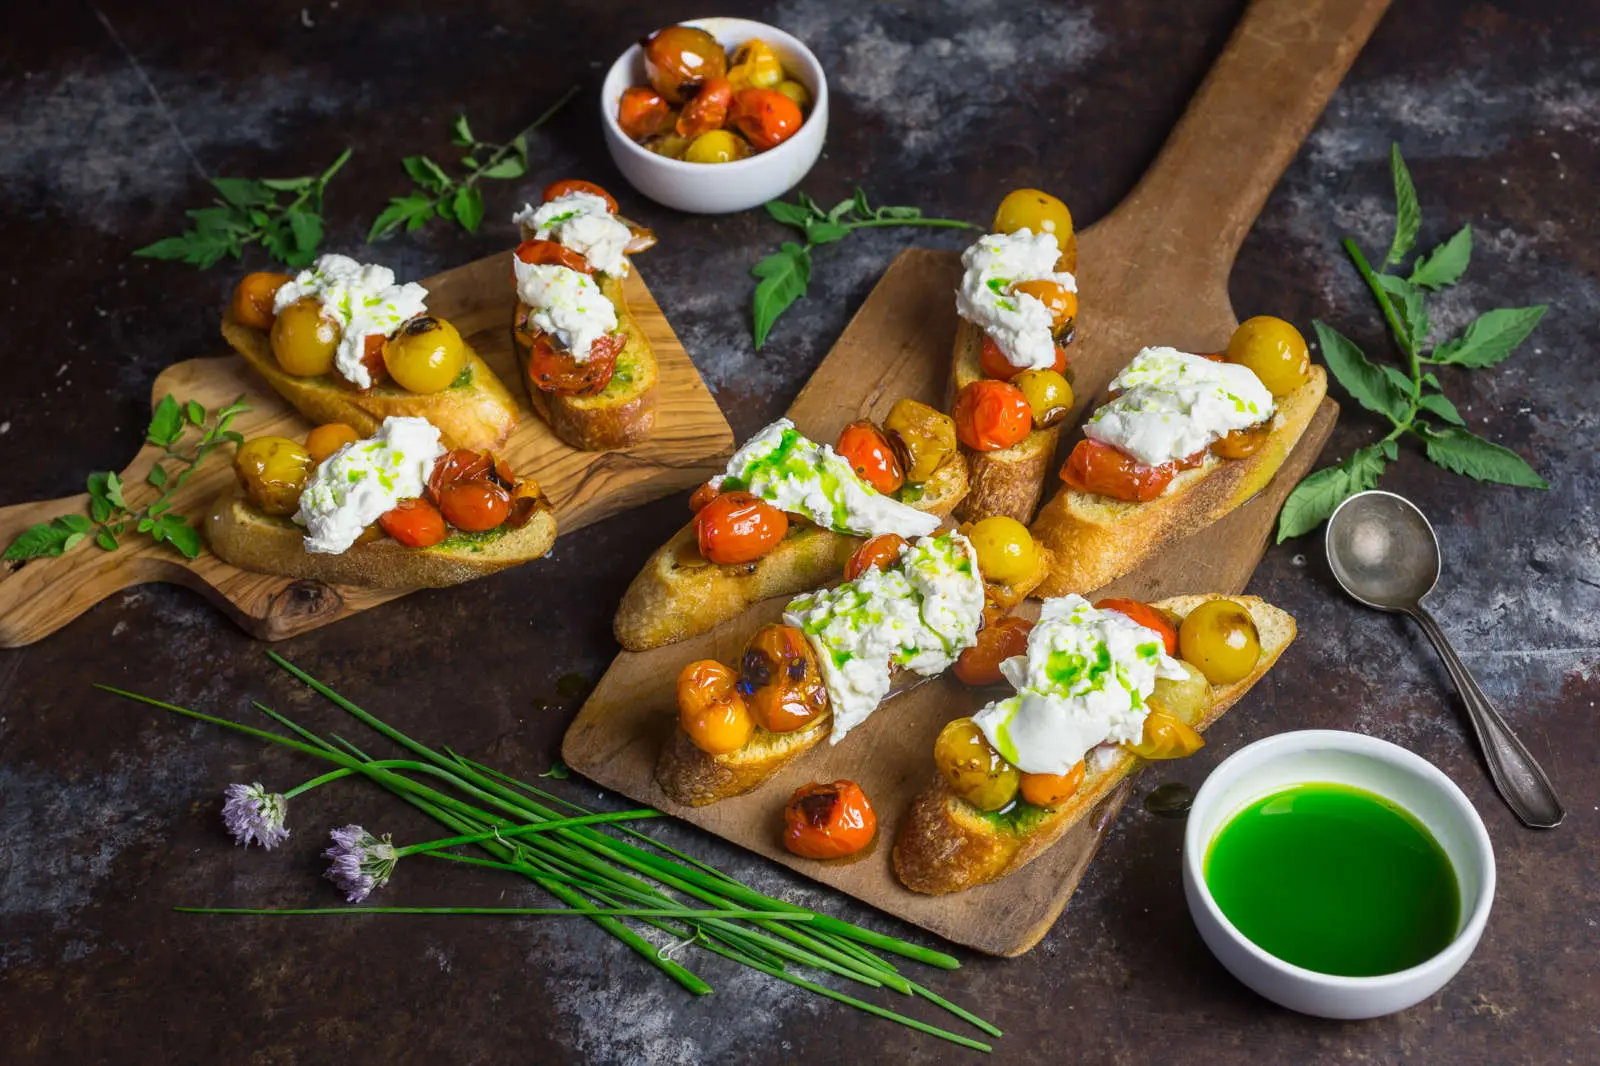
Crostini with Blistered Cherry Tomatoes, Burrata and Chive OilThe building blocks of a classic Caprese salad are re-imagined in these summery toasts. First, cherry tomatoes are blistered in a skillet until bursting with juice. Then creamier burrata takes the place of the more standard mozzarella. And in place of basil leaves, a quick and easy chive oil adds an herbal accent. The result makes for a great snack or light meal.
When local tomato season begins, we could happily eat nothing else. I can’t recall a summer when we didn’t turn over our lunch almost entirely to slices of crusty peasant bread, thick slices of heirloom tomato, perfectly-ripe and bursting with flavor, a little torn mozzarella, a drizzle of good olive oil, perhaps a few snipped chives or basil leaves, and a sprinkle of flaky sea salt. Like a scent that brings you back to childhood, a good open-faced tomato and mozz evokes a carefree summer’s day. Of course, the key is that the tomatoes have to be at their peak, and most year-round varieties, grown for their ability to be shipped cross-country, just don’t have that essential tomato-ness.

Without losing the essentials of what makes that pairing work so well, we can use the same kind of flavors to add a little sophistication to a light lunch, dinner or party snack. Instead of slicing fresh tomatoes, we toss the cherry variety in a very hot cast iron pan and char them just until they burst with juicy tomato flavor. Turn off the heat and add a little sliced garlic which cooks just enough to take the edge off; instead of mozzarella, we turn to its creamier, more indulgent cousin, burrata; and instead of chopped chives, we make our own chive oil, which gets drizzled over the whole shebang.

Note: This recipe is part of our series with Serious Eats.

Read more

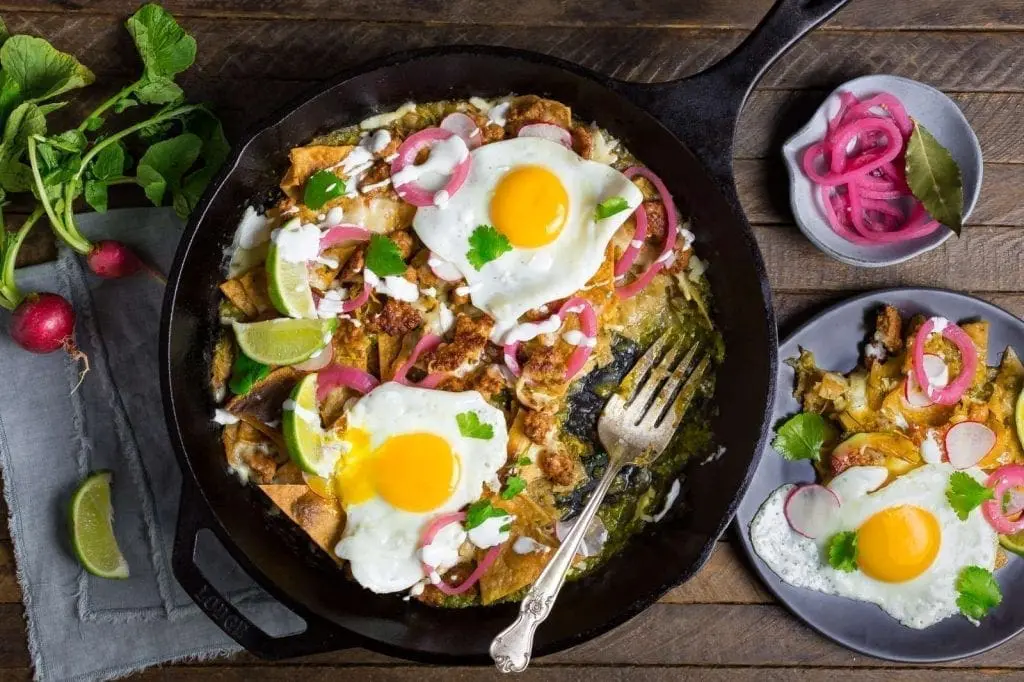
Extra Crispy Chilaquiles with Salsa Verde, Chorizo and Egg

Extra Crispy Salsa Verde Chilaquiles with Chorizo and Egg

Tortilla chips don’t get no respect. Most often bought in bag form and dipped into hot cheese, their potential to form part of a tasty meal is overlooked. Combine home-made chips, salsa verde, spicy chorizo and eggs, serve up with fresh radishes and vinegary pickled onions, and you have yourself a chilaquiles dish that’ll make you think twice the next time you’re tempted in the snack aisle.

Note: This recipe is part of our ongoing series with Serious Eats

We’ve been fascinated with tomatillos ever since we first grew them in our deck herb garden a few years back. We bought two seedlings from a farm sale, and watched them grow and develop their papery husks, like hanging lanterns, eventually to get filled out by the fruit within them. Unfortunately, one plant was unceremoniously trampled by a backyard chicken, so we didn’t get quite the yield we would have liked – but fortunately, pollination had already taken place (tomatillos, unlike tomato plants, cannot self-pollinate, so you’ll need more than one to grow fruit). We had enough to make ourselves a really tasty salsa verde – the green cousin of a tomato salsa. Tomatillos share the same growing season as tomatoes, so at the beginning of summer we’re still too early for local varieties, let alone in our backyard, but that doesn’t mean you can’t find them at the grocery store. 

Roasted Tomatillo Salsa Verde
Tomatillos remain geen, even when ripe

Salsa verde is packed with tomatillos, chilis, and love-it-or-hate-it cilantro (guess which way we go?), and you can add as little or as much heat as you like by varying the variety and amount of hot chili peppers. We usually opt for jalapeƱos, but if you want a little more fire you can look for serrano peppers. This time, we decided to use the sauce, not as a dip, but as a base for chilaquiles – a Mexican dish combining freshly-made tortilla chips with salsa and toppings – kind of like nachos, but saucier and paired with eggs.

Read more

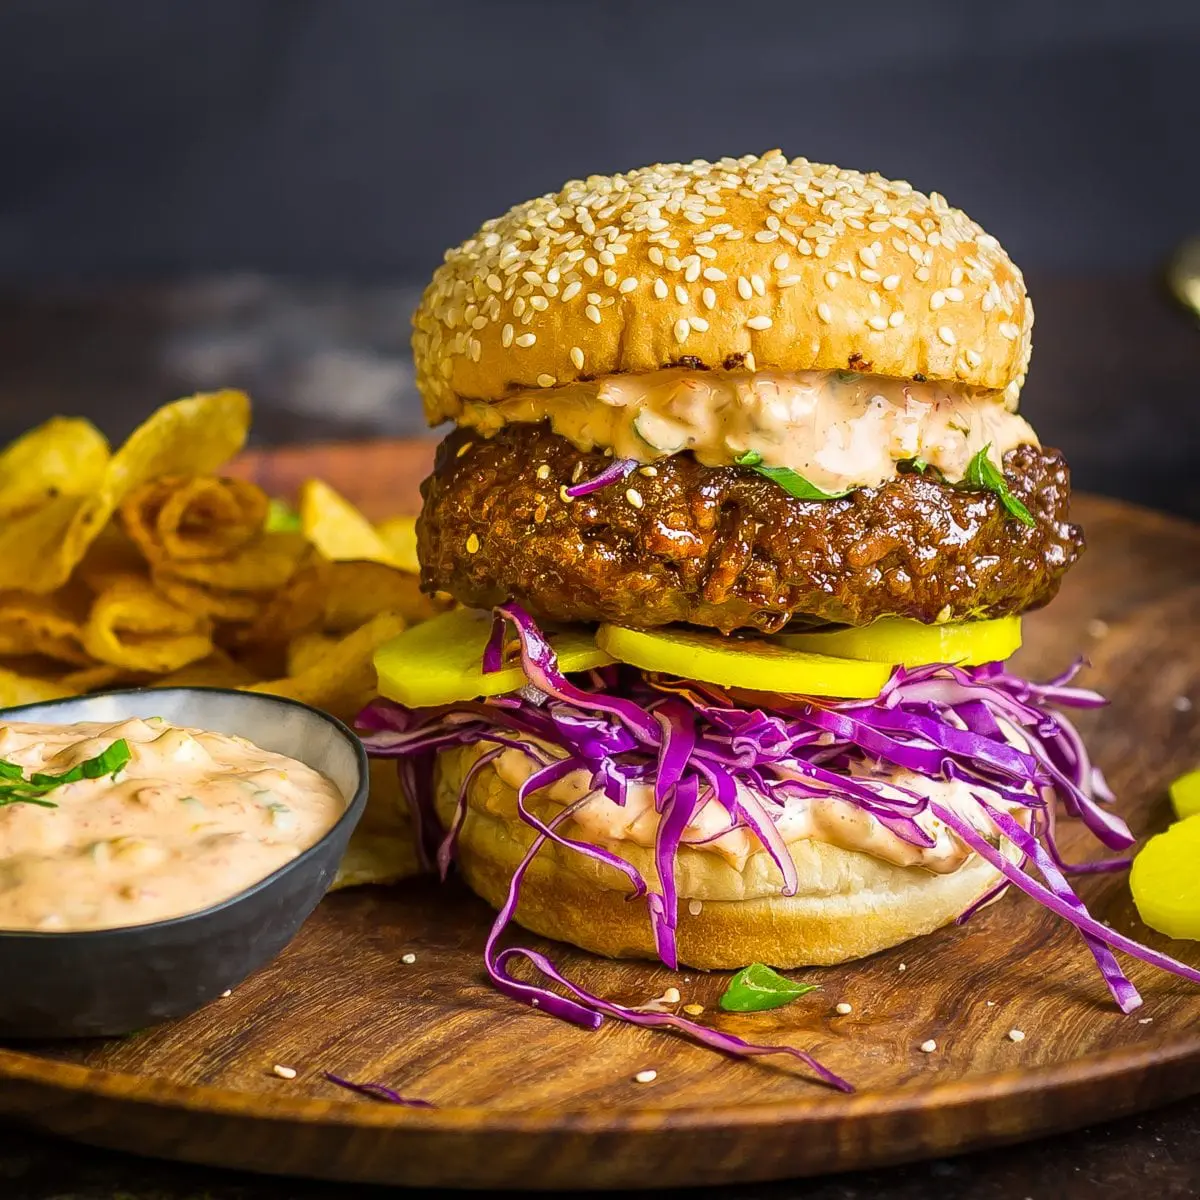
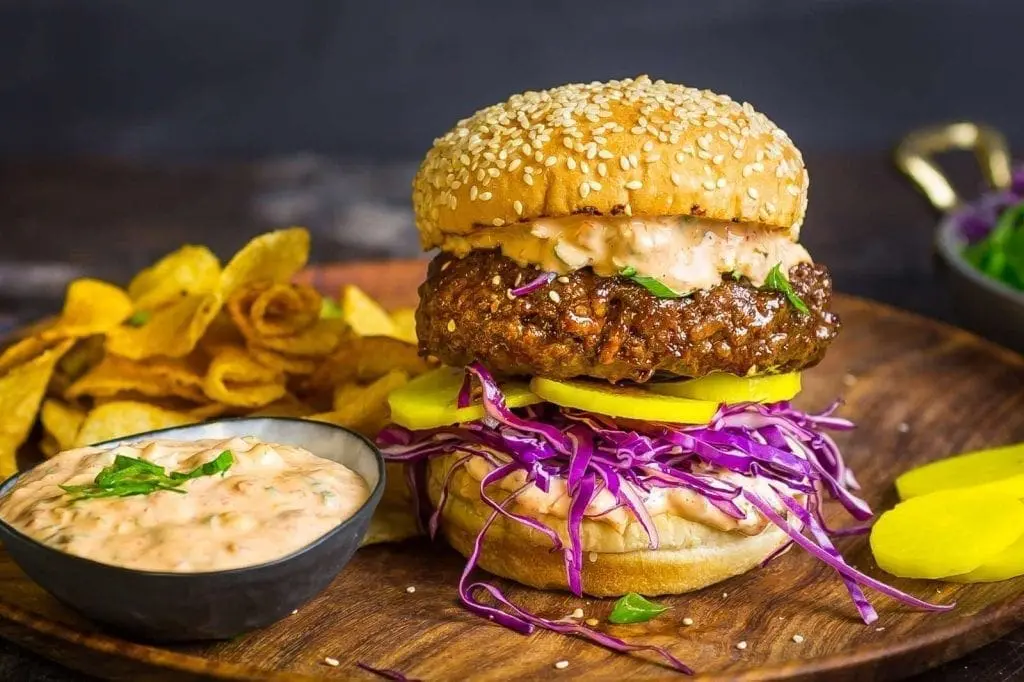
Bulgogi Burgers with Kimchi Mayo

Bulgogi Burgers with Kimchi Mayo

When we want the flavors of bulgogi and the convenient outdoor grilling method of a burger, there’s an easy solution: combine them. By sticking with the tried-and-tested burger, glazing it with a spicy soy-ginger-garlic-gochujung sauce, and stacking it with kimchi mayo and pickled daikon radish, you can keep the best of both worlds without offending culinary purists.

This recipe was originally written for Serious Eats.

We’ve all experienced what I like to call “fusion fails”. Two culinary concepts which, taken individually, are perfectly respectable, but in combination create a whole that is … let’s just say less than the sum of its parts. For example, I love fruit, I love cheese, but bits of fruit IN cheese? No thank you. I love bacon, and I’m a fan of vodka, but bacon-flavored vodka (yes, this exists)? I’ll pass. The most successful fusions take two examples which aren’t so far separated on the food spectrum that you have to take a leap of faith that the result is even edible, let alone worth the trouble of combining them. Croissants and doughnuts can at least both be found on the bakery shelf, and thus we have the cronut. And bulgogi, the Korean staple, uses thin strips of beef that are marinated and seared, so why not apply those flavors to a perfectly grilled burger? To be honest, making up names like “cronut” and “flagel” isn’t our forte, so we’re simply calling this the “bulgogi burger”. If you’re as nerdy as we are, you might like to call this a “crossover episode” – where stars from two different shows team up to make a delicious dinner! (This is why we don’t write TV shows.)

Read more