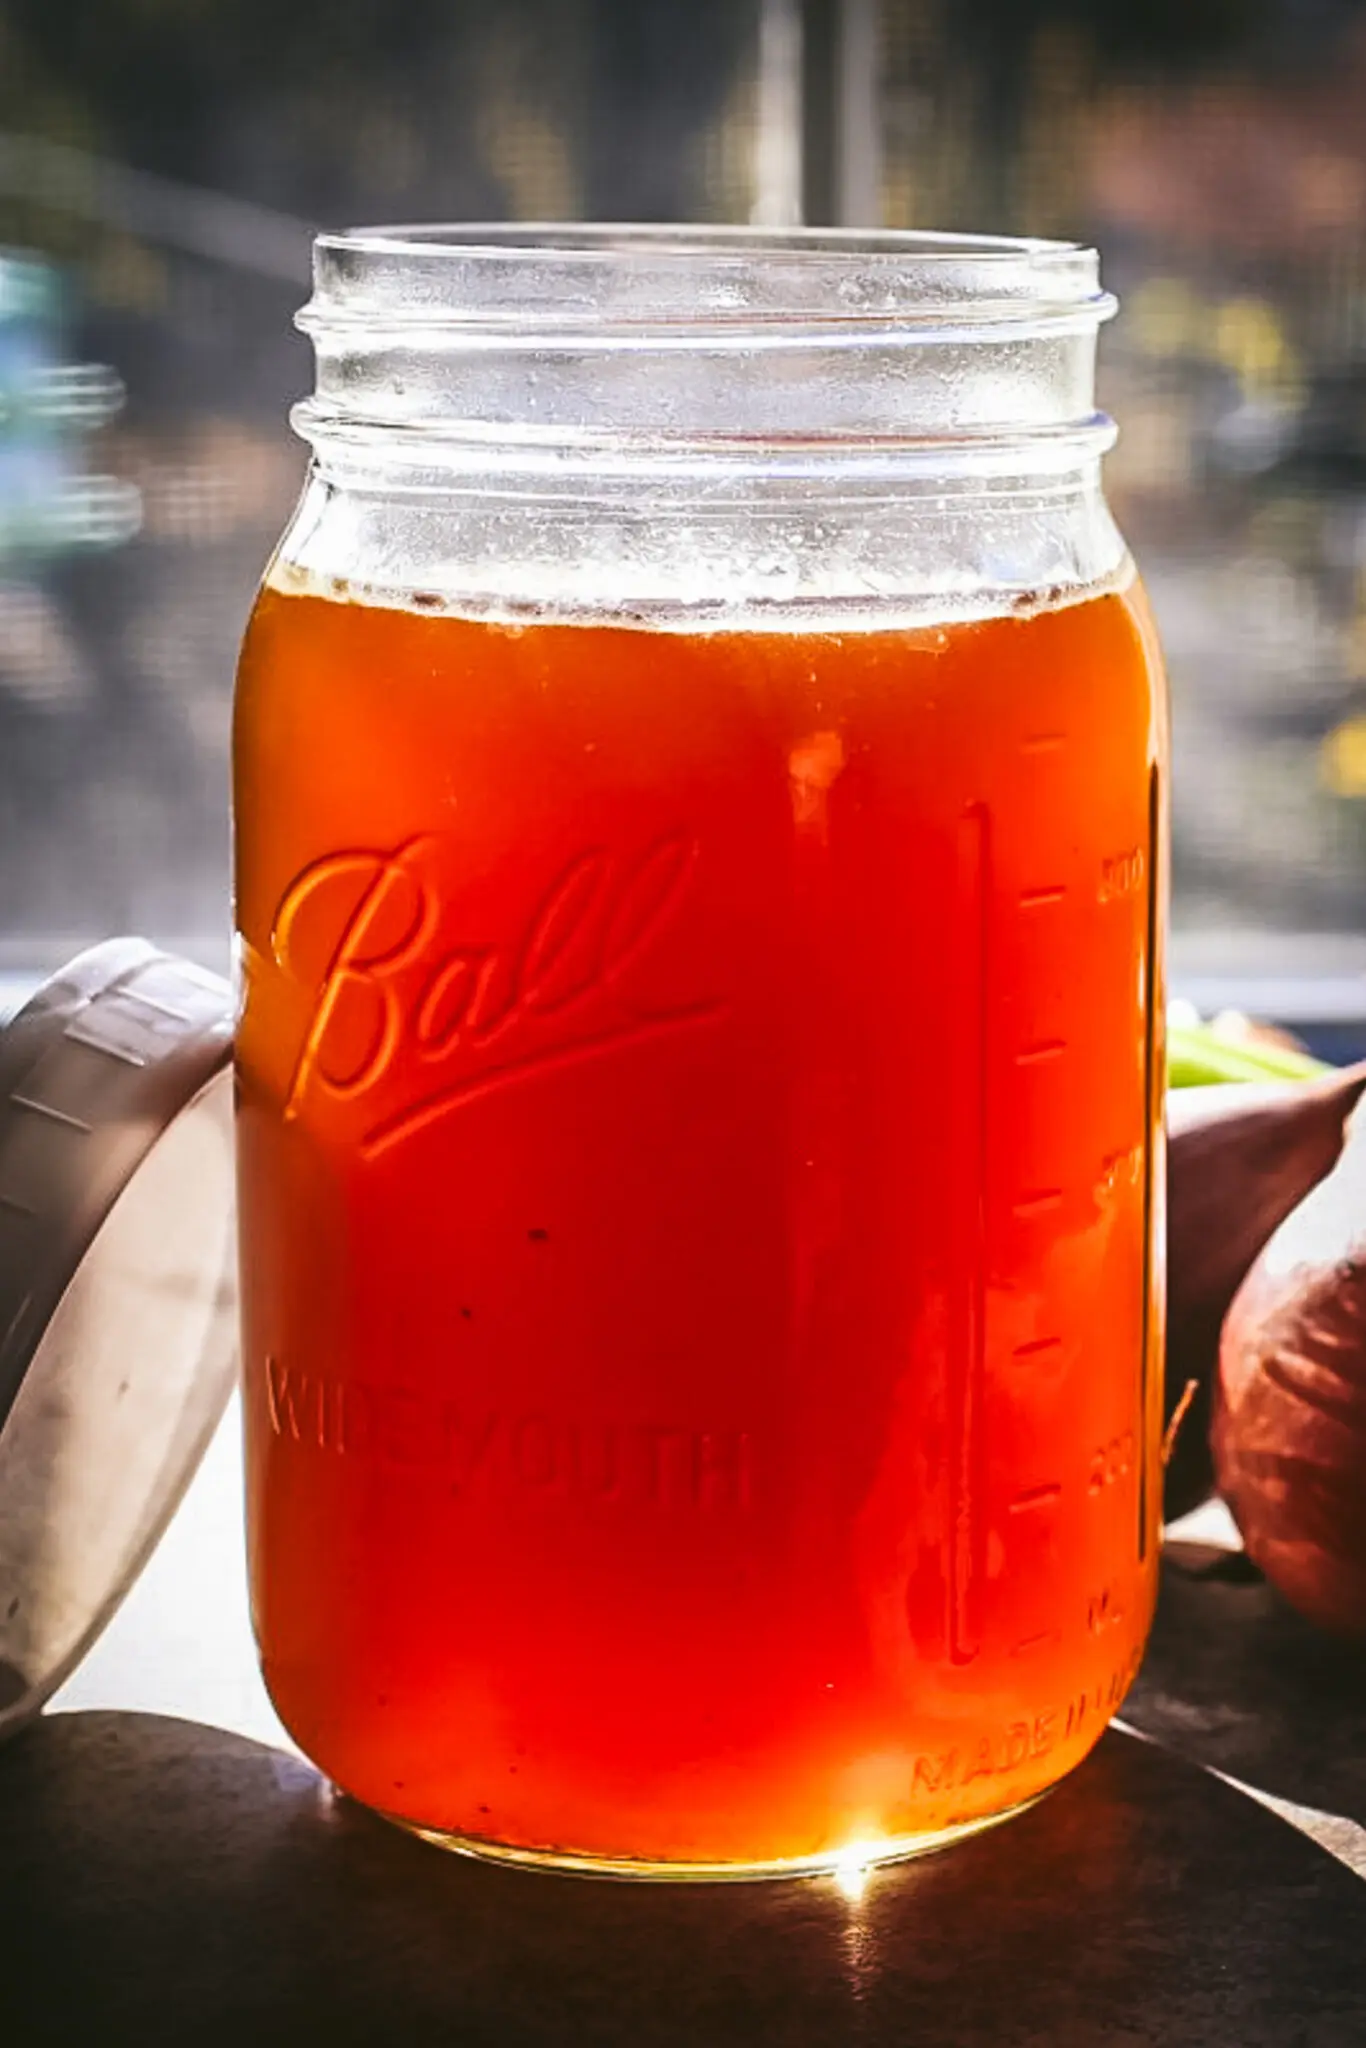
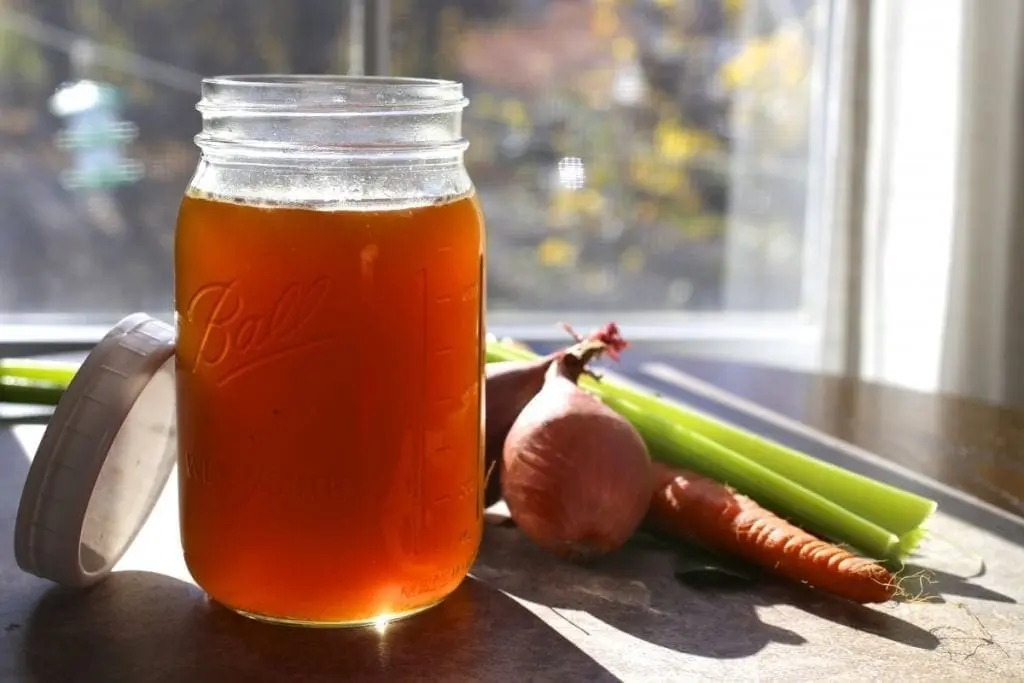
Ask me what my favorite Thanksgiving recipe is. Go on, ask. Fine, I’ll tell you anyway, but it might just blow your mind (not really, but just go with me here). It’s home-made turkey stock. Well, it’s really the gravy that is made with that stock but I’ll get to that soon.
I know it’s not gorgeously colorful like Mashed Butternut Squash. It’s not a crowd-pleaser like Sausage Stuffing With Apples and Sage, but it really does make everything it goes into taste so much better.
I wish I could say I was one of those people who always has a freezer full of home made stock ready for any culinary adventure, but the truth is I use boxed chicken stock all the time. It’s so convenient and the decent ones taste pretty good.
But for Thanksgiving I always go the extra mile and, funnily enough, it really kicks off the holiday season for me. It’s always the first recipe I make (often a week or even two before Thanksgiving) because I can make it on a weekend and freeze it until it’s needed. Honestly, I think it’s what makes this Make Ahead Turkey Gravy with Calvados (Apple Brandy) so irresistible.
tips for perfect turkey stock
Don’t over-do the herbs (or even the vegetables). You really want the turkey flavor to be the star.
If you’re not used to home-made stock, don’t be surprised if it looks like meat jello when it’s cold. That’s collagen from the bones and it’s a very good thing.
If you’ve accidentally diluted it too much, once you strain the solids out, you can reduce it down again.

Ultimate Turkey Stock for Gravy
Ingredients
- 5 to 6 pounds of turkey parts – ideally a mix of necks wings, and legs
- 2 large carrots coarsely chopped
- 1 1/2 large yellow onions coarsely chopped
- 2 ribs of celery coarsely chopped
- 1/2 teaspoon Kosher salt
- 1 tsp whole peppercorns
- 2 bay leaves
- 3 garlic cloves whole
- 4 sprigs thyme
- 6 sprigs parsley
- 2 teaspoons canola oil
Instructions
- Preheat oven to 450F
- You’ll need five to six pounds of turkey parts (ideally a mix of necks, wings, and legs) to make enough gravy for 10 to 12 people. Ask your butcher to chop the parts into four-inch pieces; smaller pieces are best because the skin and collagen release more easily from the bones, adding flavor and body to the broth.
- Pat the parts dry with paper towels, arrange them in a single layer in a large flameproof roasting pan (I use the same one I use for the turkey). If they don’t fit in a single layer, use a second roasting pan (I use a glass lasagna pan). Drizzle the oil on and mix around a bit just so the turkey gets very lightly coated.
- Roast turkey parts, flipping them with tongs after 30 minutes, for an hour total, until nicely browned. For the last 20 minutes of roasting, add the carrots, onion and celery to the pans.
- Transfer the roasted turkey and vegetables to a large stockpot. Don’t worry if bits stick; you’ll get them when you deglaze the pan. Add 2 cups of very hot tap water to the pan (or recently boiled water) and scrape the bottom with a wooden spoon to dissolve any cooked-on drippings. Pour the liquid into the stockpot. Do this for both pans, if using two. Note: If the bits don’t come off easily enough, put the burners on the stovetop and boil the water while scraping. I usually don’t find this necessary).
- Add enough additional water to the stockpot to just cover the turkey pieces; any more can result in a diluted broth. Depending on the shape and size of your pot and turkey parts, you’ll probably need about seven to eight cups of water total. Add salt, peppercorns, garlic, thyme, parsley and bay leaves.
- Over medium high heat, bring to just below a boil, then immediately lower the heat to a very gentle simmer. Be careful to not let the broth boil aggressively, so it will be clear. Continue to simmer, uncovered, until it has a sweet, rich turkey flavor, two and a half to three hours. If it reduces too much, you can add a little more water to top it up.
- When the broth is done, gently remove the large pieces of turkey and vegetables with a slotted spoon and discard. Set a fine-mesh strainer over a heat-proof bowl. (If you don’t have a fine-mesh strainer, line a colander with a double thickness of cheesecloth.) Strain the broth, pushing very gently on any remaining solids to extract as much liquid as you can but don’t mash the vegetables—this will cloud the stock and give it a murky flavor. Don’t try to remove the fat now, it will be much easier when the stock has cooled.
- Let the broth sit on the counter until it cools to room temperature, and then cover and refrigerate it. Once the broth has completely chilled, remove the layer of surface fat. You can keep it refrigerated for up to four days or freeze it for up to six weeks.


5
5
Made excellent stock and gravy! Good tip regarding going easy on herbs to bring turkey flavor front and center.
So glad you liked it! Good stock makes such a difference