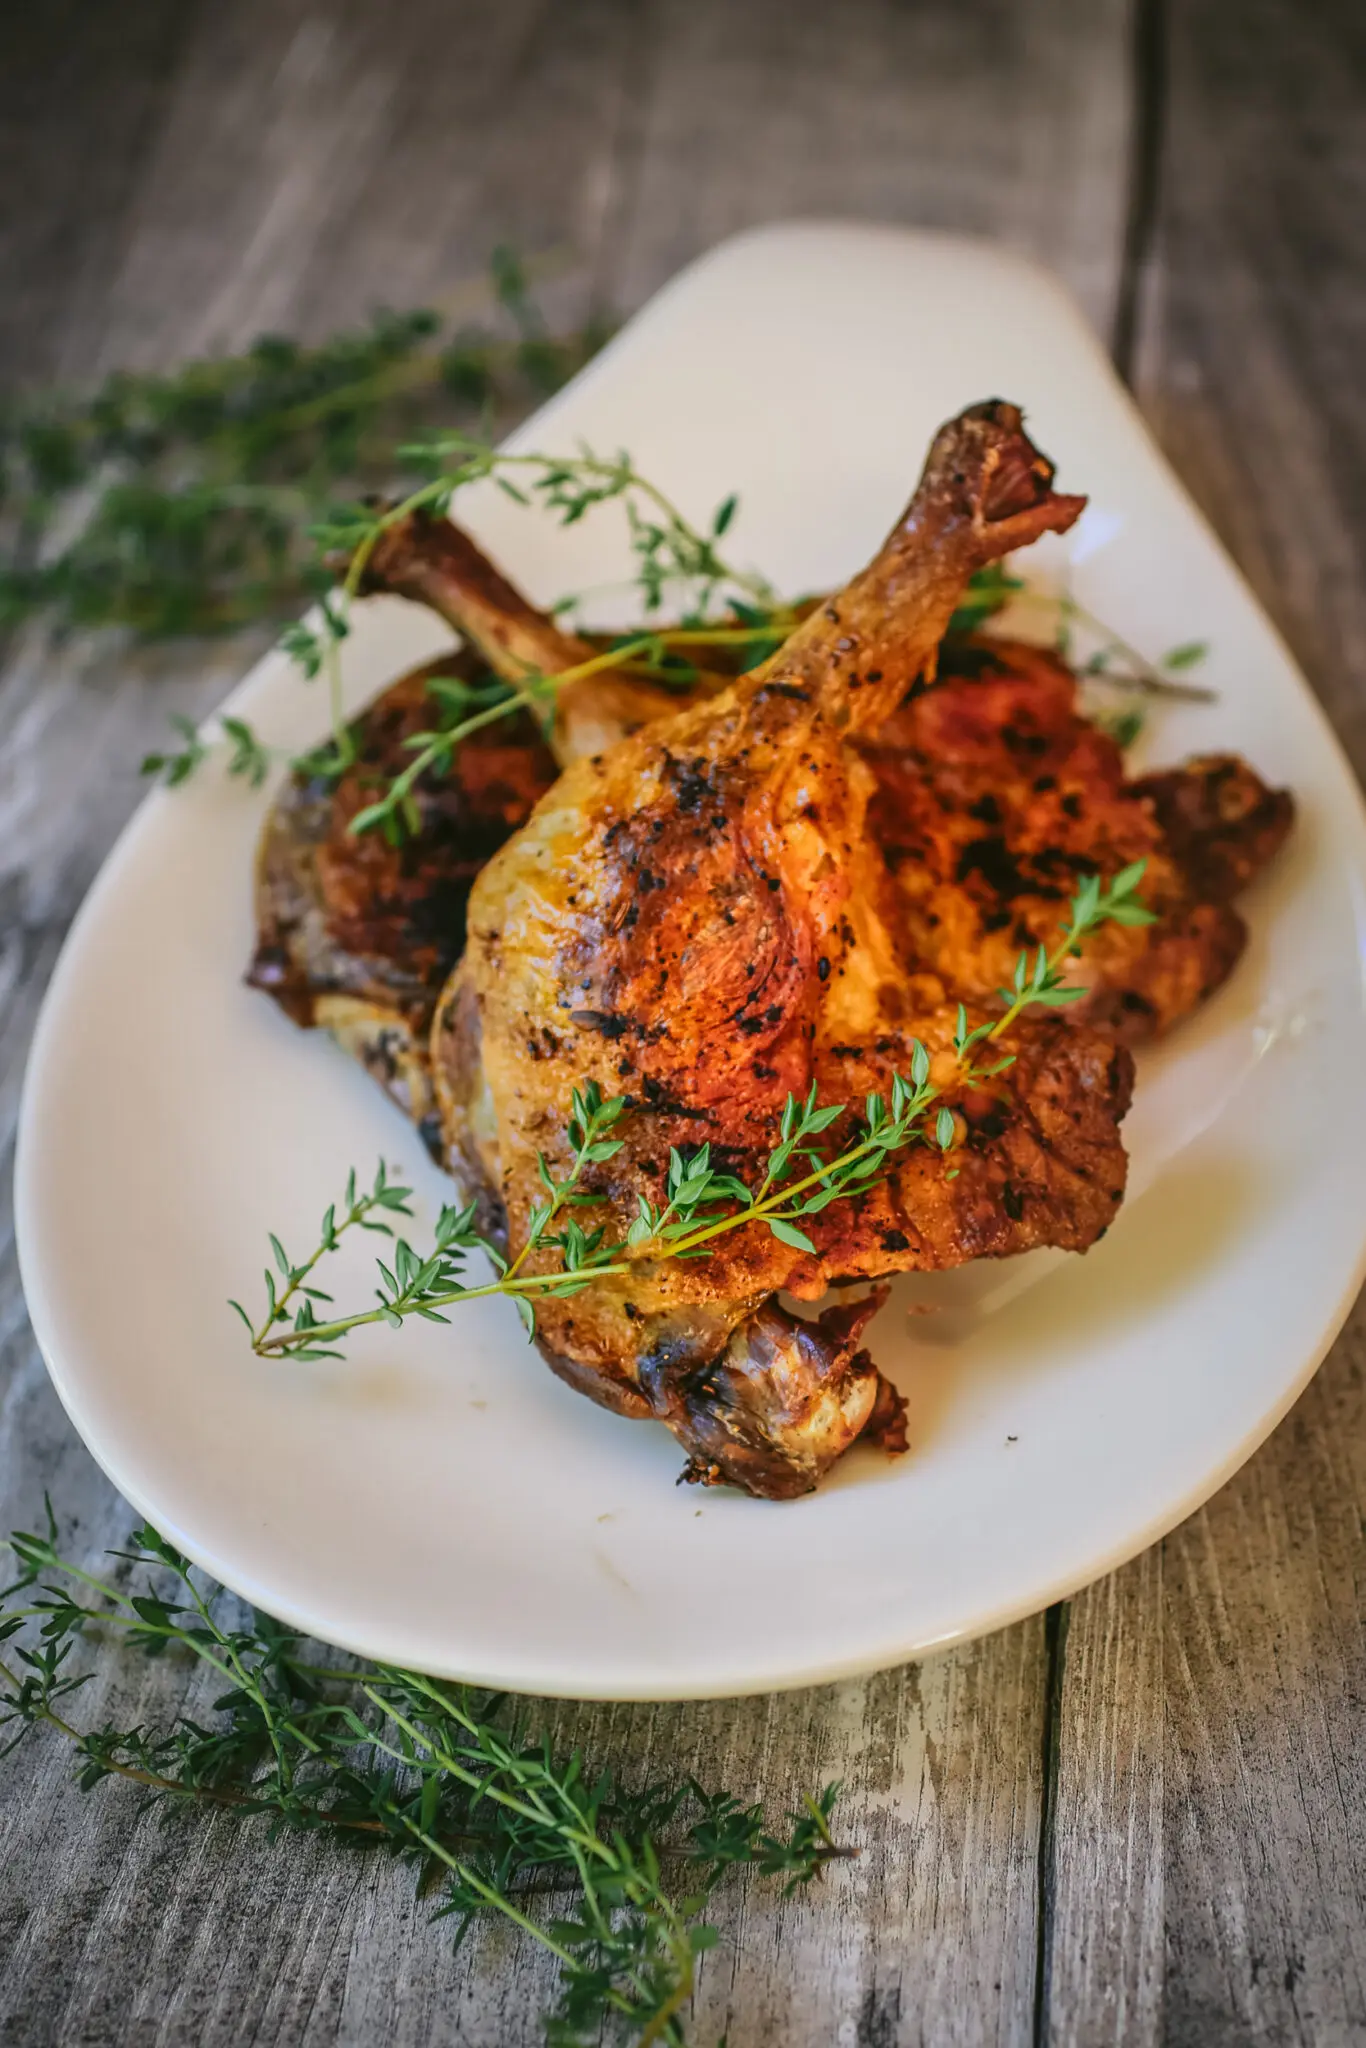
Last week we threw a little dinner party. Nothing fancy, mind you. Matt’s lovely sister Hayli and her delightful husband Tristan* were visiting us from France for a couple of weeks and since they are both actors/musicians/carnies we thought they would have a lot in common with our neighbors Andy and Gina, who are also in the arts.
When we came up with this bright idea, we were huddled under a blanket, shivering in the unseasonable cold that seemed to be the defining aspect of “Summer” 2014.
“What would be a good thing to make for a small crowd on a chilly evening?”, I asked Matt, who was trying to warm his toes by rubbing them very quickly on an angry cat’s belly.
“Duck legs.”
“But didn’t we make that las-“
“Duck legs. I want crispy duck legs.”
“Duck legs it is, then. And give me some of that cat belly. My feet are freezing too.”
*Hayli and Tristan live in the Ardèche region of France. Arguably one of the most sophisticated culinary environments in the world so when they came to visit us, we felt we needed to impress them with the refined, subtle American cuisine one can only find at…Cracker Barrel.
Then, the morning of the dinner party, we woke up in a swamp. I mean, it was still our bedroom, but it was 90 degrees and the air was thick as syrup. Now the thing about this recipe is that it’s pretty much a simplified version of a classic duck confit (in which duck legs are poached, fully immersed in duck fat). This version is much easier, without the need for a huge pot of expensive duck fat, but it does require the oven to be on for a long, long time. A delight when it’s chilly and a warm stove is a comfort, not ideal when it’s boiling and all you really want to do is lie down on a lawn chair made of ice.
But sometimes, you just have to roll with it. So you know what we did? We cranked the A/C, turned up the music and had a great time anyway. Take THAT, fickle weather demons!

Of course, it’s now freezing again.
tips for perfects duck legs
- Don’t use table salt for this, it would be way too salty. Stick with course kosher or course sea salt.
- You could also add some crushed coriander seeds and a little bit of juniper for a more intense “spiced’ flavor. I just love the simplicity of fennel seed and thyme.
- The duck legs will shrink a lot so I usually plan on 2 per person.
- Once the legs are done, save the fat for roasting potatoes (heaven), sautéing greens (divine), or baking cipollini onions (insanely good).
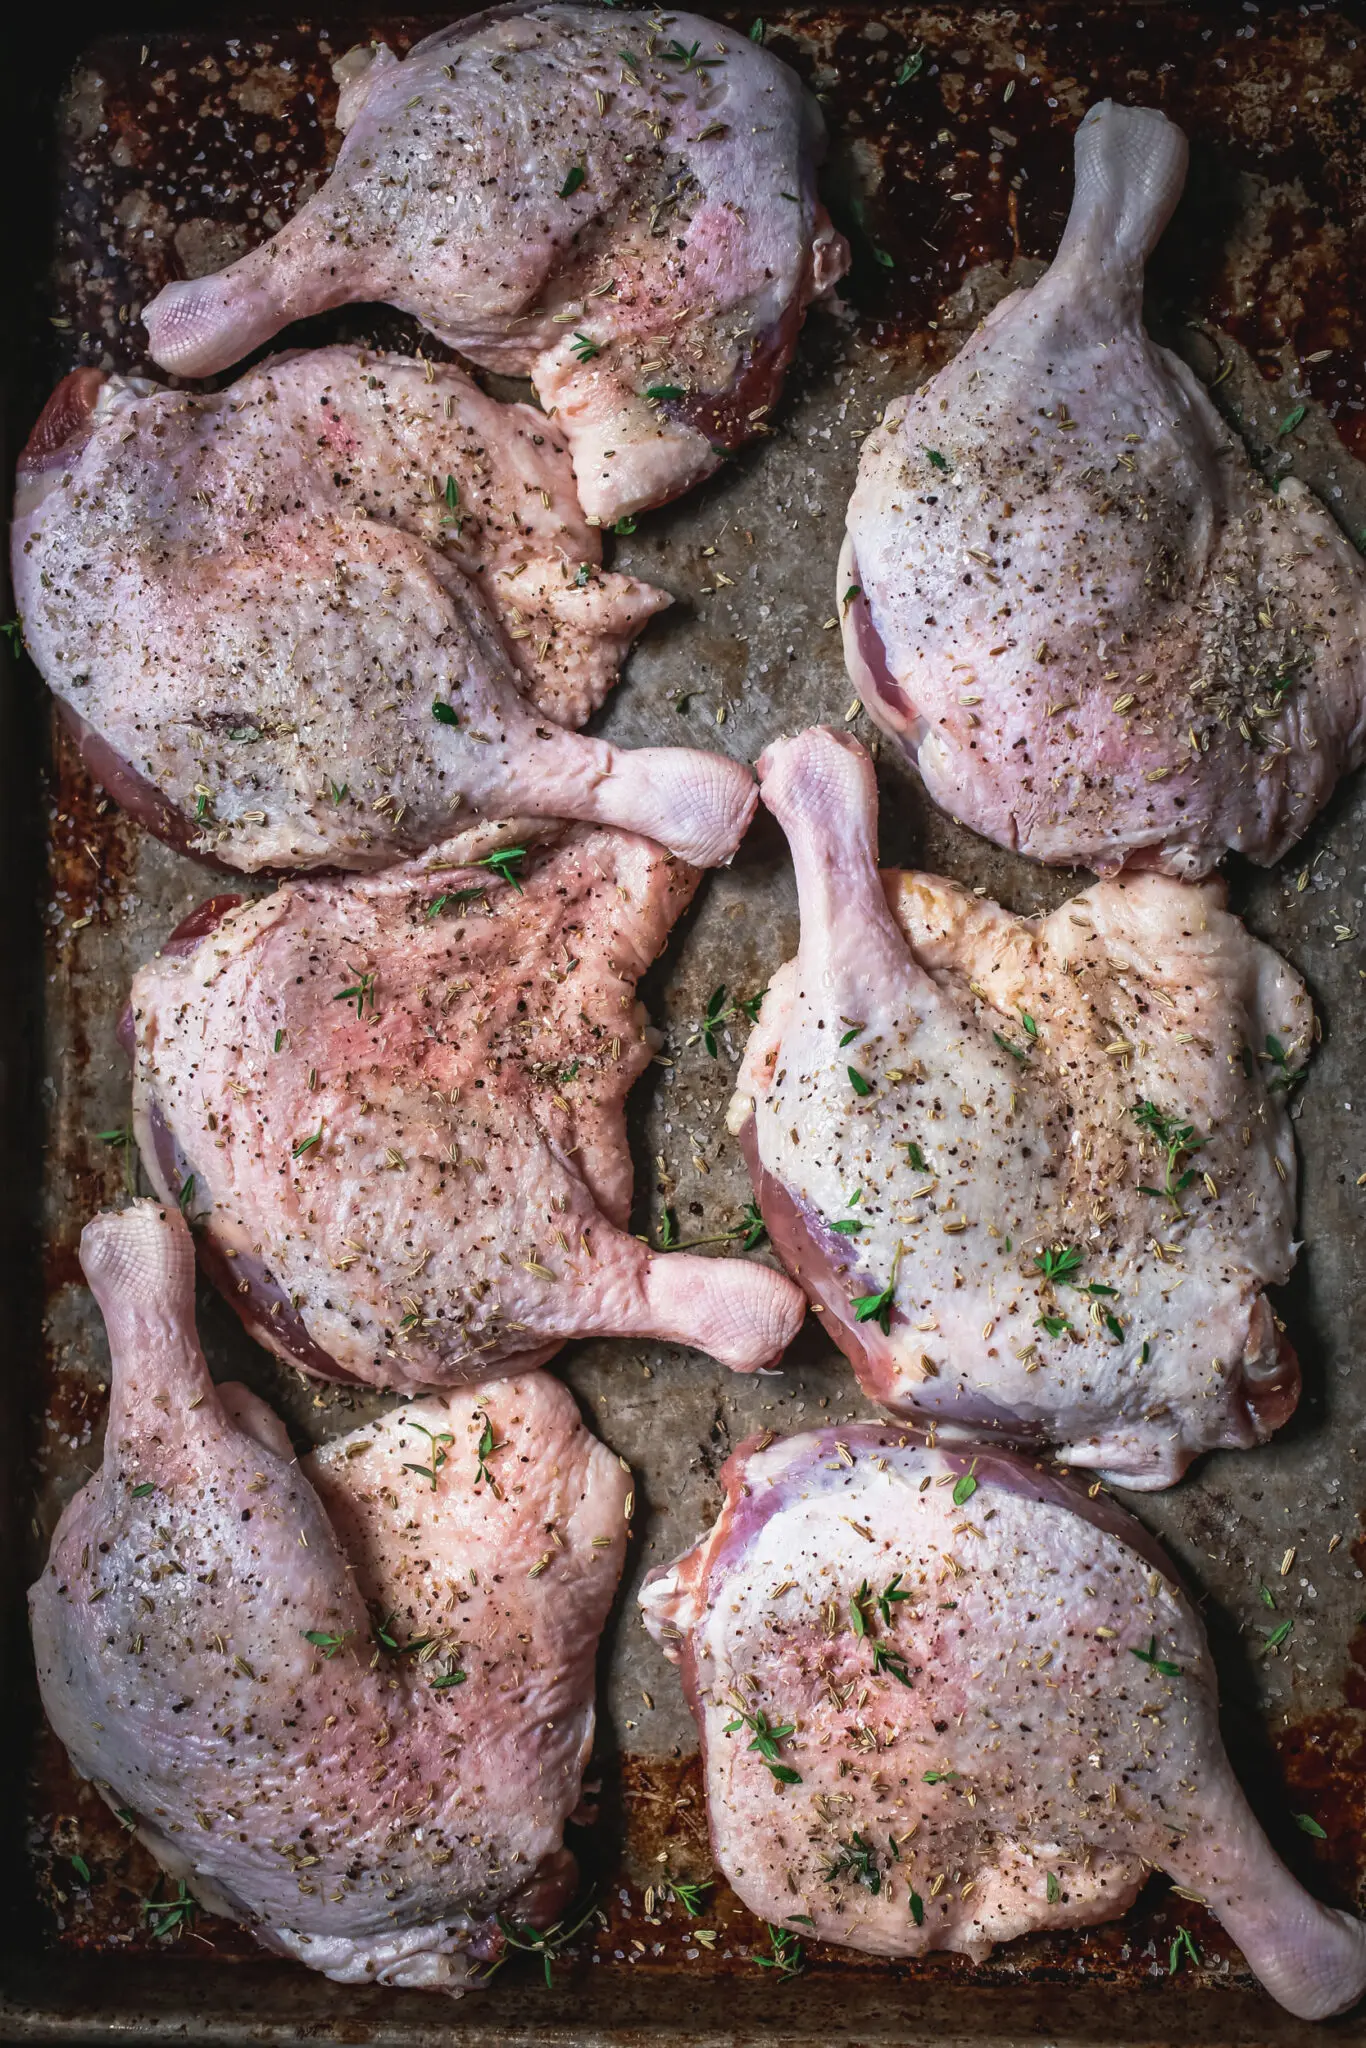
- The drier the duck, the crispier it gets so give it time (this works for whole duck, turkey and chicken too). Let it “cure” uncovered in the fridge for 24-48 hours. It will look like a nightmare before it goes in the oven but it will come out a golden and crispy dream.
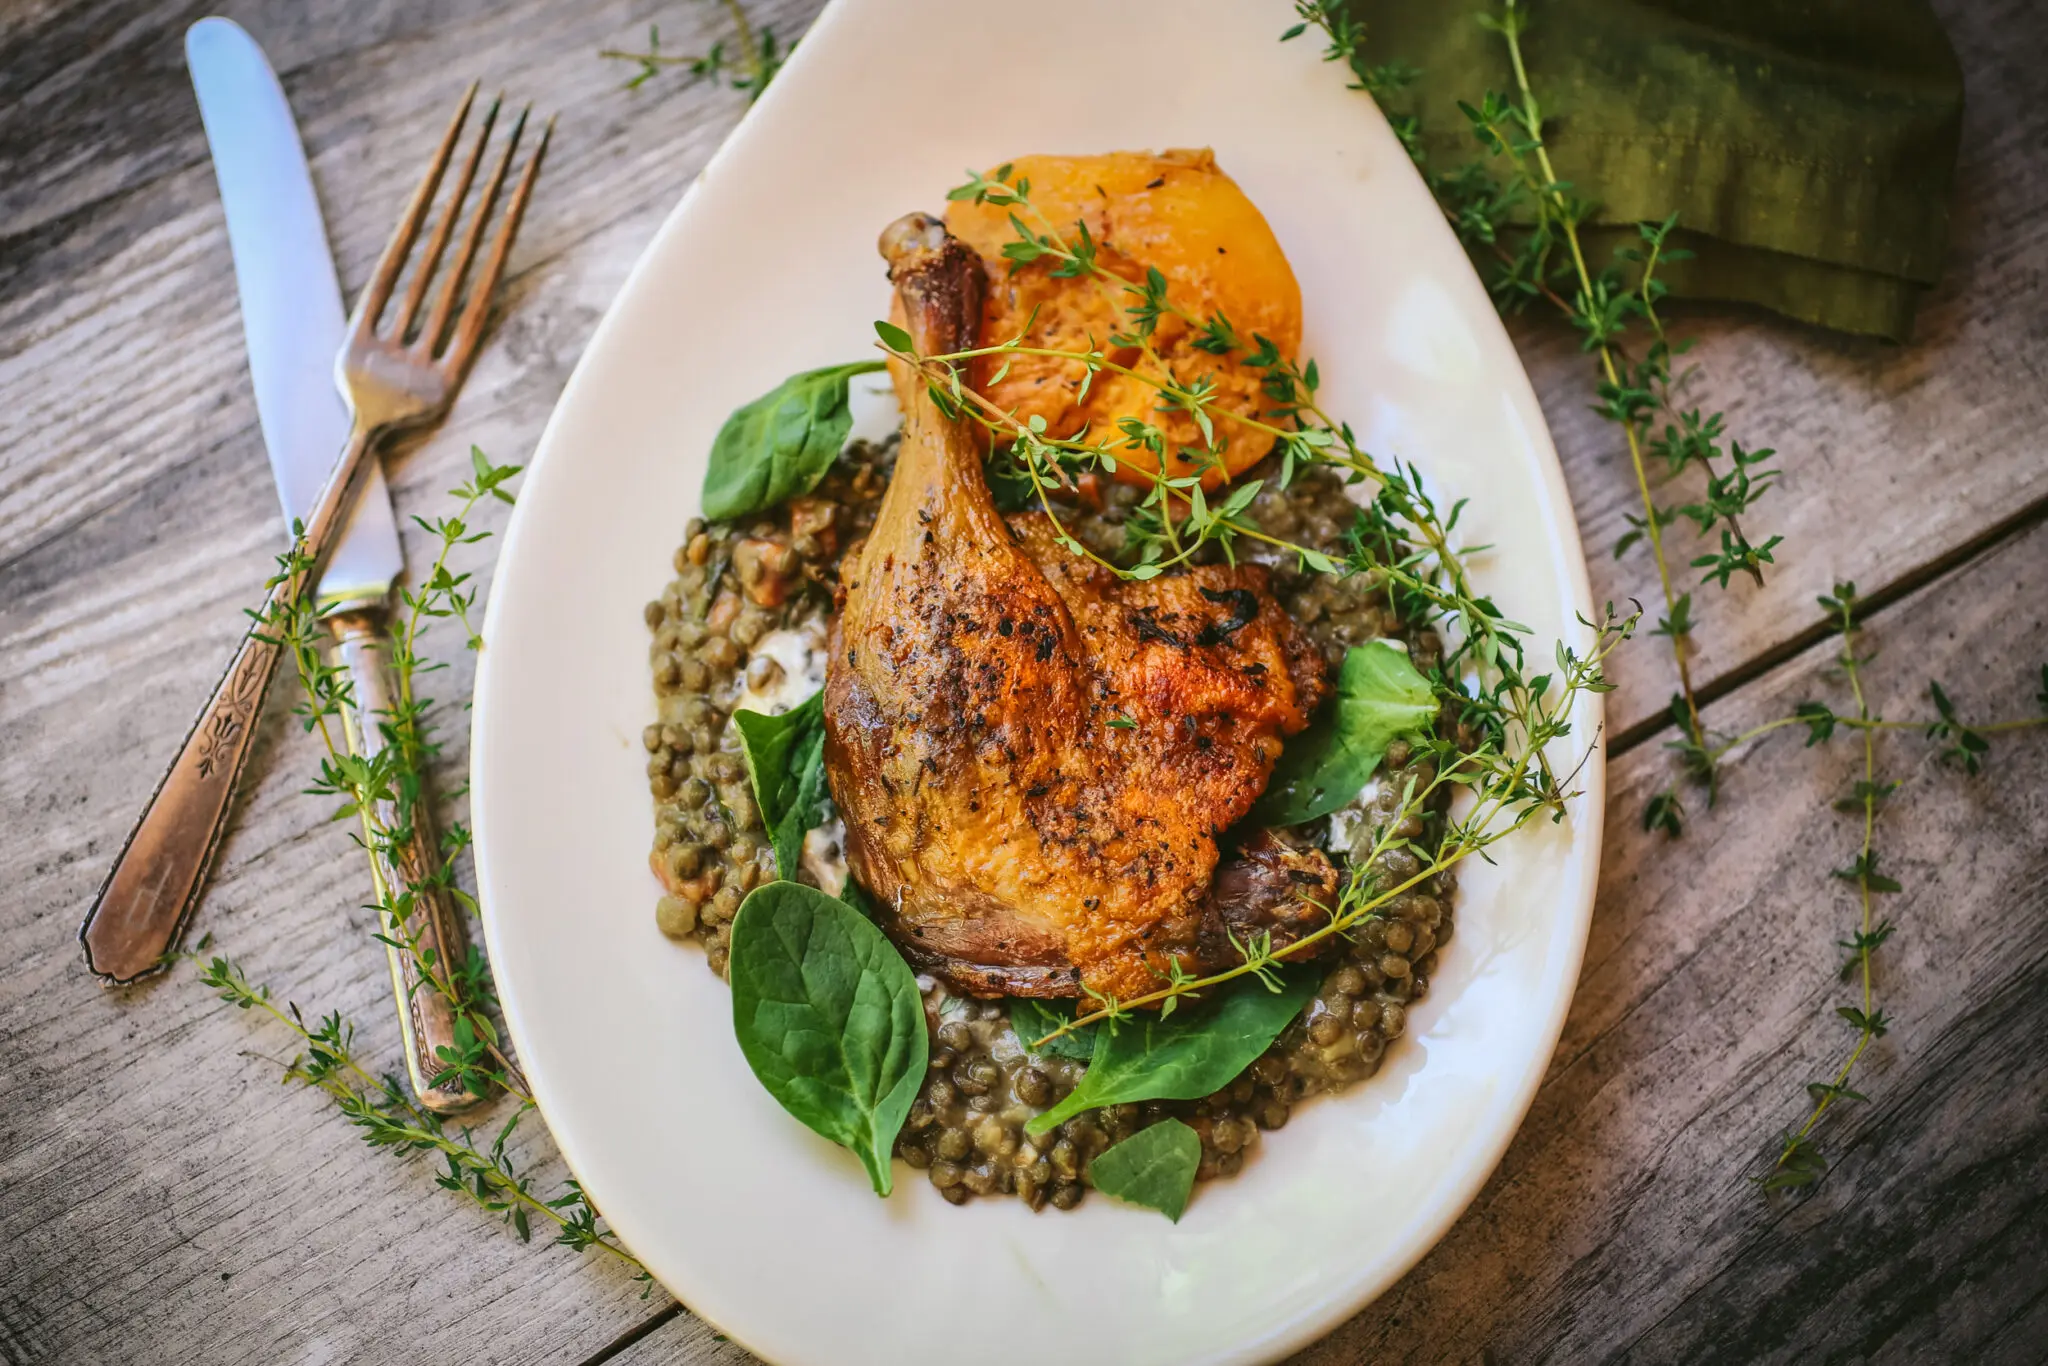
- It’s a great combination with Puy Lentils with Spinach and these simple Roasted Peaches with Honey and Thyme but it would be equally delicious with a vinegary salad of watercress and kale.

Crispy Spiced Duck Legs with Thyme
Ingredients
- 8 large duck legs – untrimmed
- 3 teaspoons course kosher salt do not use table salt or it will be too salty
- 4 teaspoons thyme
- 3 teaspoons crushed fennel seed
- 2 teaspoons fresh cracked black pepper
Instructions
- Dry the duck legs well and put them in a glass baking dish with enough room for them to lay side by side (no overlapping). In a small bowl, mix together the salt, thyme, pepper and fennel seed. Sprinkle the mixture on both sides of the duck legs, lightly pressing it into the skin and meat.
- Place in the refrigerator, uncovered, for 24 – 48 hours hours to let the skin dry and cure. (They will look weird and wrinkly but don’t panic, that’s what makes them crispy).
- When you’re ready to cook, pre-heat oven to 325 F.
- Heat a large, heavy-bottomed skillet or sauté pan on medium high and add the duck legs in a single layer skin side down (no need to add any oil). Press down to make sure you have good contact between the skin and the pan. Cook until the skin is deep golden brown (8-10 minutes). Turn them over and brown the meat side (5 minutes longer). If your pan isn’t large enough to do this in a single layer, cook them in batches. Don’t rush this step because the fat that is rendered at this point will help the legs cook in the oven.
- If you’ve cooked the legs in batches, transfer the legs and all the rendered fat to a large roasting pan, arranging the legs skin side up in a single layer. (If they fit in the single pan, just leave them, skin side up, and all the rendered fat, in the skillet). Cover the pan with aluminum foil and place in the oven. Cook for 1 1/2 hours.
- Remove the pan from the oven, and remove the legs to a large plate or sheet pan. Drain the fat out of the roasting pan (be careful — it’s hot) into a heatproof bowl, leaving about 1 tablespoon of fat in the pan. Return the legs to the roasting pan, again skin side up, uncovered. (Alternately, you could use a turkey baster to siphon out the fat).
- Turn the oven up to 350F and return the uncovered pan to the oven for 30 more minutes until the skin is crispy.


stage 3 set oven at 350
stage 7 increase to 350
clarify please !
Hi Richard, step 3 calls for a 325ºF oven, step 7 the temp is increased to 350.