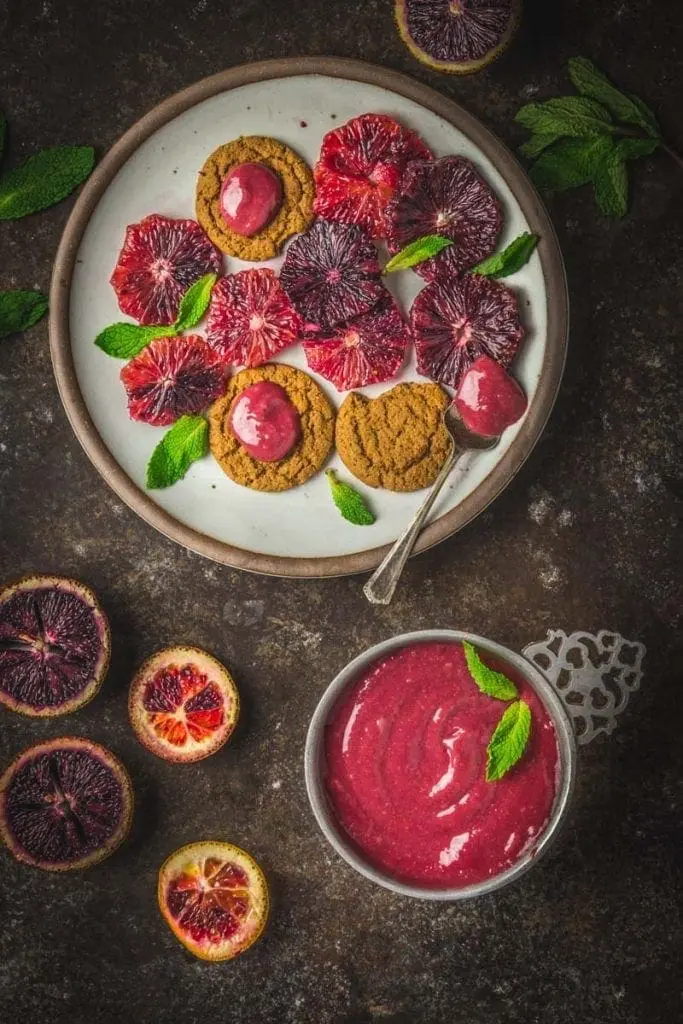
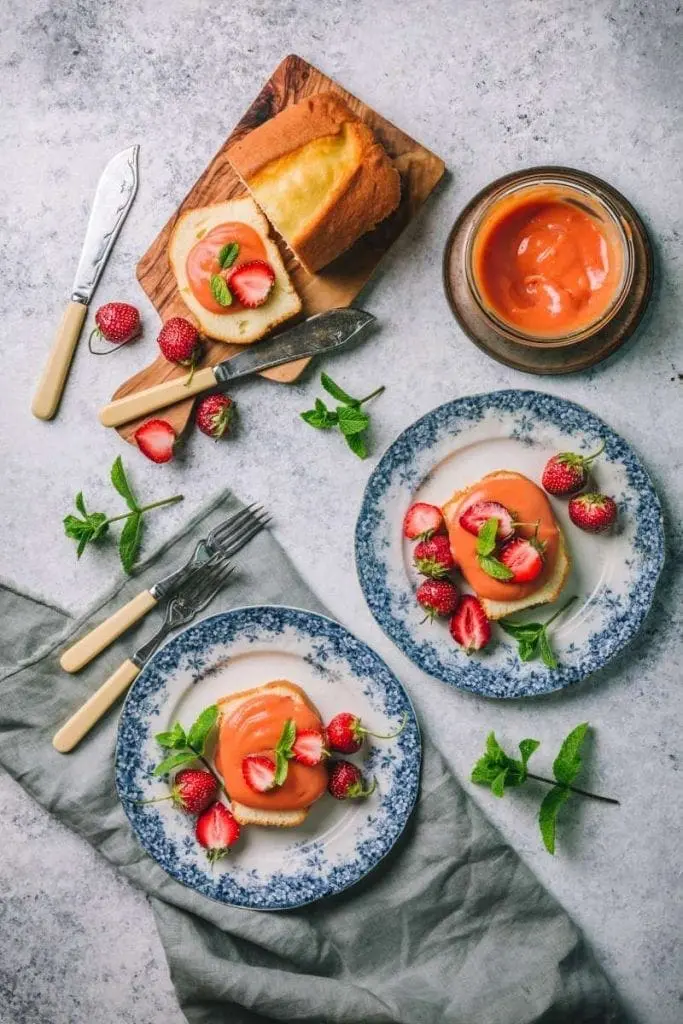
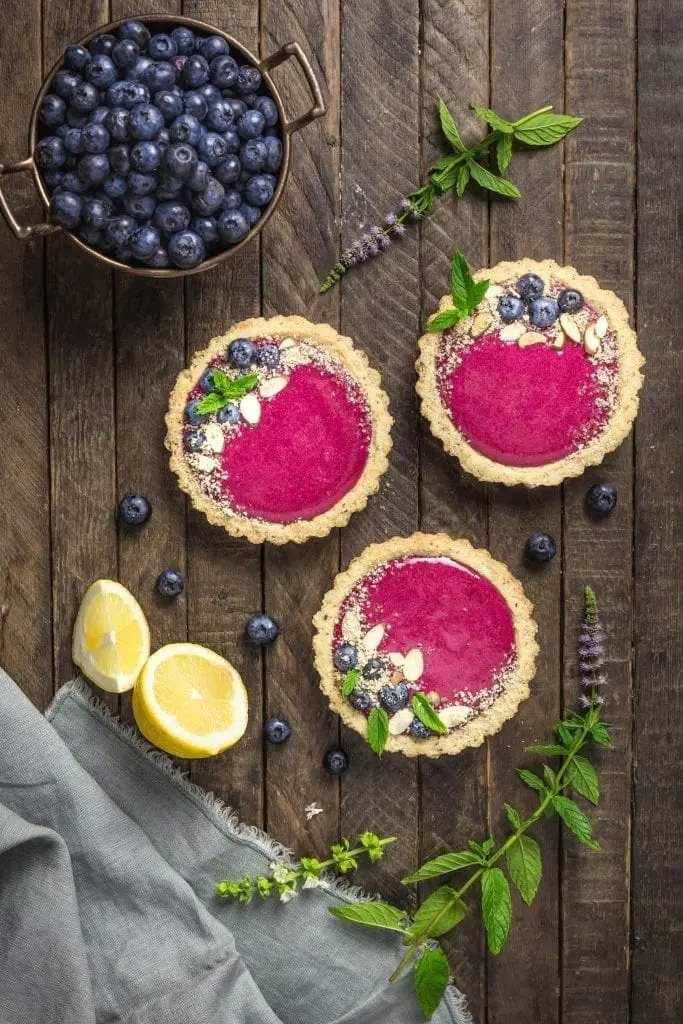
When we tell people we’re food bloggers, often they’ll ask us “what’s your thing?“. Like, what’s our angle? Do we favor specific diets, types of food, techniques? And the usual answer is no, we don’t really have a thing, but if there’s one specific food that we seem to make on the blog more than any other, I have to say, it’s curd. We’ve made Lemon Curd, of course. But also Blueberry-Lemon Curd, Strawberry-Lemon Curd, and Blood Orange and Hibiscus Curd. Today we’re going to make Orange-Ginger Curd.
Our obsession started with Our Seriously Lemony Lemon Curd. There’s a whole background story on this, in the accompanying article. It involves us unwittingly defrauding a lovely old Scottish couple who’d just fed us homemade lemon curd, out of ten pounds fifty or so. This perhaps explains our obsession with the stuff. Perhaps we must now make the most delicious curd, in the most number of flavor combinations possible, to assuage our lifelong guilt over the sins of our past. Or perhaps we just really like it.
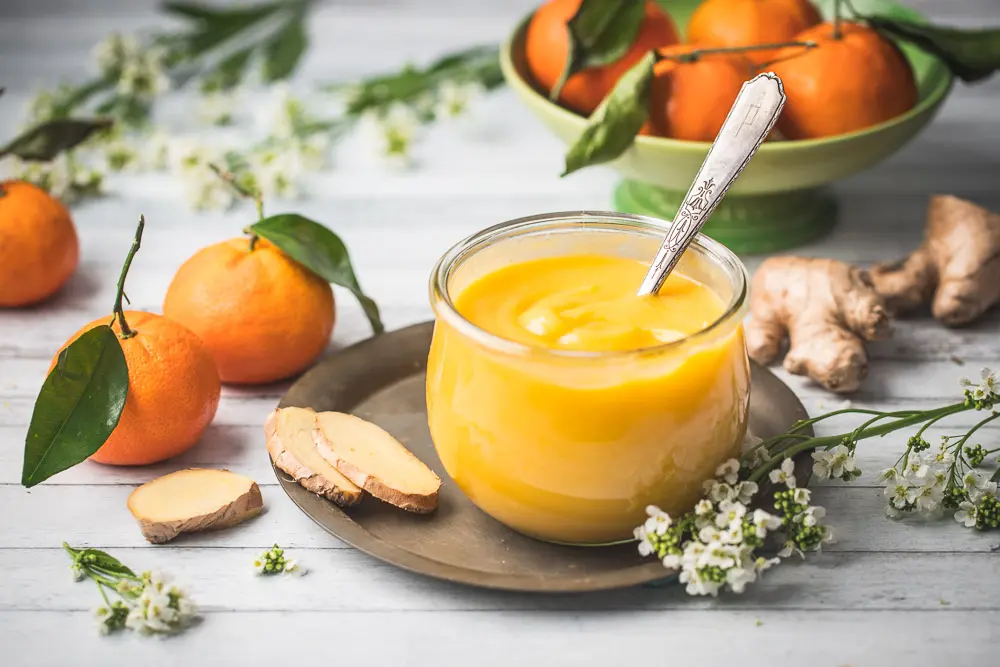
Whatever the reason, a couple of times a year we’ll try something new. And here is the newest entry: Orange-Ginger Curd. We had a basket of oranges left over from a photography shoot, and we have a kitchen counter groaning with eggs, so we decided to whip up a batch.
The Process
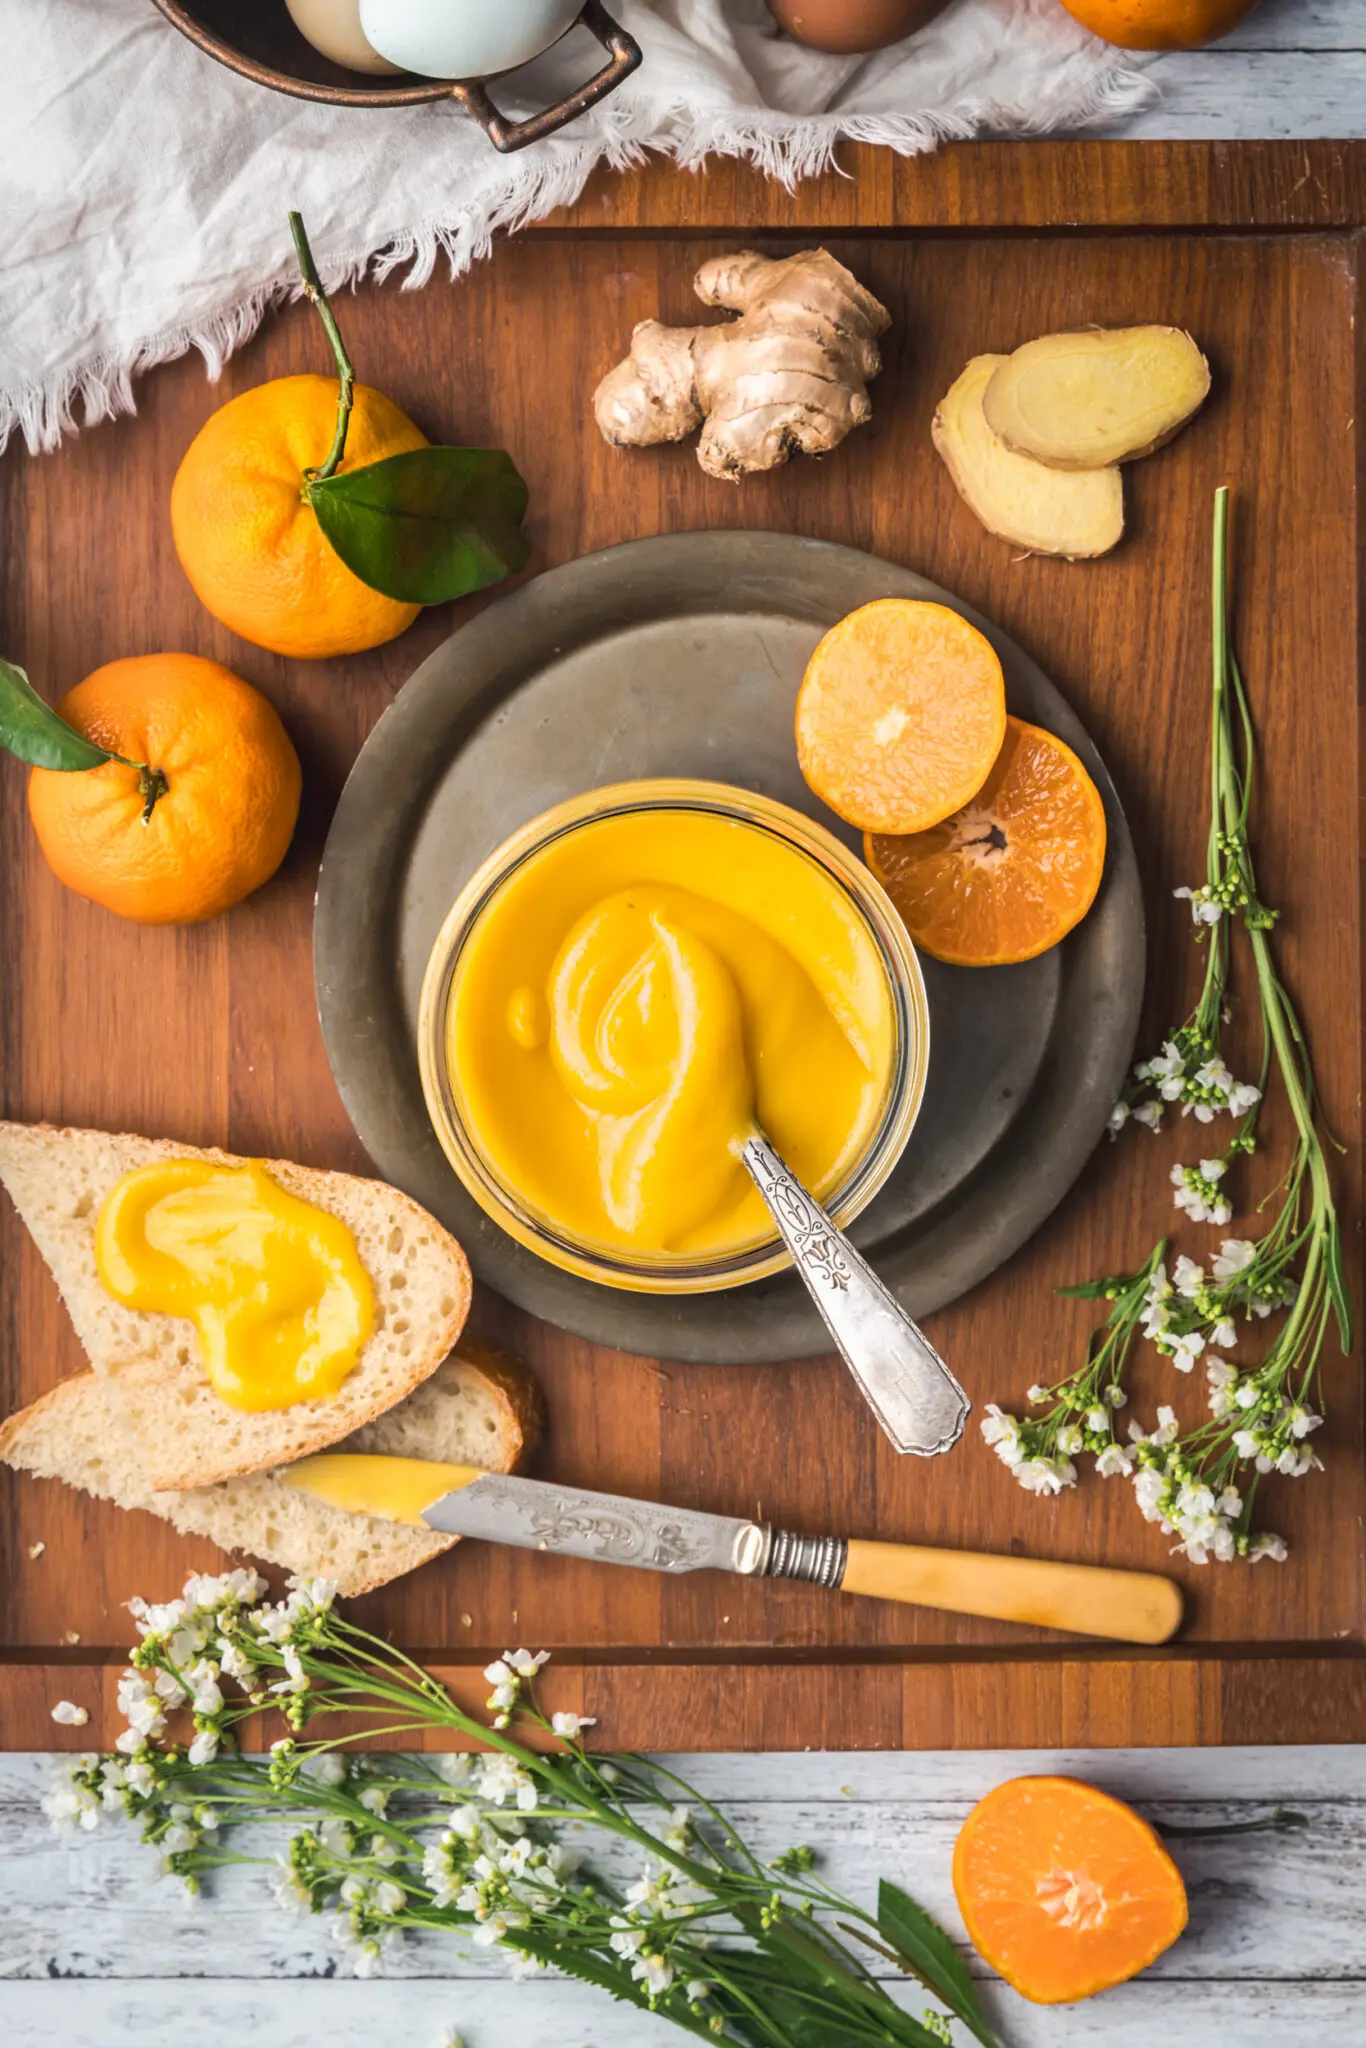
Making citrus curd is an extremely straightforward process, and although the specifics vary from batch to batch, we very rarely change the steps. This method works really well. First, we peel the zest with a vegetable peeler and juice the fruit, and add the zest into a food processor along with all the sugar. (In this recipe, we also add grated fresh ginger.) Once the zest and sugar are finely incorporated, we cream the soft butter into it (using a mixer or beater) and then add the eggs. Finally, we add the juice, a little salt and cornstarch. It will look like a curdled mess and you’ll wonder why you ever trusted us, but it’s all going to be fine.
Add the curdled mess to a good heavy saucepan and heat it slowly until it becomes homogeneous and thickens, stirring frequently. This will happen between 170º and 180ºF. Finally strain over a fine-mesh into storage jars, cool, and refrigerate. That’s it!
Rind, Peel or Zest?
While we were re-working an older version of this recipe, it occurred to us that we hadn’t been scientifically accurate about what part of the orange (or lemon) gets added to the recipe. We’d used “rind”, “peel” and “zest” kind of interchangeably. And they aren’t the same thing at all, so its important to be specific.
Zest is the colored coating on the very surface of the fruit. It includes none of the white layer (“pith“) underneath. The orange or yellow surface layer is highly aromatic and flavorful; the white layer is thicker, more fibrous, and contains little flavor.
Rind contains the colored layer, and usually a little of the pith.
Peel contains everything that is not the inner fruit itself. If you use your hands to “peel” an orange, everything you don’t eat is the peel. The peel is the zest plus all the pith.
Most often, when we make curd, we’re looking to only extract the zest and the juice. How much of the rind gets removed as well depends a little on your technique, but mostly on the tool you use to remove it from the fruit. You can use a microplane and keep rotating the fruit when it hits the white pith. You can use a zester. You can use light action with a sharp vegetable peeler. (Don’t use a channel knife from a cocktail set, it’ll take out a lot of the pith.)
PS if you feel loathe about throwing away zested, juiced citrus rinds, Stella Park has a great method for making lemon syrup (which you can adapt for other citrus varieties).
Flavor Notes
We knew that moving from lemon to orange curd would result in a much sweeter curd; we adjusted our original sugar amount accordingly. We hope you agree it has a good balance. Different kinds of orange will be more or less sweet; we used particularly sweet satsumas so the oranges you choose might differ a little. Don’t forget that the curd will taste less sweet once it’s been chilled.
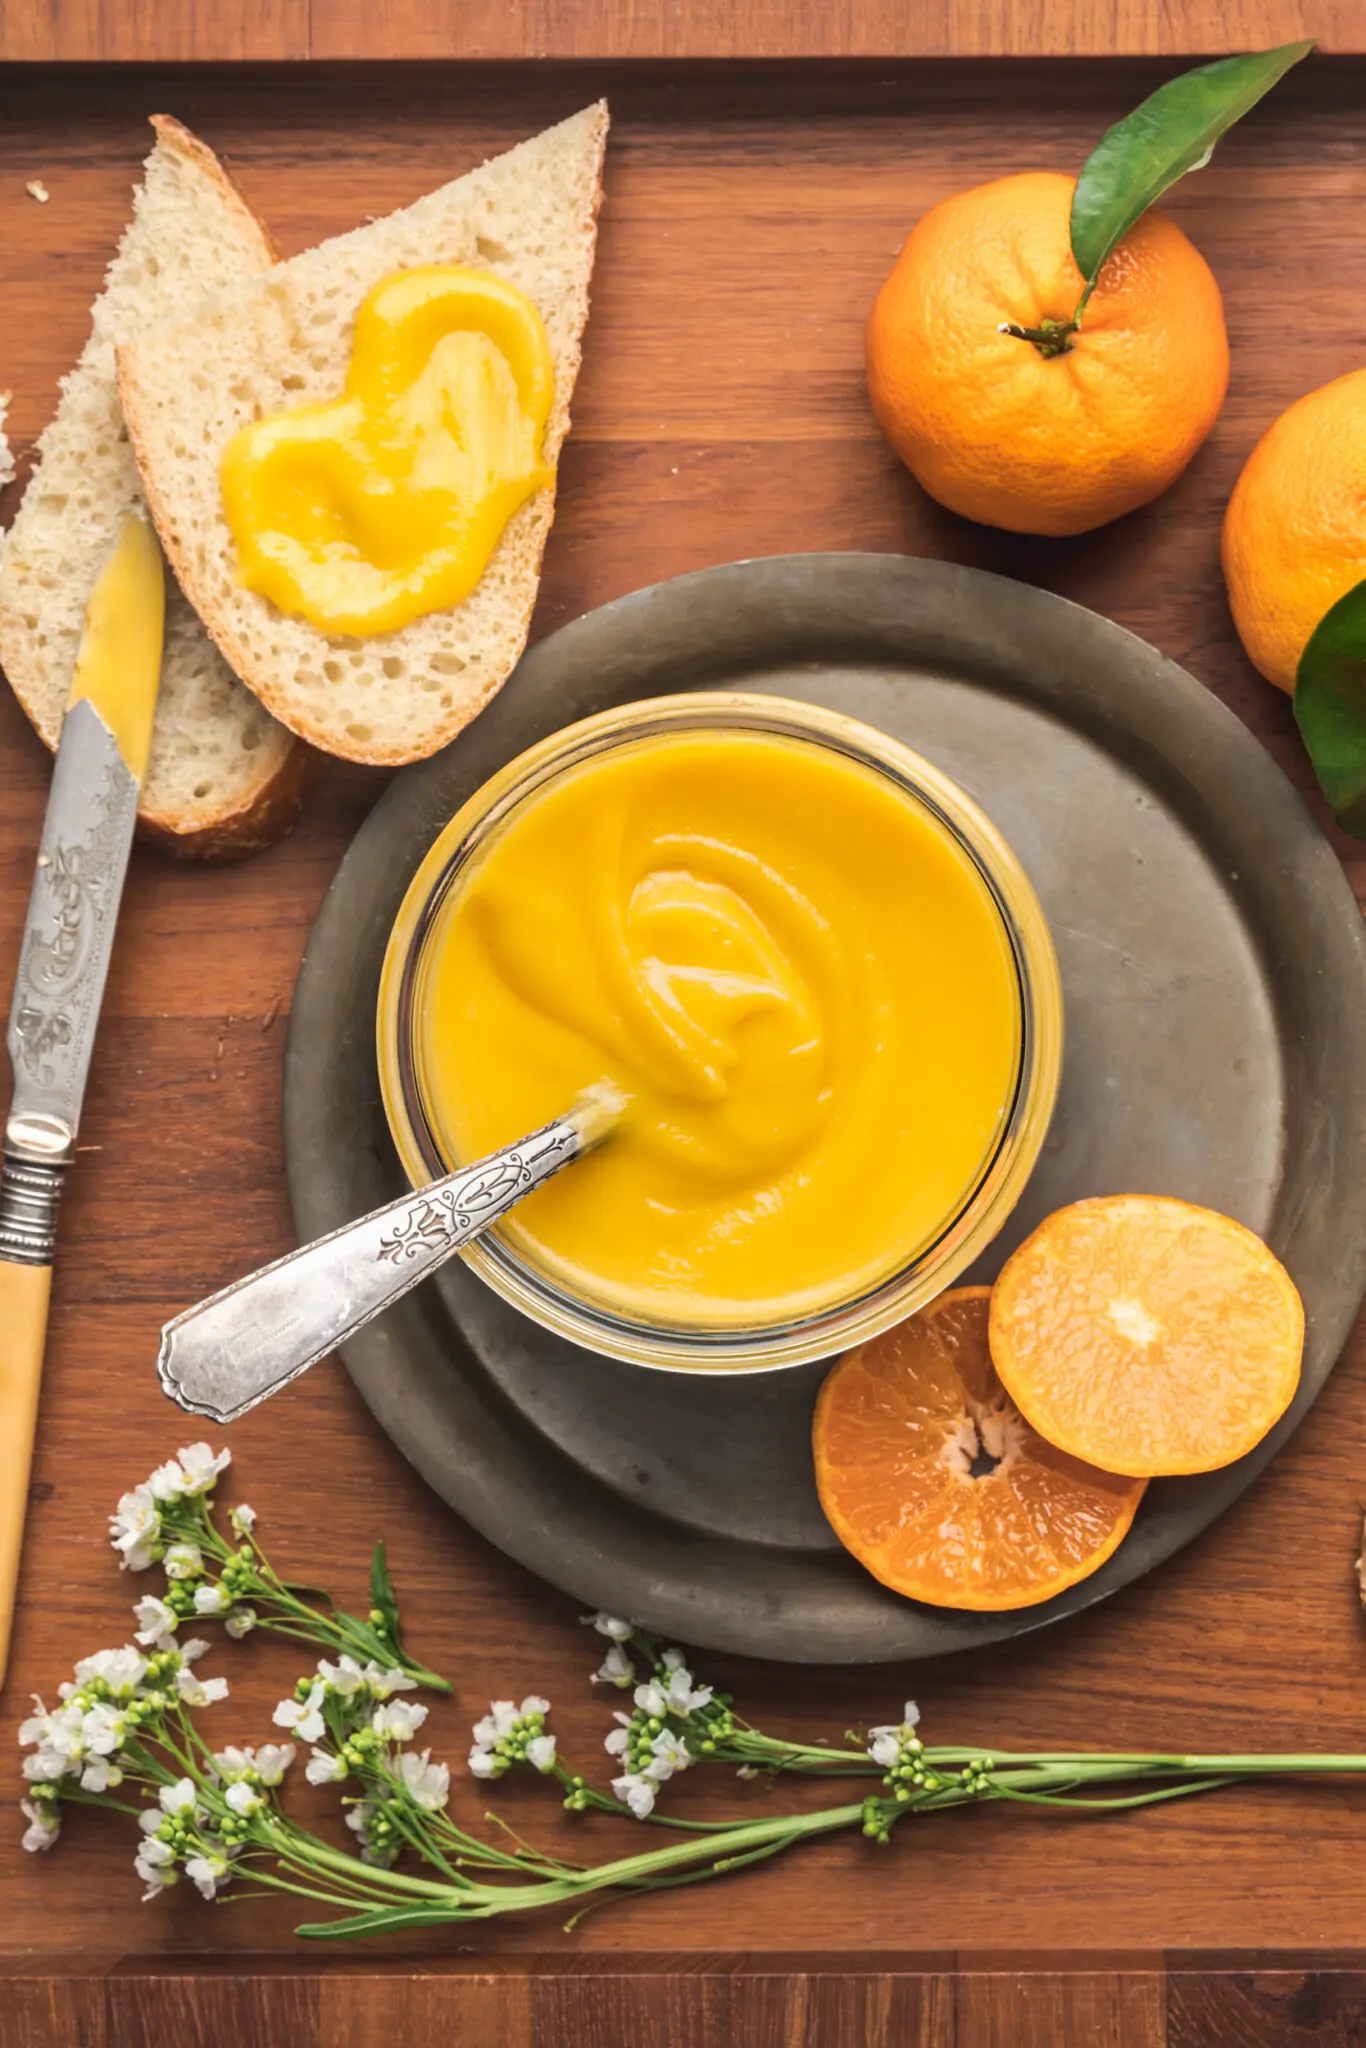
The other main player, ginger, provides a beautiful warm spiciness that doesn’t hit you straight away, but right at the end of the tasting. We really love our orange-ginger curd slathered on a slice of good bread for a breakfast snack. It’s also absolute perfection on a scone or a biscuit. Play with your own flavor combinations and let us know how you get on!
Orange-Ginger Curd
Ingredients
- Zest from 4 medium oranges and 1 large lemon or 8 satsumas peeled with a vegetable peeler
- 6 tablespoons finely grated fresh ginger 200g
- 2 1/2 cups sugar
- 8 extra-large eggs
- 1 cup fresh orange juice
- 1/4 cup lemon juice from 1 large lemon
- 1/2 pound unsalted butter room temperature
- 1/4 teaspoon kosher salt
- 4 teaspoons cornstarch
Instructions
- Put the orange and lemon peels, ginger and sugar into the bowl of a food processor fitted with the steel blade. Process until the zest is very finely minced into the sugar, about 1 to 2 minutes. Scrape down the bowl as necessary.
- In a stand mixer fitted with the paddle attachment (or in a bowl using an electric beater), cream the butter with the sugar and orange peel mixture. Add the eggs, 1 at a time, and then add the orange juice, lemon juice, salt and cornstarch. Mix until combined. (Note: It’s going to look like a disgusting, curdled mess at this stage. Do not panic. I promise you it will come together and look delightful).
- Pour the mixture into a 2 quart heavy-bottomed saucepan and cook over medium-low heat until thickened (about 10 minutes), stirring constantly. The curd will thicken at about 170 F, or just below simmer.
- Remove from the heat and strain into a bowl through a fine mesh sieve. Add to storage jars and allow to cool to room temperature before refrigerating. The curd will get thicker as it cools.
I’m looking forward to trying this recipe when I get the ingredients. A few years ago I bought a jar at an English shop which has now closed. Now I can’t find it to buy ANYWHERE!!
I hope you like it!
It’s very good but it’s more of a ginger curd with a hint of organic. Not quite the flavor we were hoping for. It’s more pale than the photos pictured.