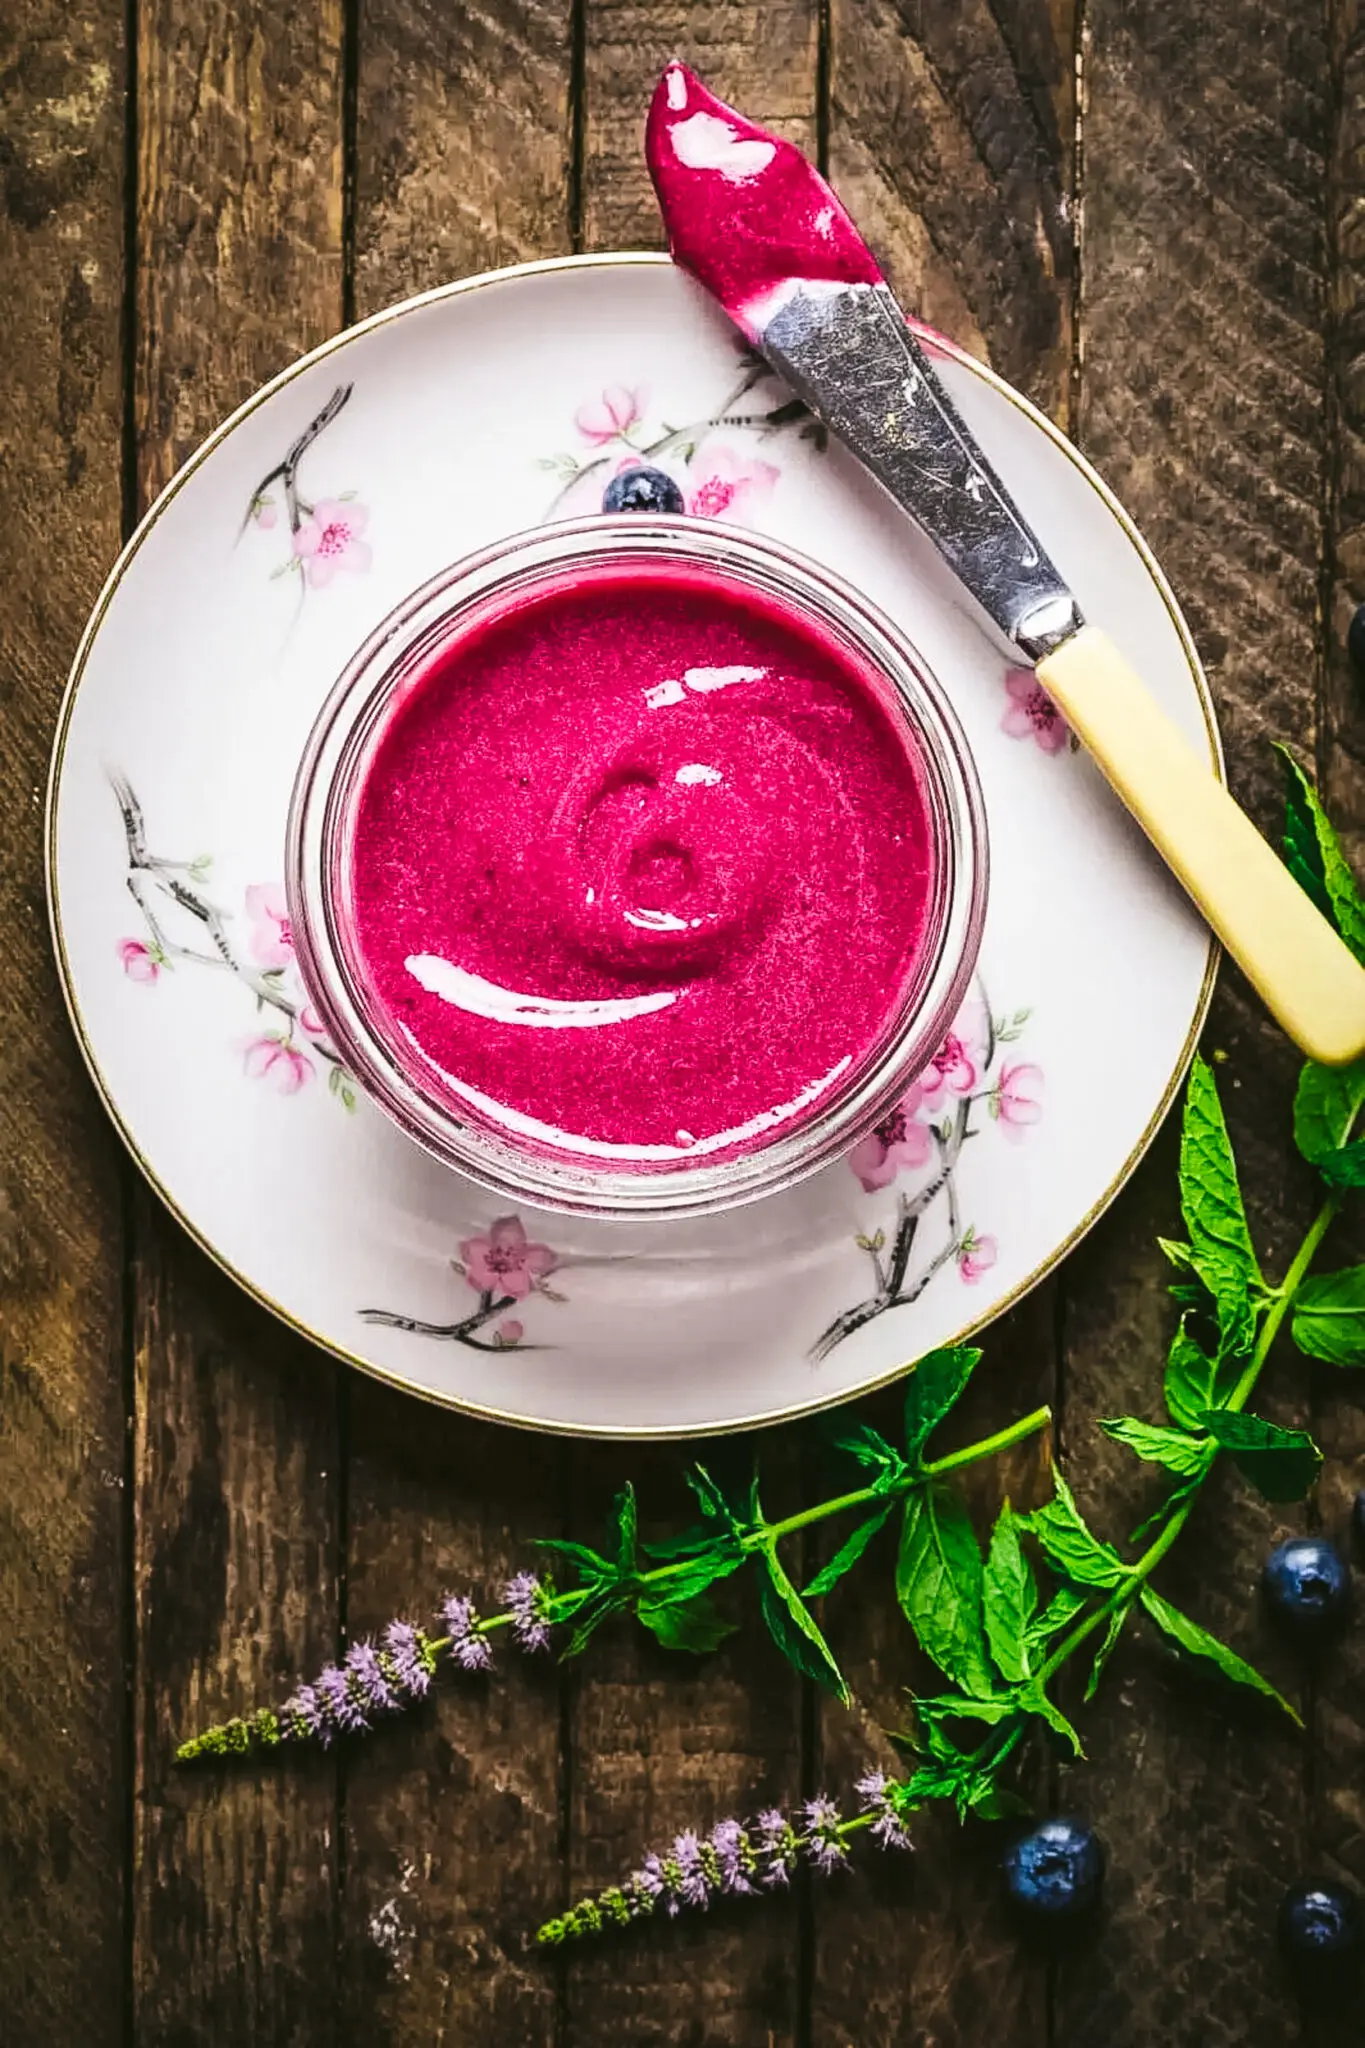
Don’t you hate it when your favorite site or publication has a “special takeover issue”, when they change the title and mess with the format purely for the purposes of advertising or to big up their latest feature? I didn’t like it when Whizzer and Chips did a “Chips and Whizzer” edition in 1979, and I don’t like it now. That’s the reason why we’re not temporarily changing the name of the site to “Curds with Knives” because, frankly, otherwise, that’s exactly the sort of thing we’d do. I don’t know if it’s the fact that lemon prices have dipped lately, I know it’s not because we have a glut of eggs (because out of seven chickens, only one of them is laying) but for some reason, we’re getting rather obsessed with making lemon curd and variations thereof.
We have a weekly planning session where we’ll decide what recipes we want to blog over the coming month, and recently it’s morphed into “what different kinds of curd can we make now?”. Here’s the tally so far. One: The original lemony lemon curd, delicious in its pure form, and a tasty addition to zucchini cake. Two: rhubarb curd – the difficult second curd, you might say – absolutely amazing in taste, quite appalling in visual appearance (which is why we shoved it in pastry shells and covered it in fruit and mascarpone). And now, the third in the series: the revenge, Part Trois, blueberry lemon curd.
Emily and I had a wager before we made this. I wanted us each to guess what the color of the final curd would be. Here are our predictions:


My thinking was that, since blueberries were, er, blue, and the original lemon curd was a yellowy orange, we’d end up with green. Emily was pretty sure that the blue would overwhelm the yellow and be more dominant. Turns out, as you’ve already seen from the top picture, we were both wildly wrong, but we couldn’t be happier with how it turned out. That is one wild hot flagrantly bright pink. Who knew? (Not we.)
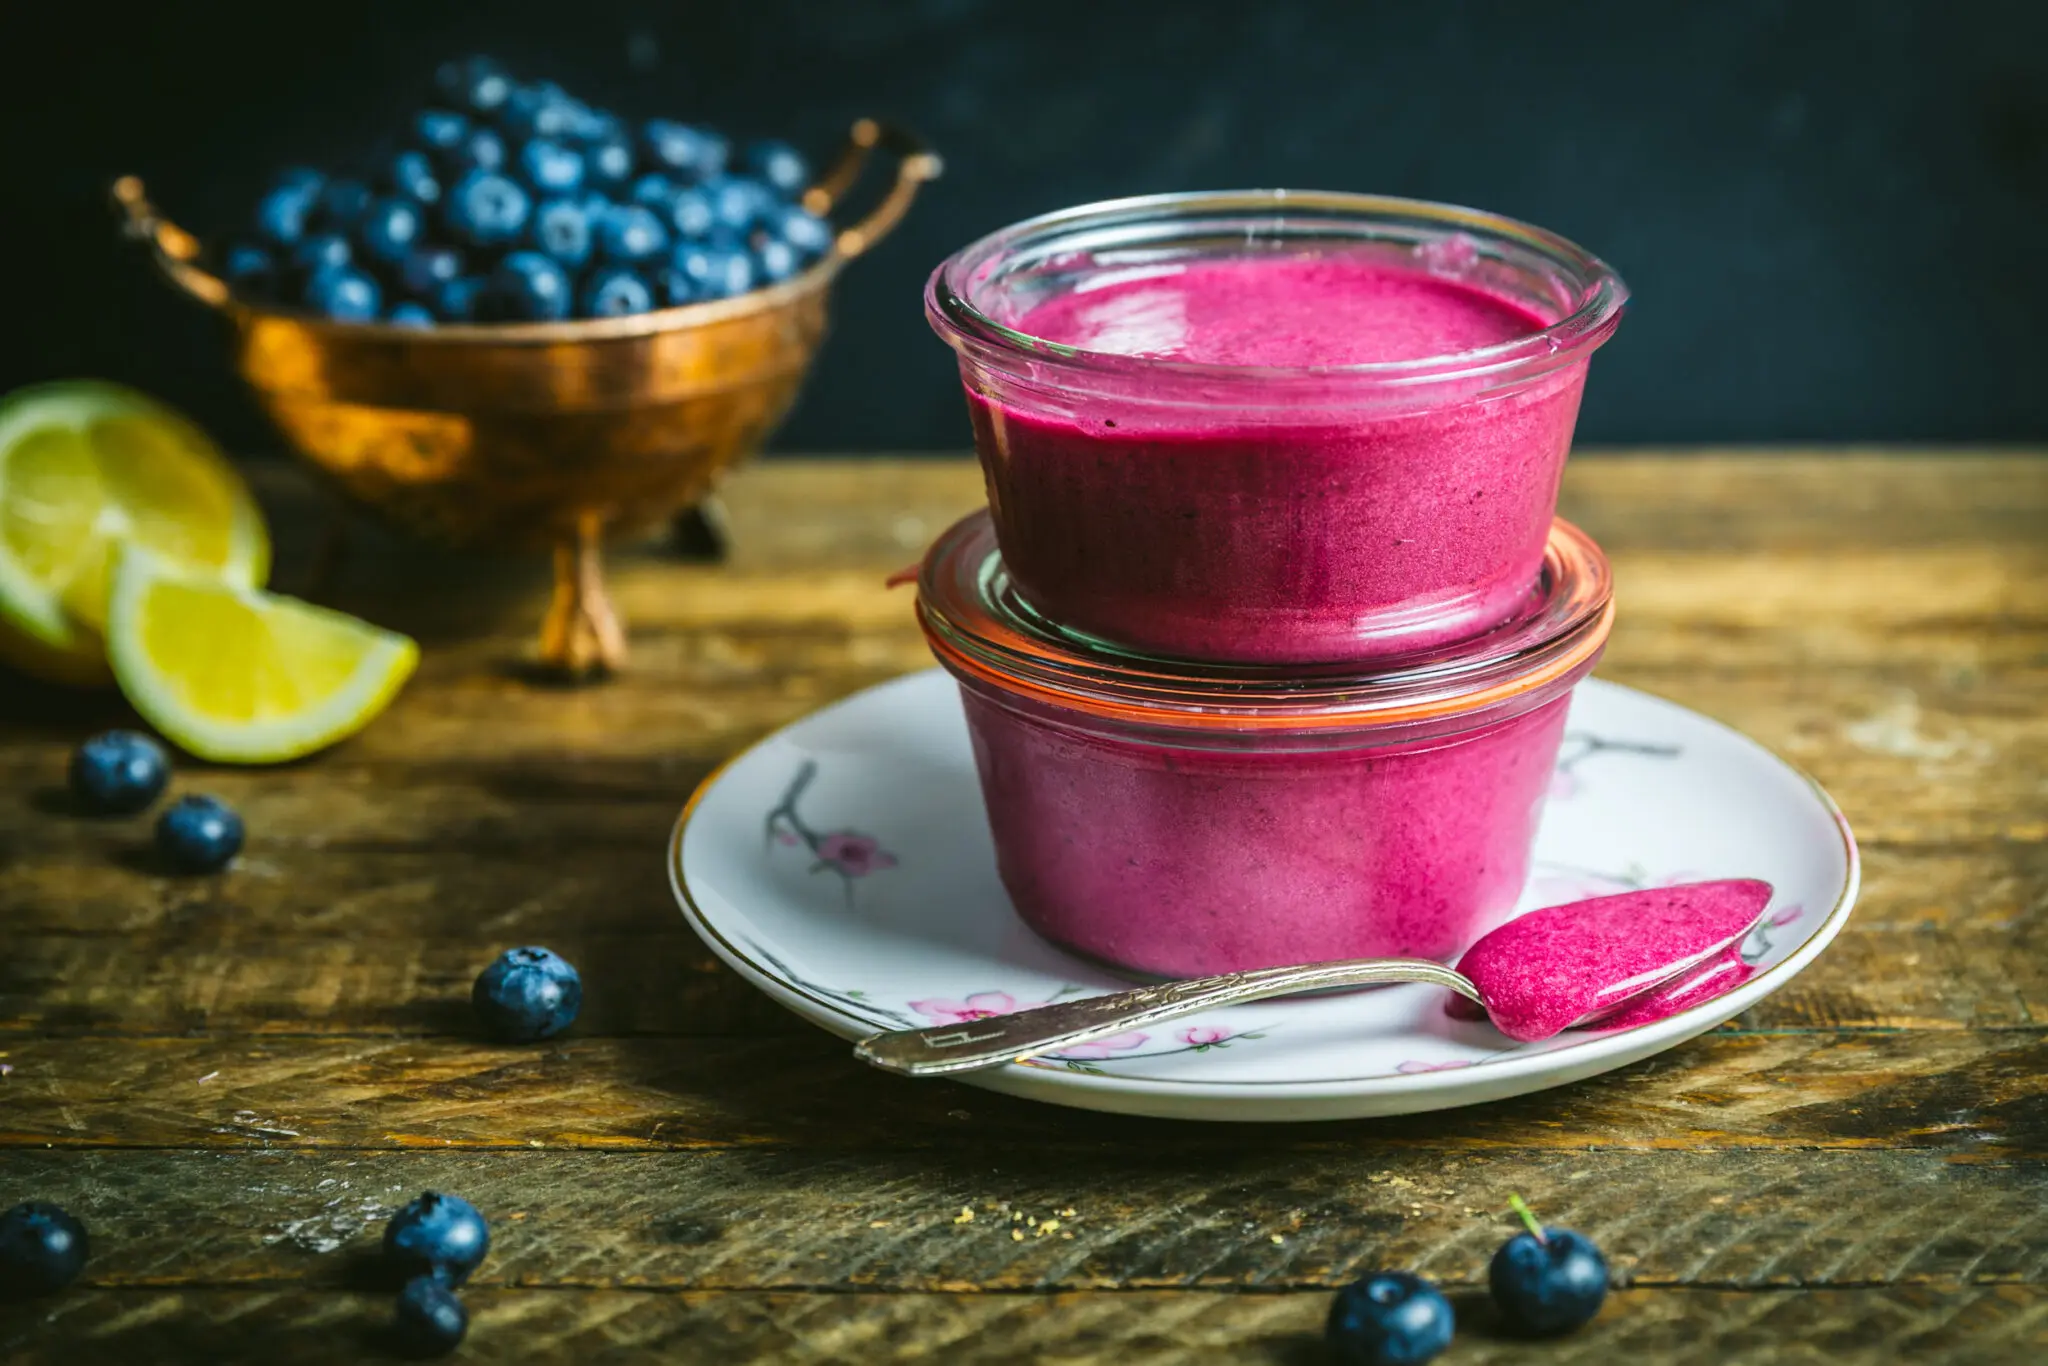
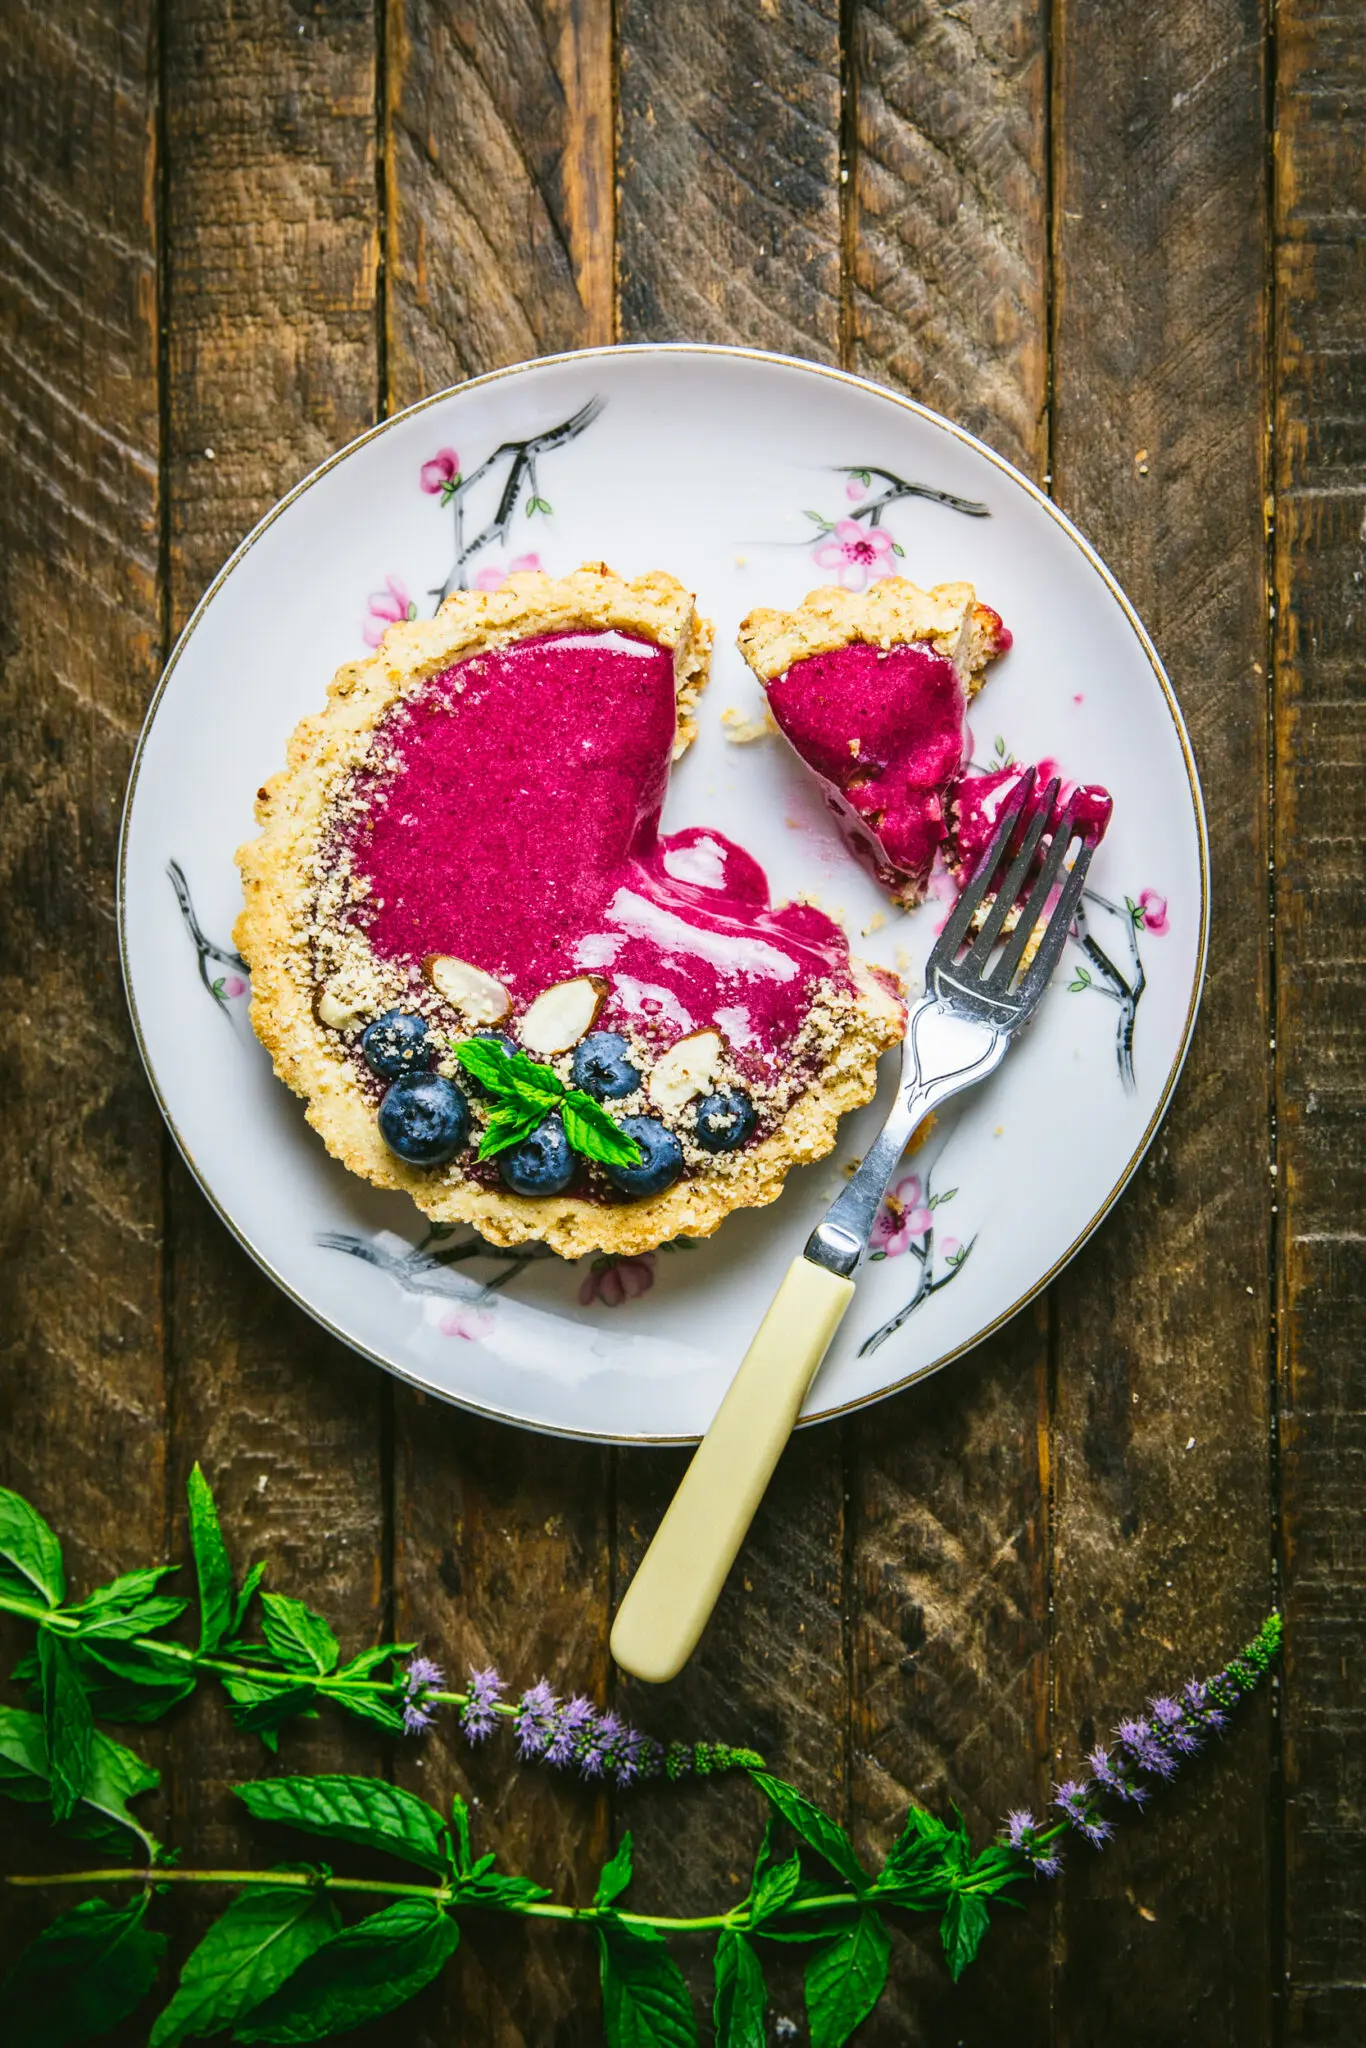
Other than the crazy hue, what’s the verdict? The blueberries, once cooked down, release their sugar complement and cut the acidity of the lemons, so this ends up being a really well-balanced curd that won’t pucker your mouth up. It’s like if blueberry jam and lemon curd had a really attractive and well-behaved love child. We would not be ashamed to use this in any of the curd recipes we have put together, and it goes beautifully just slathered on breakfast toast. Because it was so gorgeous, though, we decided to go all out and use it to fill tartlets. We list our recipe for blueberry lemon curd tartlets separately.
We didn’t mess with our original lemon curd recipe, other than to cook the blueberries down, cool and strain them to remove the skins. The cooling step is important since you don’t want them to shock the eggs and end up with scramble. We wanted to make sure the curd was thick enough to spread as well as to use as a cake filling, so we used a little corn starch in the recipe. You’ll also find that the curd thickens when refrigerated. (Don’t forget, the egg content means that it must be stored in the fridge, and will last around two weeks.)
This might just be the pinkest thing we’ve ever made. Please join us on our next curd making adventure, when we will be exploring the ultraviolet spectrum. Until then, curd your enthusiasm!
Blueberry Lemon Curd
Ingredients
- 2 cups (340g) blueberries fresh or frozen
- Zest from 3 lemons finely grated
- 1 tablespoon water
- 1/4 pound (115g) unsalted butter (1 stick) (room temperature)
- 1 1/4 cups (250g) sugar
- 2 large eggs large
- 3 egg yolks
- 1/2 cup (120ml) lemon juice from about 3 to 4 lemons
- 1/8 teaspoon kosher salt
- 2 teaspoons (5g) cornstarch
Instructions
- Add the blueberries. lemon zest and water to a medium (2 quart) heavy-bottomed saucepan set over medium-high heat. Bring to a boil, lower heat and simmer until the blueberries soften and burst, about 5 to 7 minutes. Use a spoon to press berries and break apart berries as they cook.
- Strain into a bowl through a fine mesh sieve, pressing pulp with a spoon. Make sure to scrape the puree on the underside of the strainer into the bowl. Allow puree to cool. Discard any unstrained pulp, reserve the puree and rinse the saucepan and sieve.
- In a large bowl (or a stand mixer fitted with the paddle attachment), beat the butter and sugar until fully combined, about 2 min. Add the eggs and yolks one at a time, beating each until incorporated. On low, mix in the lemon juice, blueberry puree, salt and cornstarch. The mixture will look curdled, but it will smooth out as it cooks.
- Pour the mixture back into the saucepan and cook over low heat until thickened (about 10 to 15 minutes*), stirring constantly. Don’t walk away or you will have lemony scrambled eggs. The curd will begin to thicken at about 170 degrees F, or just below simmer. Once thick, remove from the heat and strain into a bowl through the rinsed sieve. (It will thicken more as it cools).
- Add curd to storage jars and allow to cool to room temperature before refrigerating. If using in tarts right away, allow to come to room temperature before filling shells.
Notes
- Using a thermometer is a much more helpful than a time estimation since heat can vary. Cook the curd to about 170ºF, though it can go a little higher, if you want it thicker. Just keep stirring and don’t let it come to a full boil.
Nutrition


The looks beautiful! This is probably a dumb question but do the storage containers need to be sterilized?
Hi Carmen – it’s a great question! We’ve never done any long-term preservation for curd, although you can use a canning process and store in the fridge for a few months. If you plan to do that, you should certainly sterilize. For short-term storage, it’s not a bad idea to sterilize, but you should be equally fine just washing the jars well with very hot water and then not handling them too much before you fill and seal them.
I followed your instructions to the key and the colour was definitely NOT pink but a dark purple??????
That’s fine! You’re going to get some variation depending on the color of your blueberries and eggs. How did it taste?
These were a big hit! Delicious.
I used arrowroot flour in place of cornstarch. I also used frozen blueberries and cut back on the sugar. I had prepurchased Tenderflake shells and baked them. This is definitely one of my favorite desserts!
So glad you liked it!
Hi! How much did the blueberry puree weigh? As I’ll be using instant puree instead of making it by scratch 🙂
I am really disappointed in this recipe. I followed the instructions and the curd did not thicken up like it should have. It tastes good, but I’ve got a blueberry lemon soup.
Edit: used a thermometer and it worked perfectly.
Sorry to hear that, Jessica. Are you sure you cooked the curd to a high enough temperature? The curd won’t thicken until just under a simmer, 170ºF. I can’t really imagine why it wouldn’t thicken for you.
10 minutes on low for me did not work. I got out my candy thermometer and it was only at 120. I’m sitting here now watching the temp rise and my burner is just short of medium.
Use a double boiler. If you don’t have one you can place a glass bowl over a saucepan. Use common sense in selecting the bowl size. The bowl should be over, not in, the boiling water. Cook for about 20 to 30 minutes over simmering water. Stir occasionally with a whisk. Should be perfect – no thermometer needed. Never ever cook curd directly over heat.
For me, 10 minutes was not nearly long enough due to the fact that I live at a high altitude. I cooked mine for about 25 on low-medium heat and it turned out absolutely delicious! I also added in the remainder of lemon juice I had (about an 1/8 of a cup) while I was waiting which made it a tad bit more tangy! I love this recipe!
Is it possible to use raspberries instead of blueberries?
Hi! You certainly can – we’d advise that you strain the raspberry purée since it’ll be quite seedy. You might also need additional sugar if your raspberries are tart. Good luck!
Hey there was wondering if this recipe can be doubled?
You can! You might not need to double the cornstarch (or use it at all) depending how you want to use the curd (if you’re making a spread, you don’t need very much if any). Assess the thickness of the curd once it’s cooked — it’ll set more in the fridge, too.
This turned out really well for me! It took about 15 minutes at medium-low heat to thicken up. I’m going to use it as the filling for my homemade Paczki Fat Tuesday doughnuts! Thanks!
Awesome! So glad you liked it. Those are going to be some delicious doughnuts!
Oh I did cut the amount of sugar since I was using Meyer lemons which are sweeter. But other than that, followed the recipe as instructed! Doughnuts turned out great!
That’s such a vivid pink color, and it immediately reminded me of playing with red cabbage juice as a chemical indicator. Lo and behold, blueberries can do the same trick! It’s turning that color because of the acid in the lemon juice:
https://www.osc.org/diy-ph-indicators-kitchen-chemistry/
Happy to help bring more nerdiness to the site 😀
We appreciate all form of nerdiness around here 🙂
So… I made a 3x batch to serve a large crowd. Was going to try the double-boiler method but my glass mixing bowl was full to the brim, so I transferred a little more than a third to a medium sauce pan and tried direct med-low heat. This one hit 170° exactly 10 minutes while the double boiler one was only at 120°. I pulled the sauce pan off the heat, strained it, and transferred the remaining from the glass bowl double boiler and finished it off in the sauce pan. Came to 170° within 5 minutes. I typically target 180° with thickening agents… But this one heated from 170° to 180° so quickly I had to get it off the heat fast . But the entire batch turned out amazingly delicious and a beautiful purple color.
at which point do you add the sugar?
Hi Kate, the sugar is beaten with the butter, in the 3rd step of the recipe 🙂
So pretty and so yummy. Followed the directions and all was well. Thank you!
I haven’t tried it yet as I need the neasurements in metric but give it 4 stars for sounding so delicious!
Can I just use any cup size or do I need to be precise with the ingredients?
Hello Karen, I’ve added the metric measurements to the recipe so it should be ready for you id=f you still want to make it. There is some wiggle-room with the recipe amounts but it’s best to be certain the first time you make it. Hope you like it!
I made the recipe, and the result was absolutely delicious. I followed all the ingredients to the letter, But I have to make a couple of changes to the directions. In the last phase of cooking, I needed to turn the temperature out just a little bit because my stove did not produce enough heat on low, I stirred with a silicone whisk instead of just a spatula or a spoon, and I ended up having to cook it for much longer than the recommended 10 minutes, but I just kept up with the temperature with a thermometer. The result is delicious and absolutely worth the extra cooking time.
Hi Valerie, I’m glad you got the recipe to work for you! Every stove is different so using a thermometer is definitely the way to go! Thanks for commenting and rating!
I have made this at least 6 maybe 7 times and found I like the lemon flavor so much, I use a whole cup of lemon juice. I add an extra egg to make up the difference and I rub the zest into the butter, ( I zest 3 lemons) before putting it all on the stove. It does take longer than ten minutes but once it gets to the right temp, it will stick to the back of a spoon when I run my finger across the back of it. And it is a little this for me, so I added some corn starch, like you suggested. This is the best tasting topping for cheesecake or anything I need it for.
Rub the zest Into the sugar, not the butter! Haha!