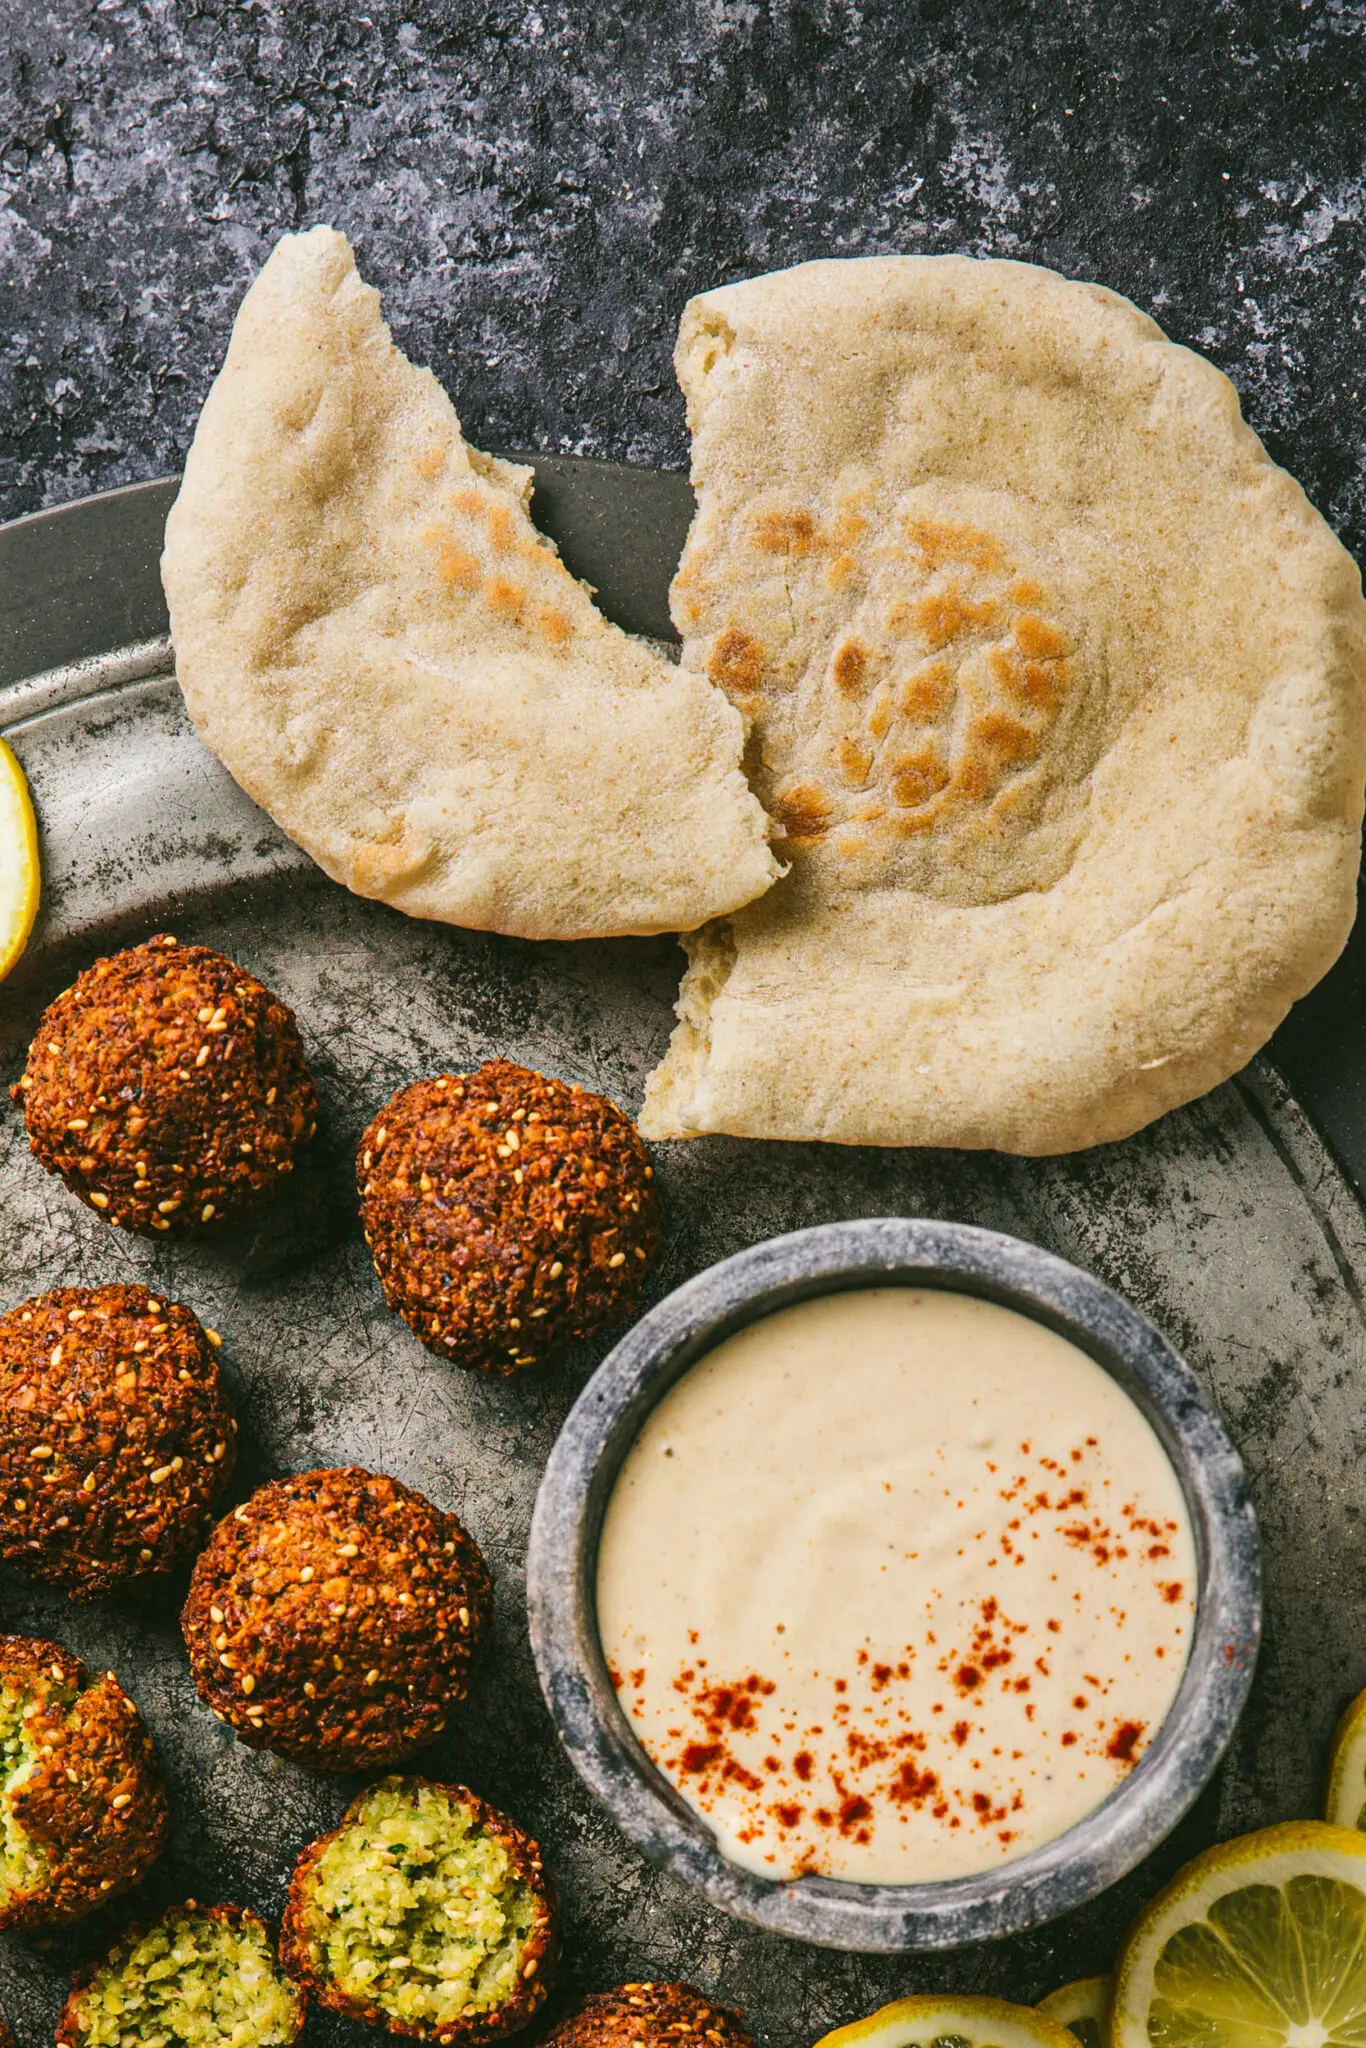
When putting together recipes for falafels and tahini sauce, we realized that using store-bought pita as an accompaniment would be a bit of a cheat. Certainly when the process for making it at home is as easy as David Tanis makes it in this New York Times recipe, it’s almost more effort to actually go to the store. Pita is leavened, so it does need a rising stage, but it’s nowhere near as time-consuming as for more substantial breads. In fact, the whole process of making homemade pita can be completed in less than two hours. And it’s a lot of fun!
What flour to use for homemade pita
This homemade pita bread recipe uses a combination of all-purpose white and wholewheat flour. The original recipe recommends that you use freshly-milled wheat flour, and of course fresh and local is always desirable, but don’t stress too much if you can’t find it: buy a small amount at a time and keep it in the freezer to extend its shelf life.
The process
The first step in the process is to bloom the yeast. Yeast, like flour, is best purchased in small quantities and used as soon as possible. When you combine it with warm water, a little of the flour, and some sugar, it should show activity within a few minutes. Provided your kitchen is warm (around 72F), you should see bubbling in quarter of an hour: if nothing is apparent after 20 minutes, discard the mixture and use a different batch of yeast. If your kitchen is on the cold side (ours always is), you can set the bowl on top of an oven pre-warmed to 170F (or the lowest setting on your oven) and then turned off.
Once the mixture is bloomed, you can add most of the rest of the remaining flour, the salt, and the olive oil. Mix with a wooden spoon and then your hands until combined and smooth, and turn onto a lightly-floured surface to knead for a couple of minutes. Let it rest under a damp towel, then knead again. Return the dough to the bowl, cover, and let it rise for an hour. It should almost double in size.
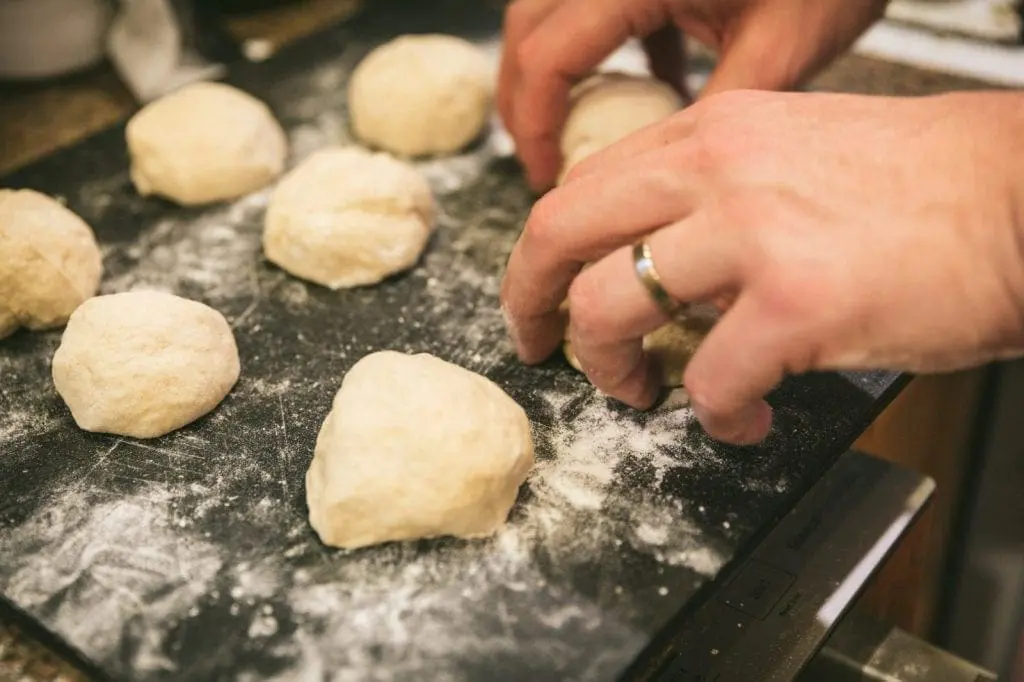
Next, you’ll need to get your oven really hot. Before you do that, place your cooking surface – a baking tray, cast iron pan / griddle, or pizza stone — on its lowest shelf. Meanwhile, punch the dough down and separate it into 8 pieces, and roll each into a ball. To keep the dough from hardening, keep the balls under a warm damp dishtowel until they’re shaped and ready to bake. You should have a lovely soft consistency to these balls (yes, I said it).
Shaping the balls
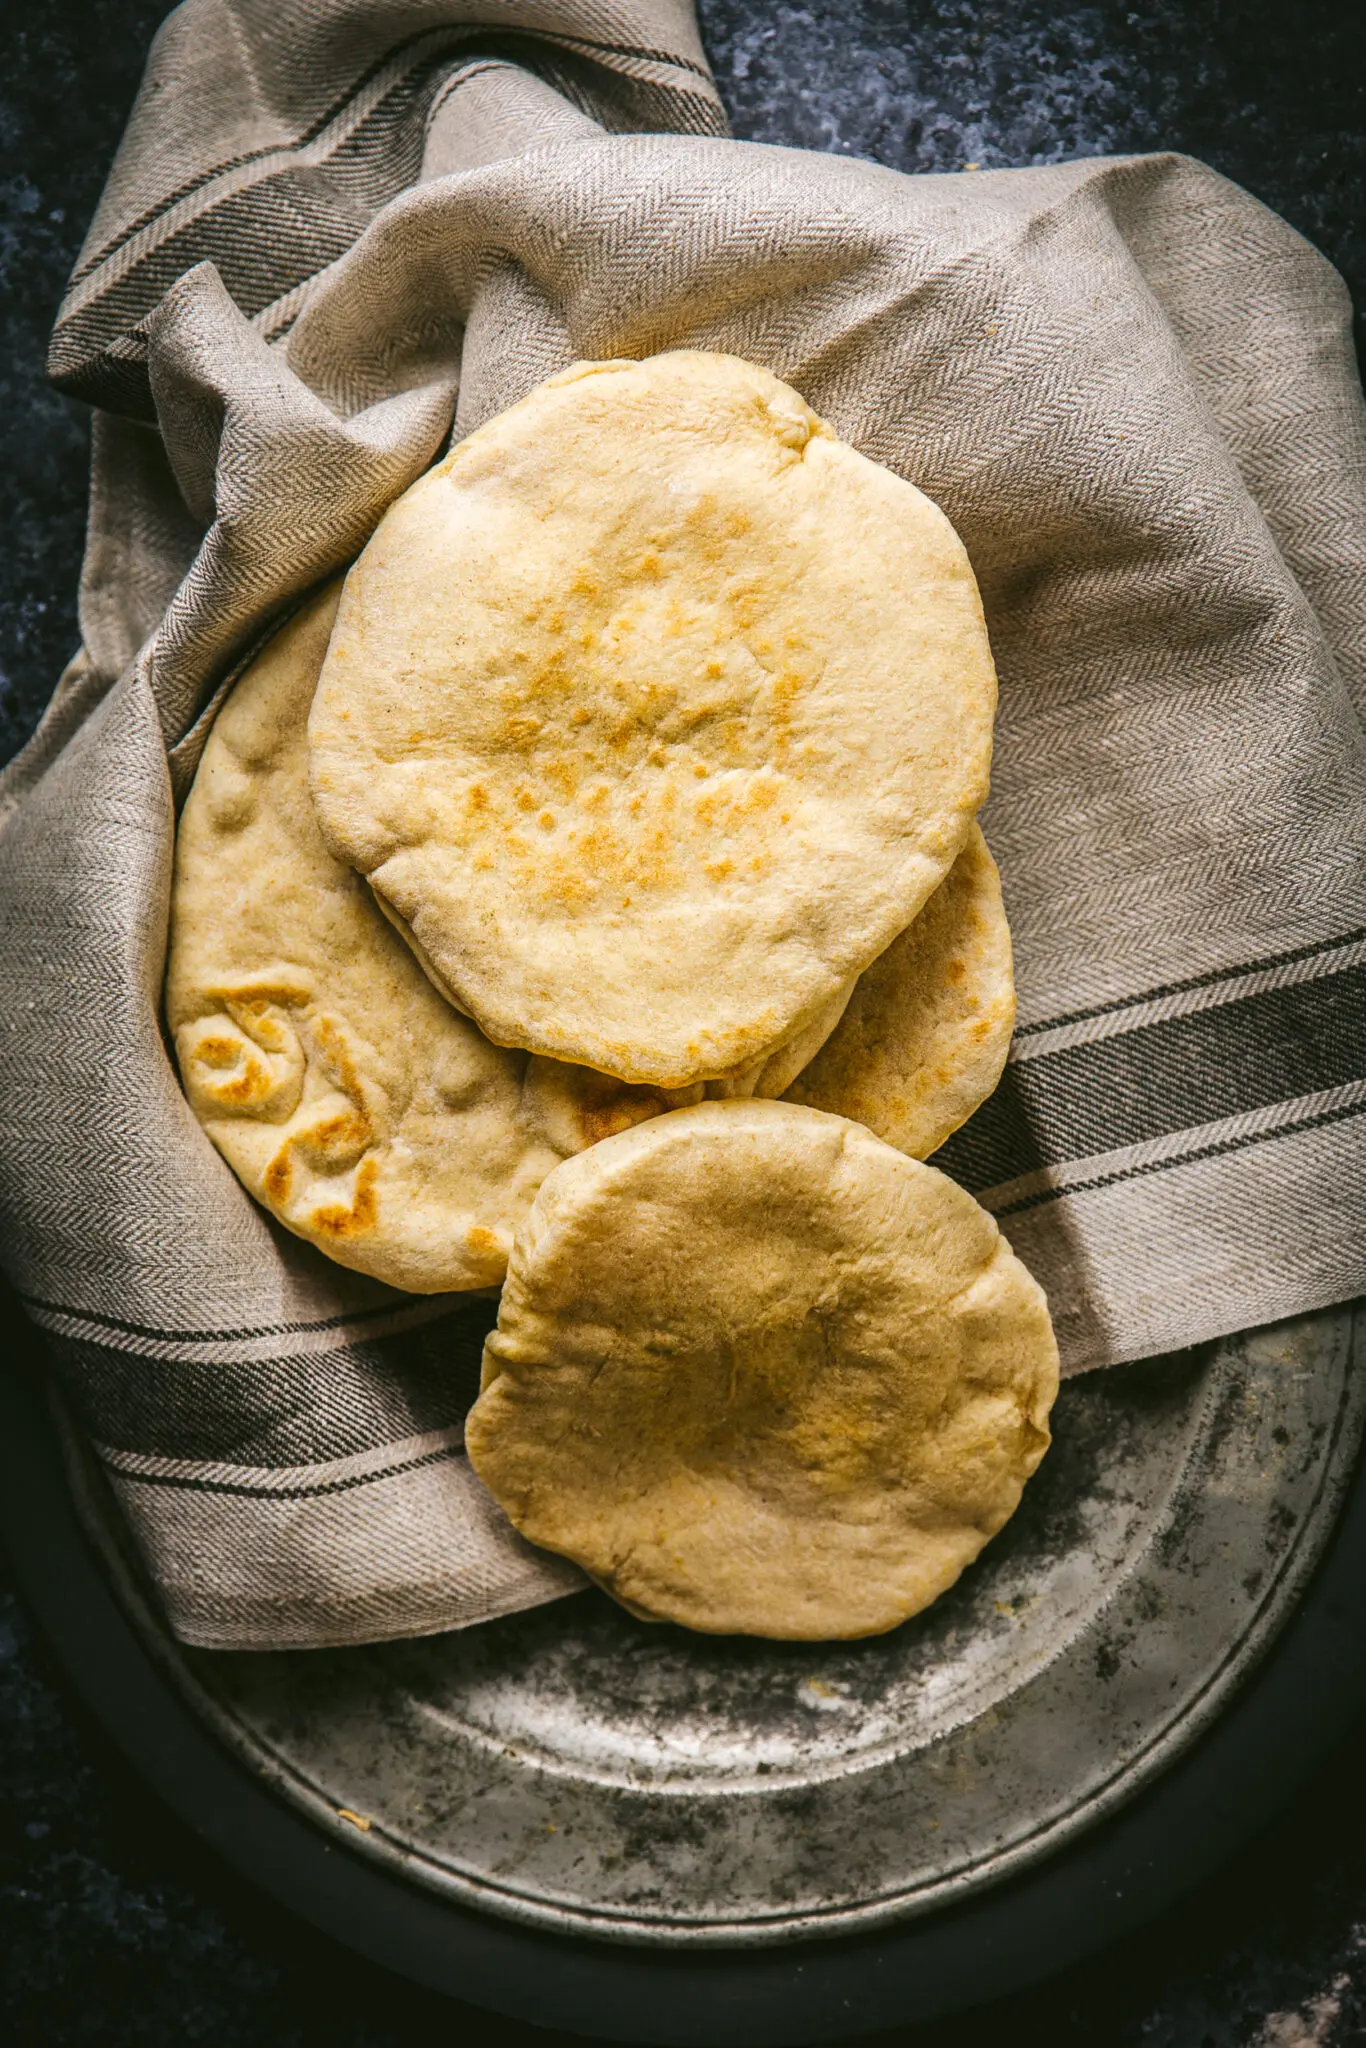
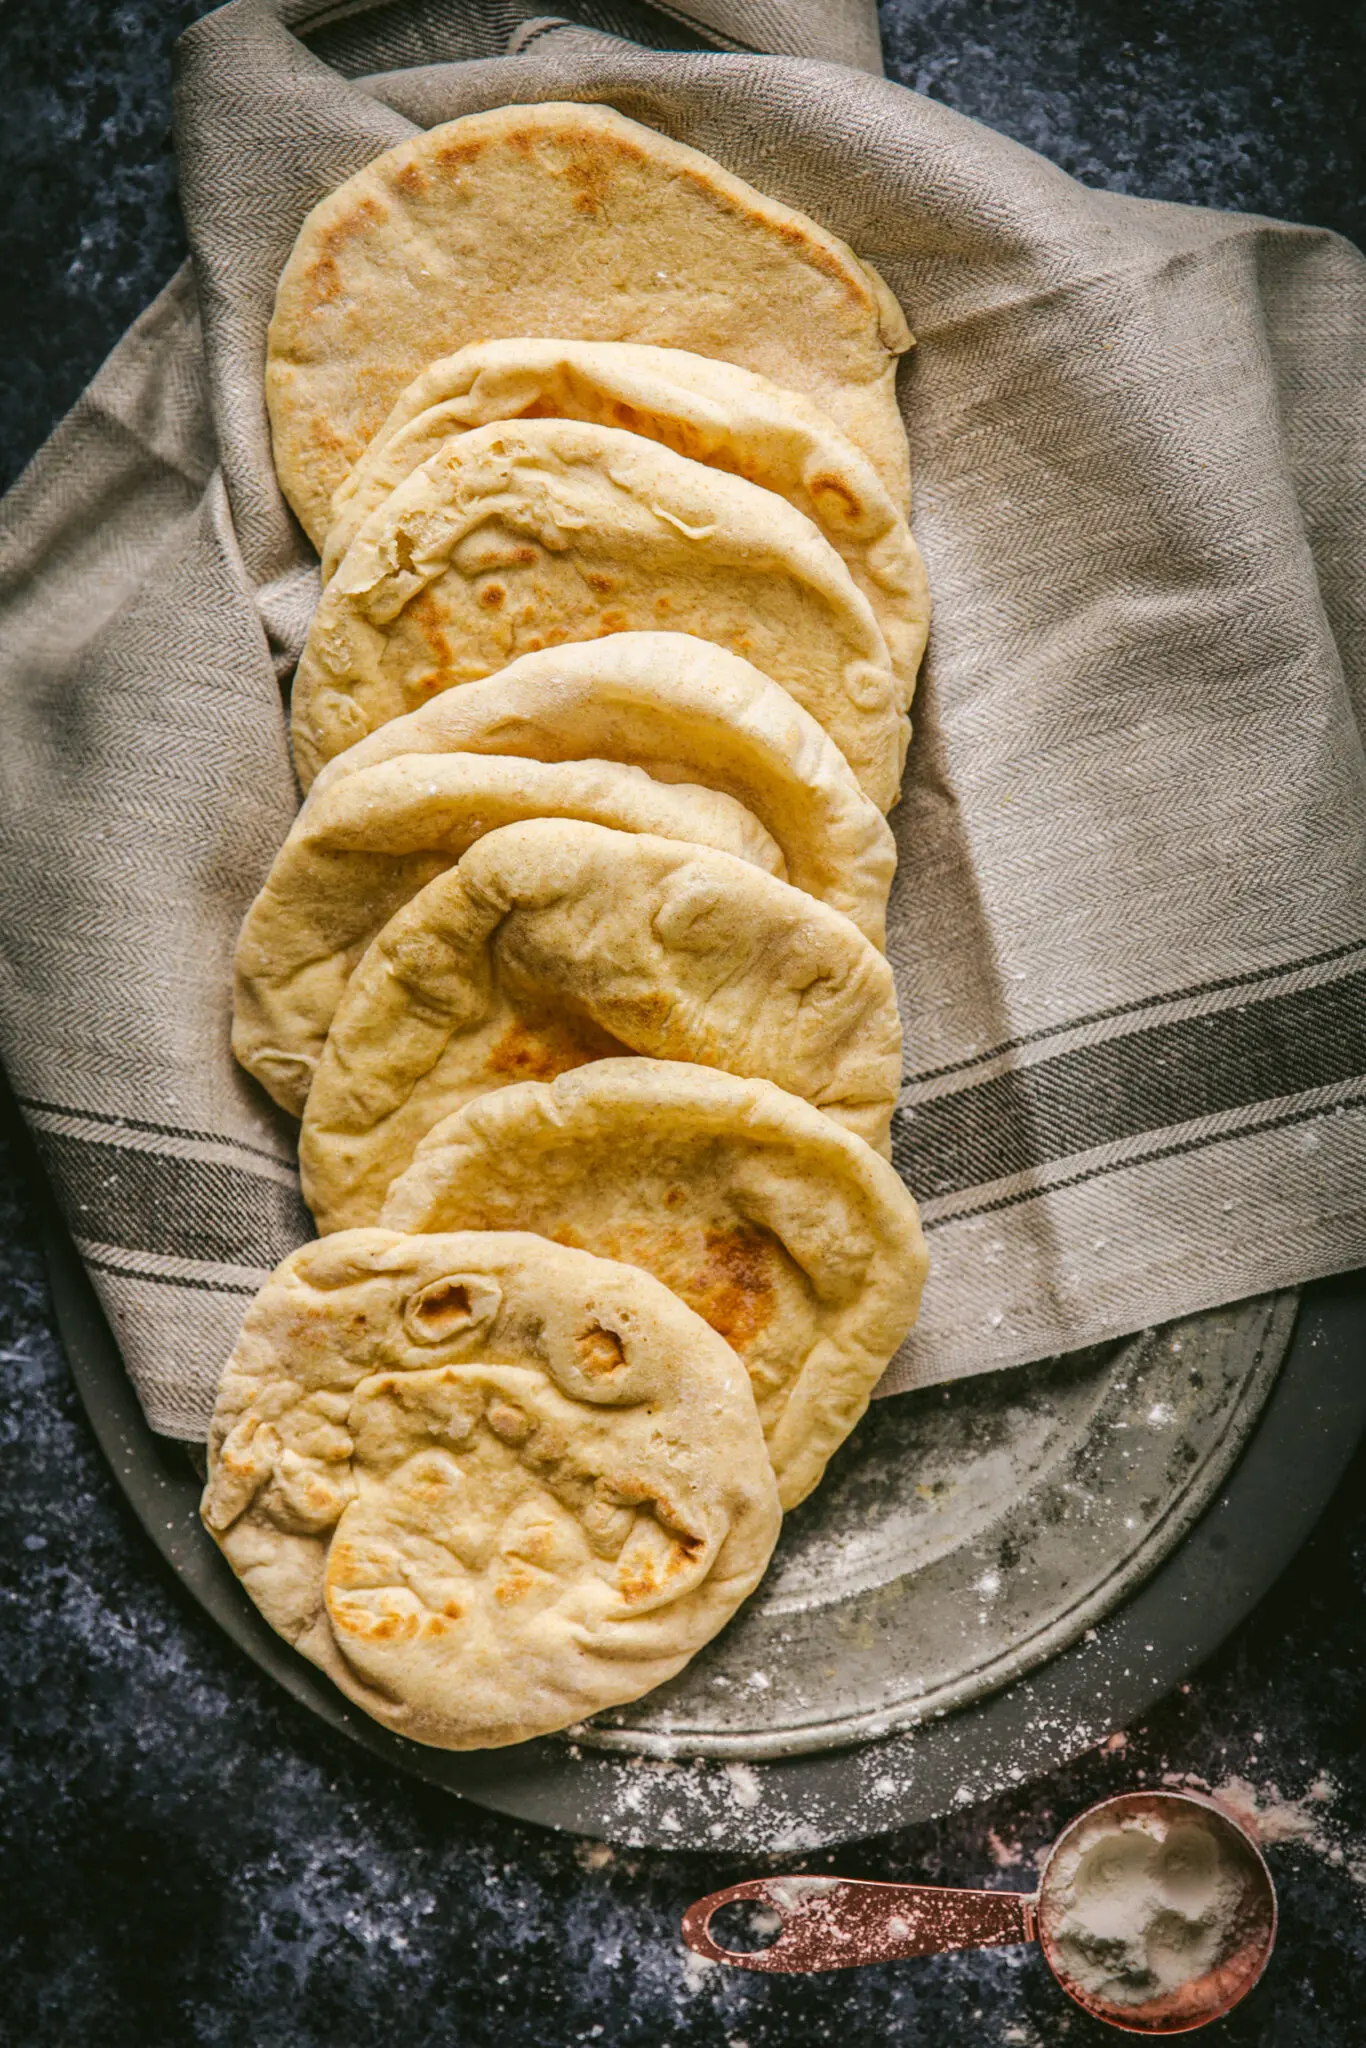
One at a time, roll each ball to an 8-inch-wide circle, which should be around 1/8″ thick. Transfer them carefully to the cooking surface using a pizza paddle or large pastry cutter. Our cast iron pan fit 2 pitas at a time, but you might be able to fit more. They will only need 2 minutes for the first side, and you’ll be able to see the pitas puff up quickly. Don’t let them brown! Flip with a pair of tongs to bake the second side: this will only need 1 minute more.
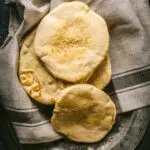
Once the pita bread rounds are done, keep them warm under a towel until it’s time to serve up.
Pita Bread
Ingredients
- 2 1/4 teaspoons 1 packet active dry yeast
- 1/2 teaspoon sugar
- 1/4 cup 35 g whole-wheat flour
- 2 1/2 cups 310 g unbleached all-purpose flour
- 1 teaspoon kosher salt
- 2 tablespoons olive oil
Instructions
- Add 1 cup of lukewarm (100 – 120F) water into a mixing bowl. Add yeast and sugar, and stir to dissolve. Tip in the whole-wheat flour and 1/4 cup of the all-purpose flour and mix.
- Leave the mixture in a warm part of your kitchen until it is frothy, 15-20 minutes.
- Add 1 3/4 cups of the remaining all-purpose flour (you’ll have 1/2 cup left for dusting) as well as the salt and olive oil. Stir with a wooden spoon until you have a rough mixture. Dust with a little reserved flour, then knead for a minute.
- Turn the dough onto a work surface and knead further for a couple of minutes. Cover and let it rest for 10 minutes, then knead again for 2 minutes. Add a little more flour only if the dough seems too wet. Return the dough to the bowl, cover tightly with plastic wrap, and leave in a warm place until dough has doubled in size, about 1 hour.
- On the bottom shelf of a cold oven, place a cast-iron pan, griddle or pizza stone, and preheat to 475F / 250C. Meanwhile, punch down dough and divide into 8 pieces of equal size. Form each piece into a little ball. Place dough balls on work surface, cover with a damp towel and leave for 10 minutes.
- Remove 1 ball (keeping others covered) and press into a flat disk with rolling pin. Roll to an 8-inch diameter, about 1/8 inch thick.
- Carefully lift the dough circle (you may wish to use a large pastry cutter) and place quickly on the hot baking sheet in the oven. After 2 minutes the dough should be nicely puffed. Turn over with tongs or spatula and bake 1 minute more. The pita should be pale, with only a few brown speckles. Transfer warm pita to a napkin-lined basket and cover so bread stays soft. Repeat with the rest of the dough balls.
5
I have made this recipe on many occasions and it always turns out perfectly.
Awesome, Leigh! Thanks for letting us know!
Best Ever thank you so much
Love yall