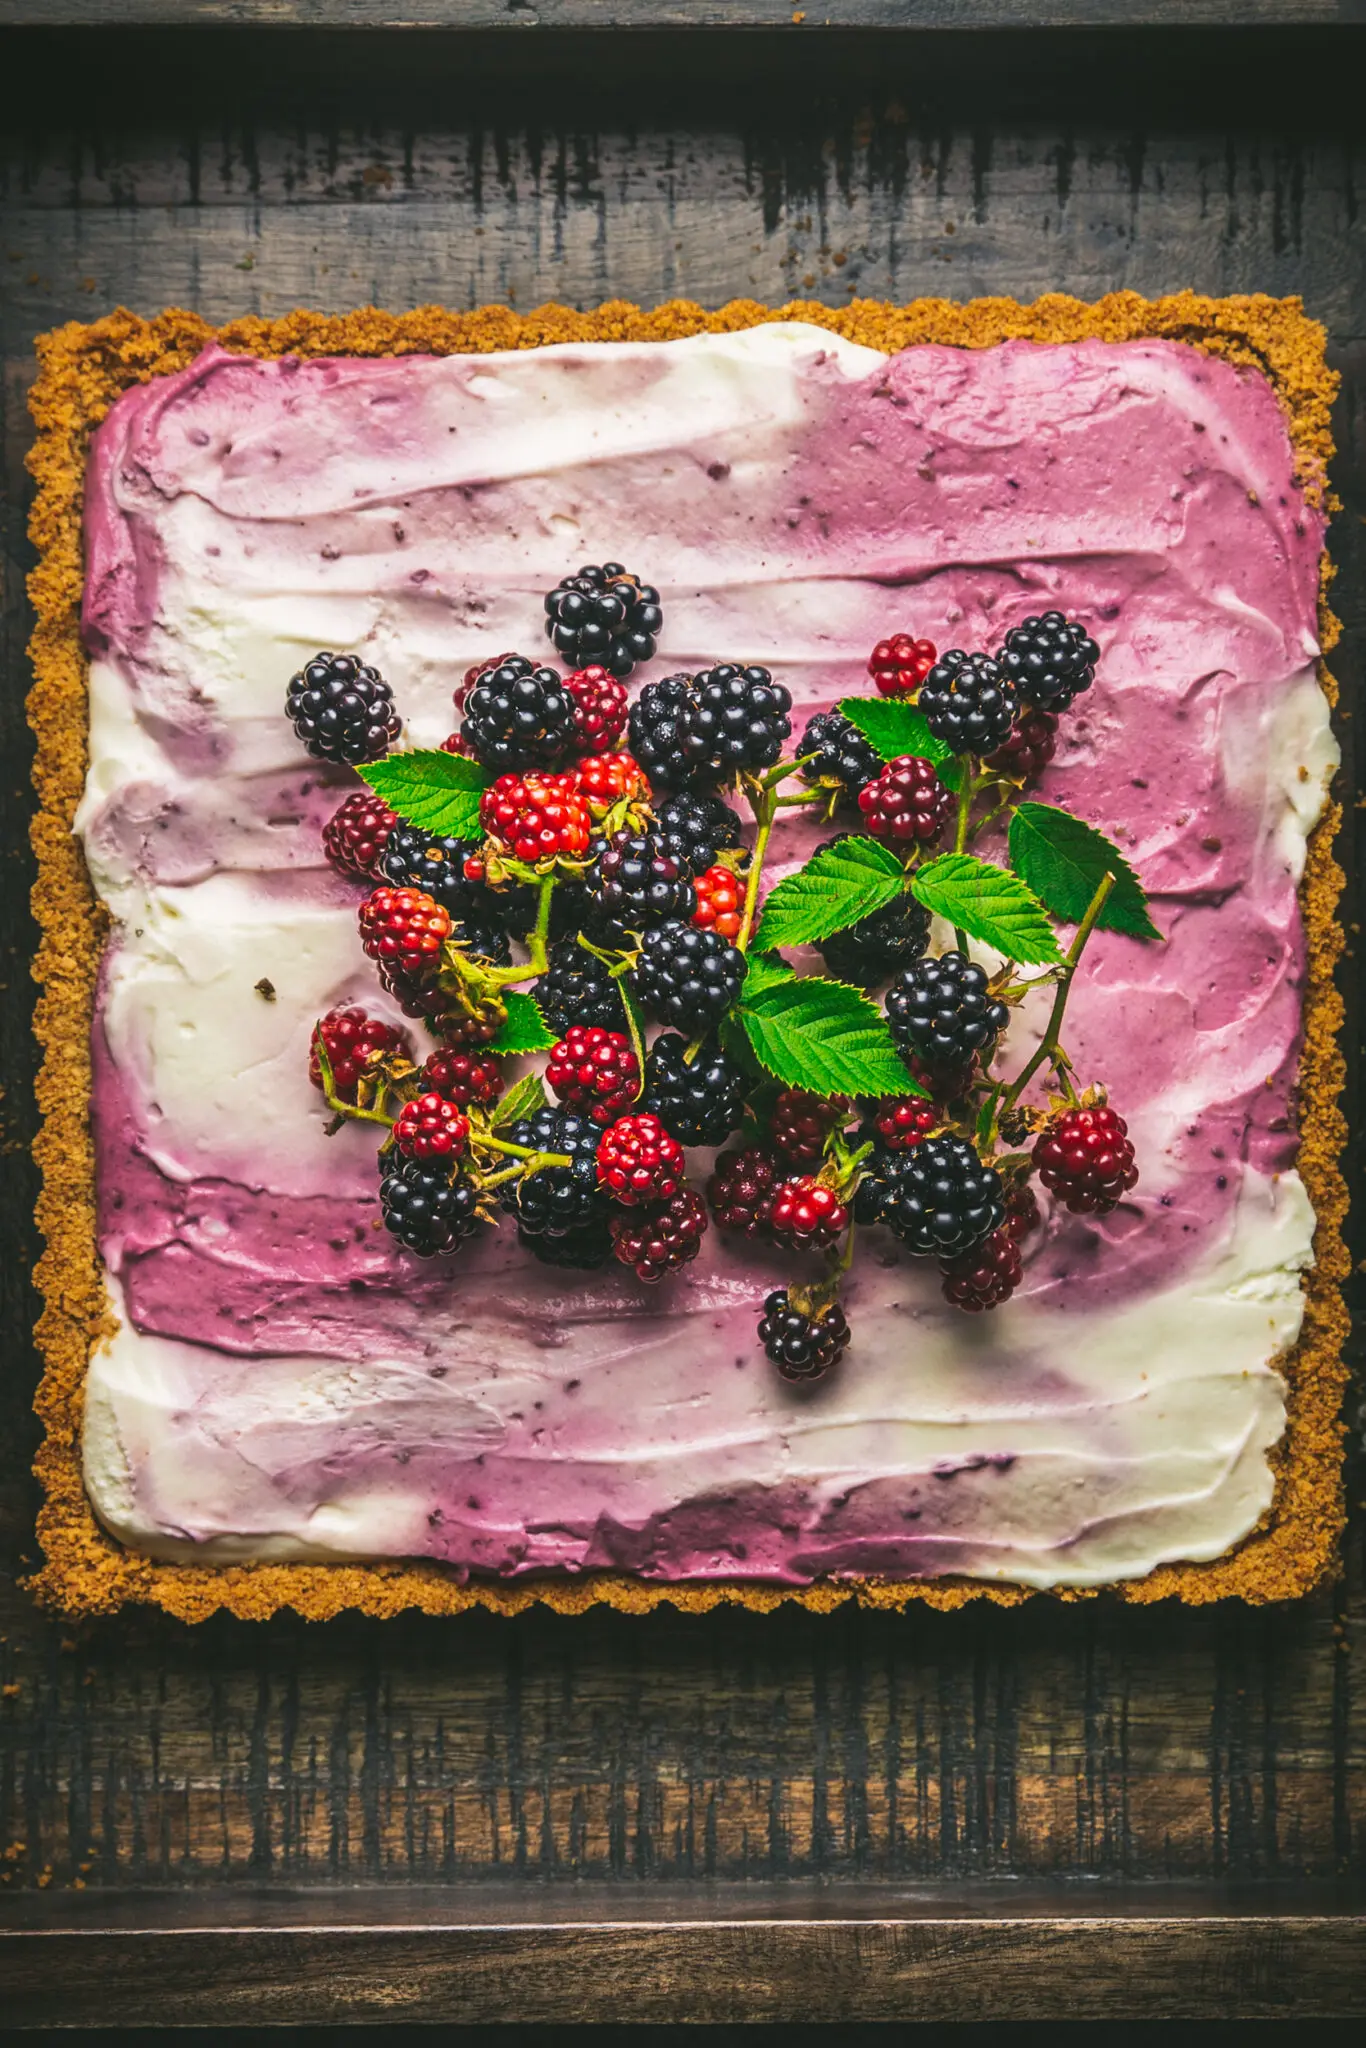
Even though we have a food blog (this. This what you’re reading now is a food blog. Honest to goodness it is.) we’re not great at keeping up with the regular “National FOOD THING Day” celebrations. Everything has a National Day. There’s a National Peanut Butter Day (March 1). A National Pickle Day (November 14). There’s even a day (August 16) which is simultaneously National Bratwurst Day and National Rum Day (if only someone would write a book which combines food and alcohol OH WAIT THEY DID). And last week, July 30, was National Cheesecake Day.
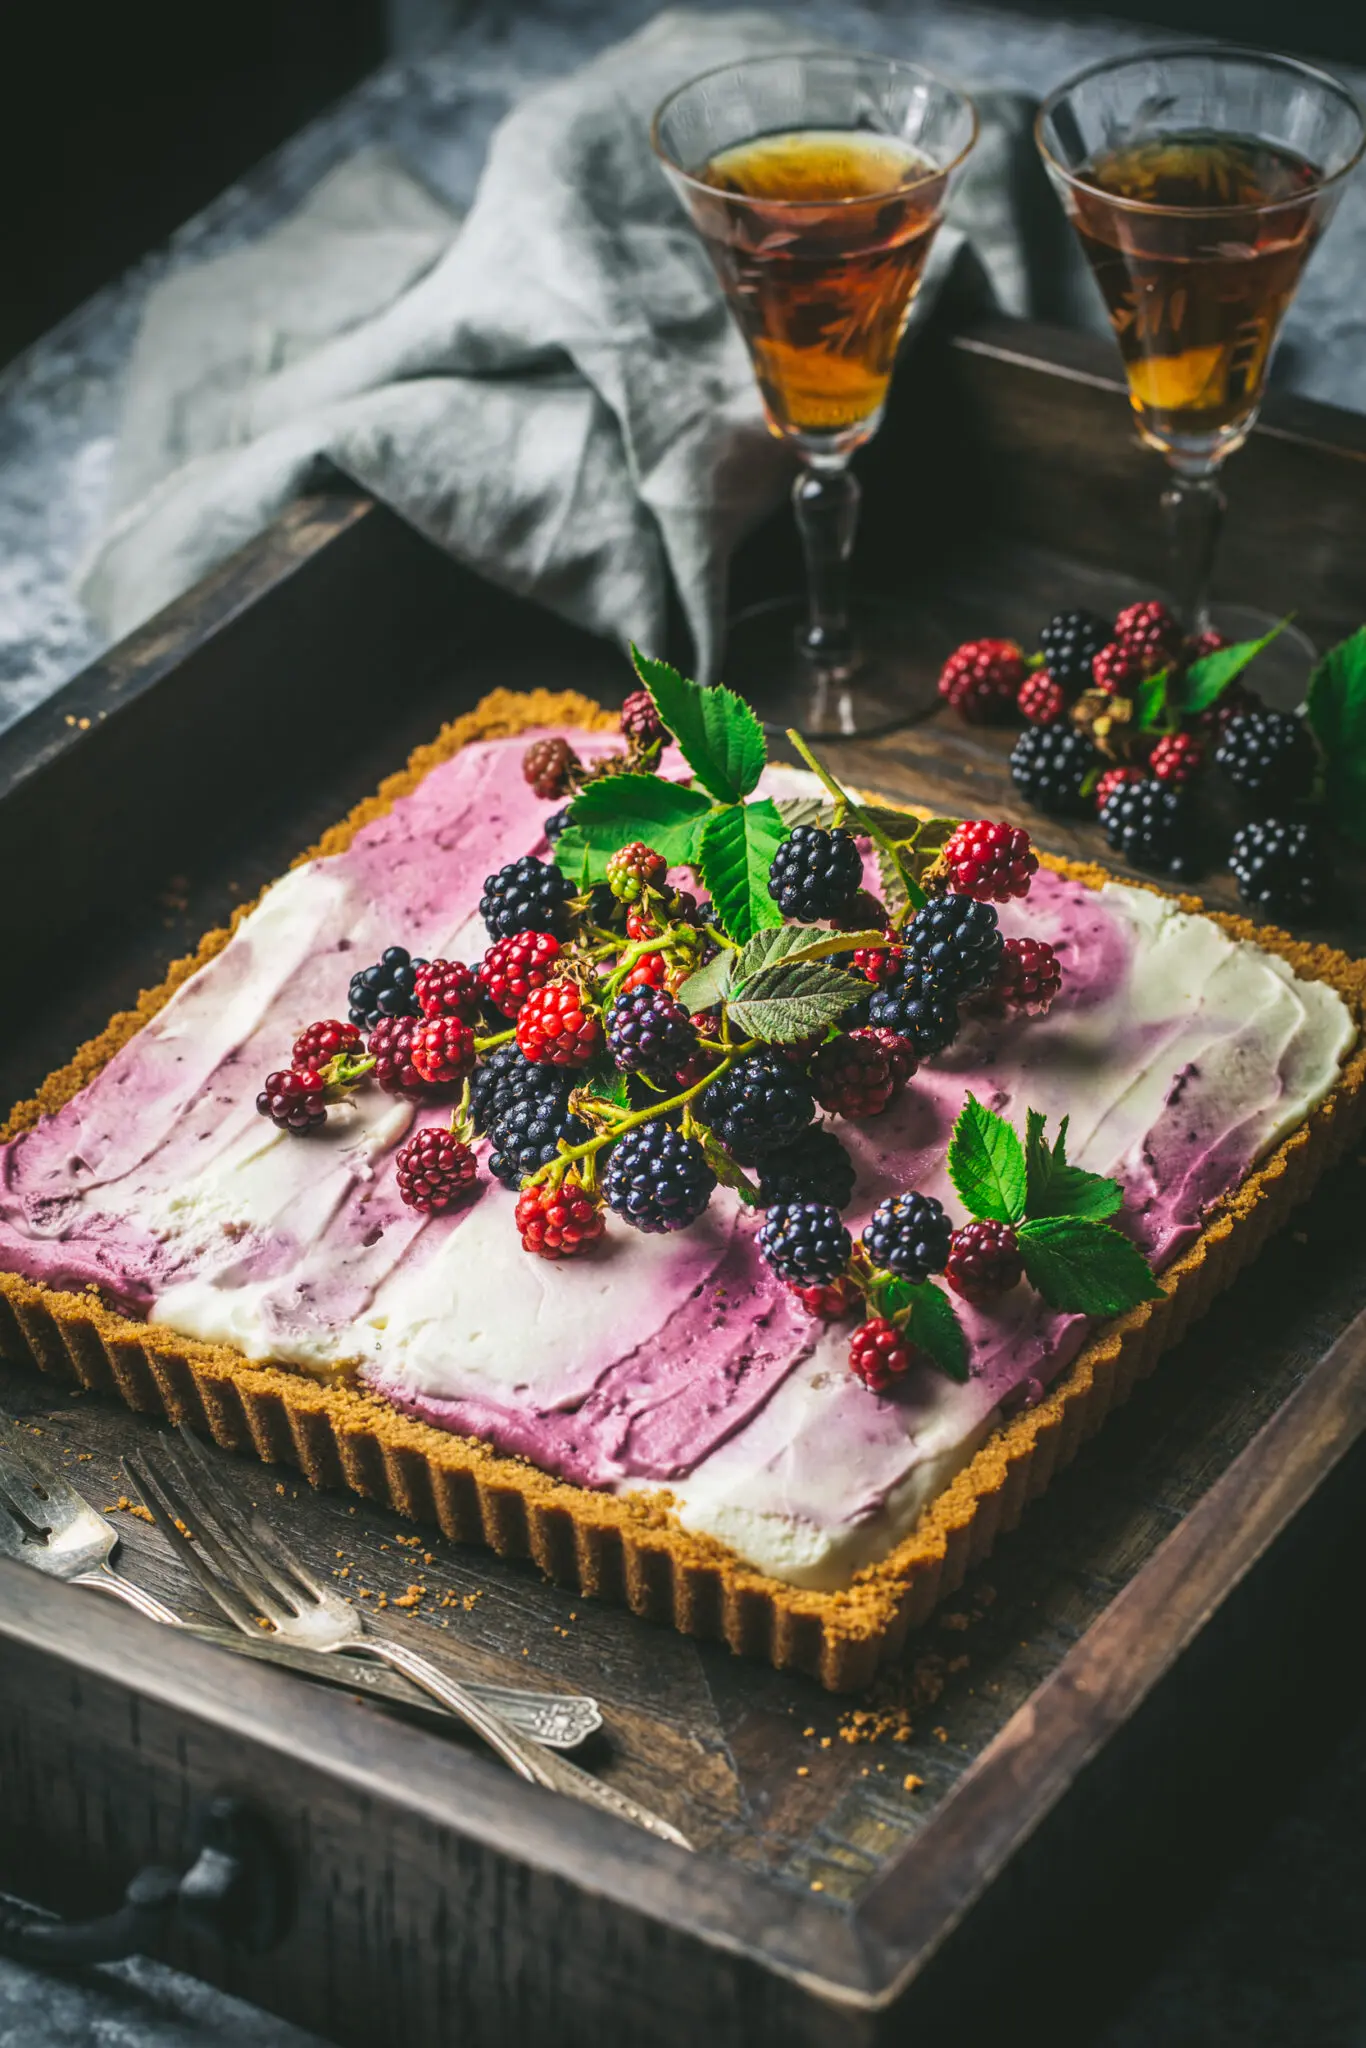
We both love cheesecake! We do! But we love it on our schedule, not when some faceless marketing bureaucrat tells us we gotta love it. So when National Cheesecake Day rolled around (well, to be honest, it was the day after that, or maybe even the day after that) we said to ourselves, “oh, we missed out on posting something appropriate”. We didn’t beat ourselves up too much though because we already had a no-bake cheesecake post all planned. We were just waiting for the blackberries on our fence to ripen.
Blackberries?
Yes, you heard me, mate. Blackberries. Now, where I come from (this is Matt, by the way, so that would be England) blackberries are only ever to be found when going on a traipse. They are usually somewhere slightly inaccessible, such as along a narrow country lane, behind a spiderweb, guarded by thorns. Picking blackberries is therefore something of a test of character, like when Flash Gordon proves his courage and worth by sticking his hand into that hollow tree stump. Fortunately, there are now many excellent varieties of garden blackberry which are thornless. Last year we transplanted a cutting from a friend. The vines have gone gangbusters ever since, and this year will be our first fruit harvest.
This recipe is going to be online all year round, but of course good fresh blackberries aren’t going to be available to everyone at all times. We’ve adapted a recipe from this Serious Eats cheesecake, that uses freeze-dried berries in place of the fresh kind. This adds flavor, stability and gorgeous color without contributing additional liquid. We found Mother Earth Freeze-Dried Blackberries online (the same company also makes versions containing raspberries and blueberries, and you could use either in this recipe).
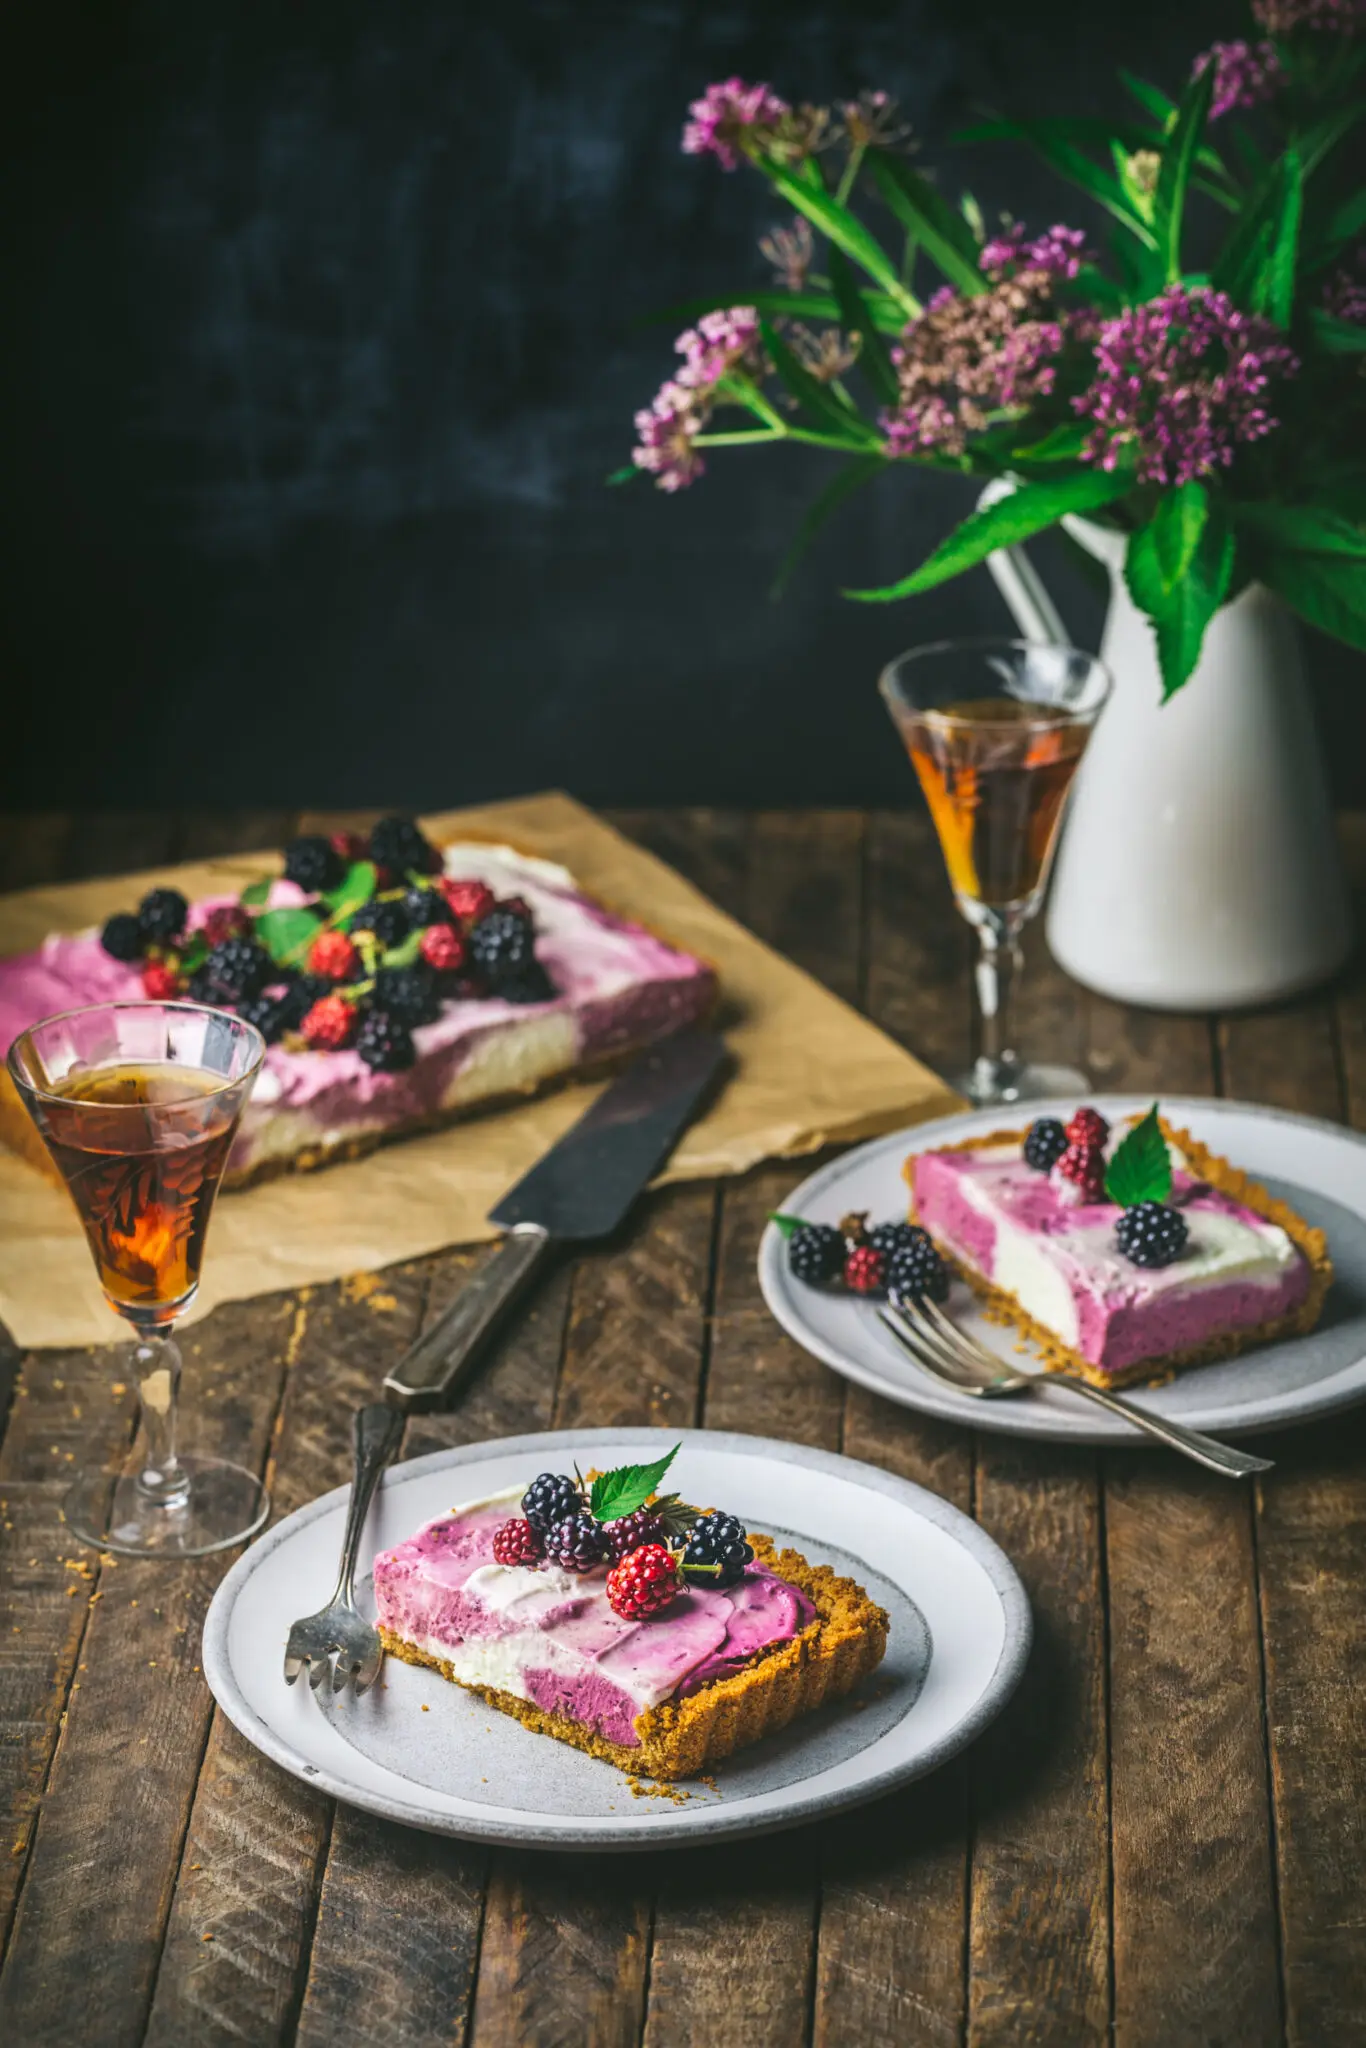
What is “Half Baked”?
Let’s talk about “half baked”. Most “traditional” cheesecakes (which include eggs in their batter) go through a baking process, which sets the custard. When we make this type of dessert, we generally use the water-bath method to ensure the cake cooks evenly and gently (you’ll find this method in both our Hazelnut Praline Cheesecake and Strawberry Rhubarb Cheesecake). We’ve also had success skipping the water bath entirely and letting the bake finish by turning the heat off and opening the oven door just a little. (This gentle reduction of heat helps prevent cracks in the cheesecake.)
Many of our other tart-type recipes are technically either no-bake or baked-crust. However, we’ve not yet formally presented something that we call a no-bake cheesecake … until now. A fully “no-bake cheesecake” combines a biscuit or cracker crust with a whipped filling. This comprises cream cheese, sugar, your choice of flavoring, and cream (to add air). Everything gets thoroughly chilled, for up to a day, to make sure that the dessert is fully set. Because there are no eggs at all in the batter, there’s no custard to be set through cooking.
In truth, the crust can go either way — using the same recipe, you can either choose to bake it, or leave it unbaked. The difference is that the crust will have a lightly toasted flavor, and will be much firmer in the baked version. Use either a 9-inch pie plate or tart pan.
Making the Crust
There’s not a lot of butter in this crust, so make sure you firmly shape the crust base and walls with your fingers. This keeps it solid when you’re serving it. We’ve found that a biscuit/butter crust tends to puff a little in the middle, so to keep it flat, we cut a square of parchment to fit inside the crust walls, laid it over the base and then covered the parchment in dried beans (as baking weights).
And you only need to bake it for around 12 to 15 minutes and it’s done — leave it to cool on a rack, then carefully remove the beans (which can be re-used as baking weights, but don’t try to actually cook them to eat) and parchment, and wait until the crust is completely cooled to room temperature before filling it.
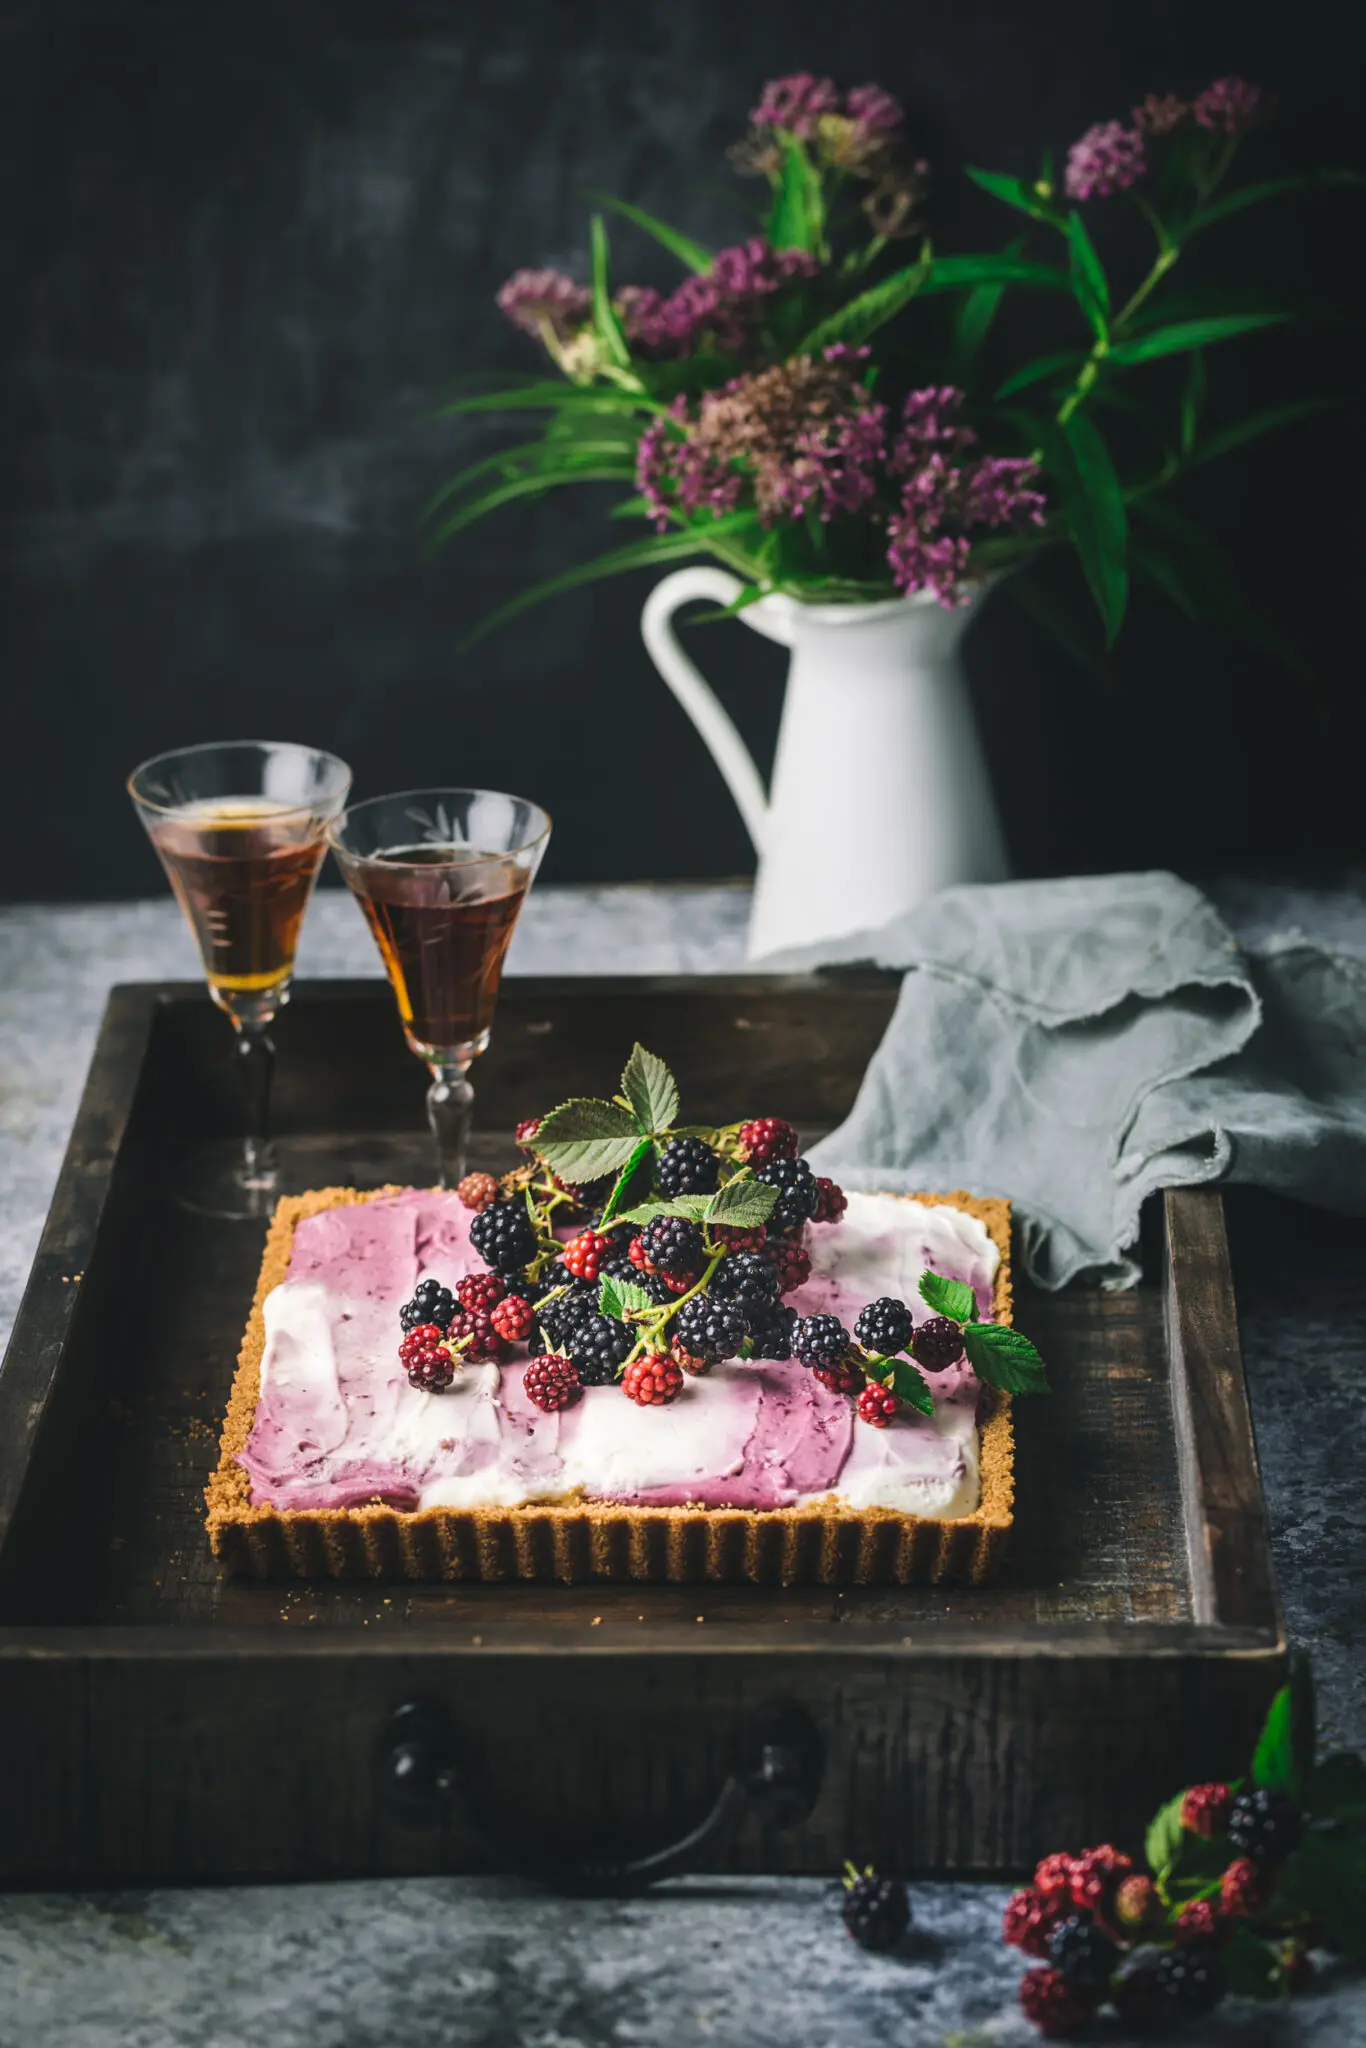
Making the Filling
So let’s make the filling while the crust is cooling. It really couldn’t be easier. The two batters, one vanilla and one blackberry, are identical except for flavorings. And don’t forget, this is a no-bake cheesecake, so we need a filling that won’t need baking. We added vanilla to one, and ground freeze-dried berries and a little cardamom to the other. Start with the vanilla batter by adding half the cream cheese* (one 8oz block) to the bowl of a stand mixer fitted with the paddle attachment. Add half the sugar (6 tablespoons), and half the lemon juice (1 tablespoon), and the vanilla, and mix it on low speed until it comes together, then turn it up to medium until it becomes smooth and a little lighter in texture. Scrape down the sides as needed.
Switch to the whisk attachment and add half the cream (1 cup). Turn it on low until the cream is combined, then up to medium-high and let it whip until the mixture can hold stiff peaks. Depending on the power of your mixer, this can take 2 to 5 minutes. Transfer the batter to a bowl and set it aside while you make the blackberry filling.
To the bowl of a food processor, add the other 6 tablespoons of sugar and the dried blackberries. Process until the blackberries turn powdery and fine, about 2 minutes. Then repeat the same process as the vanilla version above, except adding 1/2 teaspoon of ground cardamom instead of vanilla. (The cardamom adds a lovely, subtle floral flavor).
Pattern Options
Now you can fill the shell by adding heaping tablespoons of both batters in an alternating pattern. Swoop and swirl the dollops with the back of a tablespoon. Alternatively, drag an offset spatula over the top to make an ombré pattern (which we did). Cover the tart in plastic wrap and chill it in the refrigerator for at least 6 hours and up to overnight. To serve the no-bake cheesecake, top it with fresh berries.
Nerd Tips
We like using Philadelphia brand cream cheese, it has the best texture. We don’t recommend using the lower fat Neufchâtel because it won’t set enough.
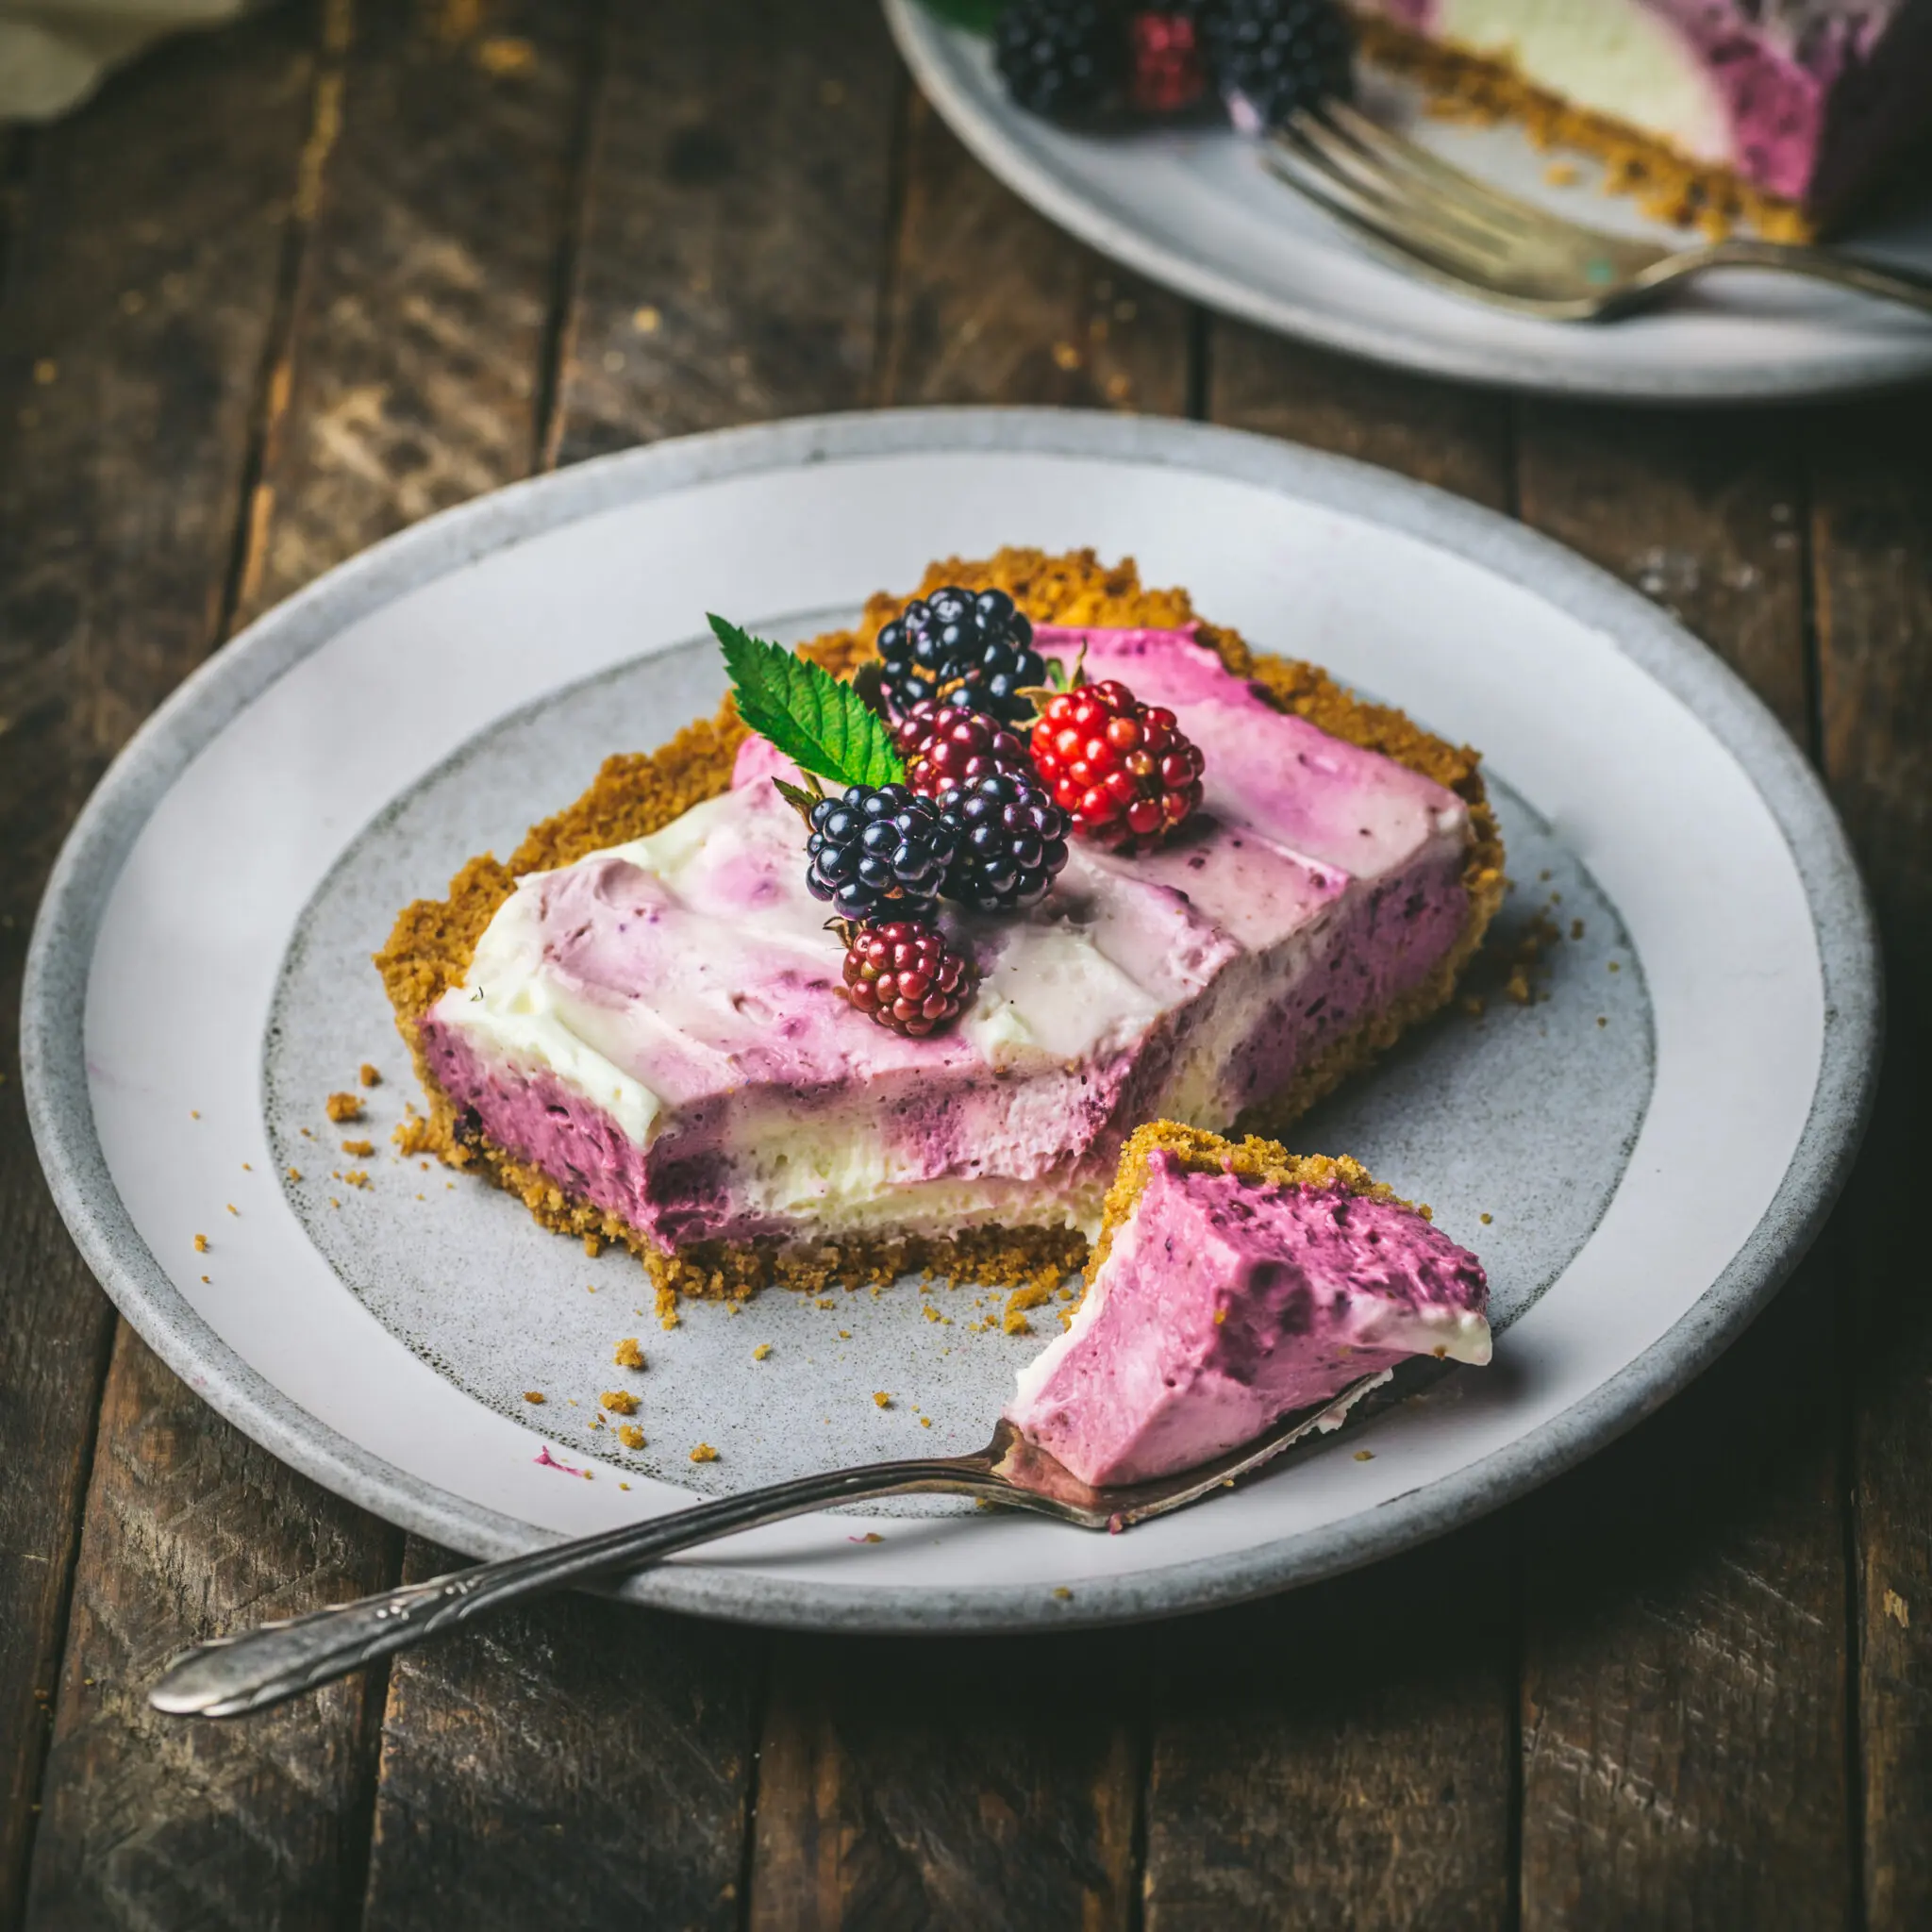
Half-Baked Blackberry-Vanilla Swirl Cheesecake
Ingredients
For the Crust:
- 9 ounces graham cracker crumbs (about 2 cups; 250g)
- 2 1/2 ounces unsalted butter melted but cool (about 5 tablespoons; 70g)
- Kosher salt to taste
For the Filling:
- 16 ounces plain full-fat cream cheese, (recommended: Philadelphia) (455g), divided
- 5 1/4 ounces sugar about 3/4 cup; 150g, divided
- 1 ounce lemon juice 2 tablespoons; 25g, divided
- 1 teaspoon vanilla paste or extract
- Kosher salt to taste
- 1/2 teaspoon ground cardamom
- 2 cups heavy cream about 14 ounces; 395g, divided
- 1 1/4 ounces freeze-dried blackberries about 1 1/2 cups; 35g
Instructions
For the Crust:
- Pre-heat oven to 350ºF (if baking crust)*. Add cookie crumbs, melted butter and a pinch of salt to a small bowl, then stir to combine. Tip into a 9-inch tart pan or pie plate, loosely spread into an even layer, then press firmly with the bottom of a drinking glass or measuring cup, making sure to press up the sides as well. Back until the crust smells toasty and is just barely golden brown, 12 to 15 minutes. Allow to cool completely before filling. If not baking, refrigerate the crust until ready to use (this can be done a day or two ahead, if wrapped in plastic).
For the Vanilla filling:
- Combine half the cream cheese (one 8 oz brick), 6 tablespoons sugar, 1 tablespoon lemon juice, vanilla, and a pinch of salt in the bowl of a stand mixer fitted with a paddle attachment. Mix at low speed until a thick paste forms, then turn up to medium until soft and smooth, scraping the sides as necessary. Then switch to the whisk attachment and pour in half the cream (1 cup). Mix at low speed to combine, then increase to high and whip until the mixture can hold stiff peaks, 3 to 5 minutes depending on the horsepower of your mixer. Scrape the filling into a bowl and set aside. Set the bowl back on the mixer (no need to clean it), and put the paddle attachment back on.
For the Blackberry filling:
- In the bowl of a food processor, grind the rest of the sugar (6 tablespoons) and the freeze-dried blackberries until powdery and fine, about 1 minute. To the mixing bowl, add the other 8 oz cream cheese, blackberry-sugar, 1 tablespoon lemon juice, cardamom, and the rest of the salt. With the paddle attachment, mix at low speed until a thick paste forms, then increase to medium speed and beat until soft and smooth. Scrape the bowl and beater with a flexible spatula, then switch back to the whisk attachment. Add the other cup of cream, mix on low speed to combine, then increase to high and whip until the mixture can hold stiff peaks, 3 to 5 minutes.
- Working in heaped tablespoons, add dollops of the two fillings in an alternating pattern and swirl with the back of a spoon or smooth with an offset spatula. Cover with plastic wrap and refrigerate until the filling is fully chilled and firm, at least 6 hours, up to overnight. Top with fresh blackberries and a few mint sprigs and serve!
Notes
I can’t wait to try this :). And your pictures are absolutely gorgeous!
Thanks so much, Christina! I hope you like it 🙂