Making concord grape jelly is really easy and you don’t have to be a homesteader to do it. All you need is grapes, sugar and lemons – no added pectin!
I may as well put it out there straight away: we’re not homesteaders. At least, not yet. If you’re reading this (frankly, if you’re not reading this, I don’t know what the hell’s going on), you’re no doubt into food, and home cooking, and perhaps you subscribe to the newsletters of people who have acreage and live off the land and have their very own scoby and sourdough starter, both of which have names (I’d name my sourdough starter “Scrimshaw”, I think. How about you?) People who pickle. People who can.
Yes, I know we have built raised beds and maintain a semi-regular success at growing things, and of course there’s the chickens, and I count us extraordinarily lucky to have this lifestyle, but it’s for neither of us a way of living that we grew up with. I don’t dare to claim membership of the club of real homesteaders. We have friends who have an enviable knack for that kind of thing. We’re just fumbling around, experimenting when we have the time, making mistakes, having fun. We make quick pickles all the time, because they’re so easy, but making long-term preserves has never been something we’ve ventured much into up to this point.
It’s not out of a lack of desire – I would love our basement shelves to be stacked with the preserved bounty of each year’s harvest instead of, as they are now, stacked with obsolete technology and cat food. It’s not for want of information – I can stand in the middle of our living room and point to at least three excellent authority volumes on canning and preserving. I suppose it’s the usual lack of time, the irrational fear of the unknown, and a much more rational, if overblown, fear of killing ourselves with badly-canned foodstuffs.
So we started easy with this last year. In our yard, we have two wild cherry trees. They don’t produce normal-sized cherries such as those your local fruitmonger might sell. These cherries are not sweet and juicy. In fact, they’re small, black and sour. The trees don’t even have the decency to blossom. Nonetheless, last year they produced a good amount of cherries, and for want of something better to do with them, I decided to boil them up and set them with pectin. Now, since they’re so small, it’s not really possible to separate the pits from the flesh – at least, not without spending more time than I really wanted to on the project – so instead of making a jam, which would have included the solid parts of the fruit, I strained the juice from the cherries after boiling them, and made a jelly.

This year our garden is being torn up to put in new landscaping, so we’ve spent very little time out there, and I missed the window to collect the cherries to repeat the process.
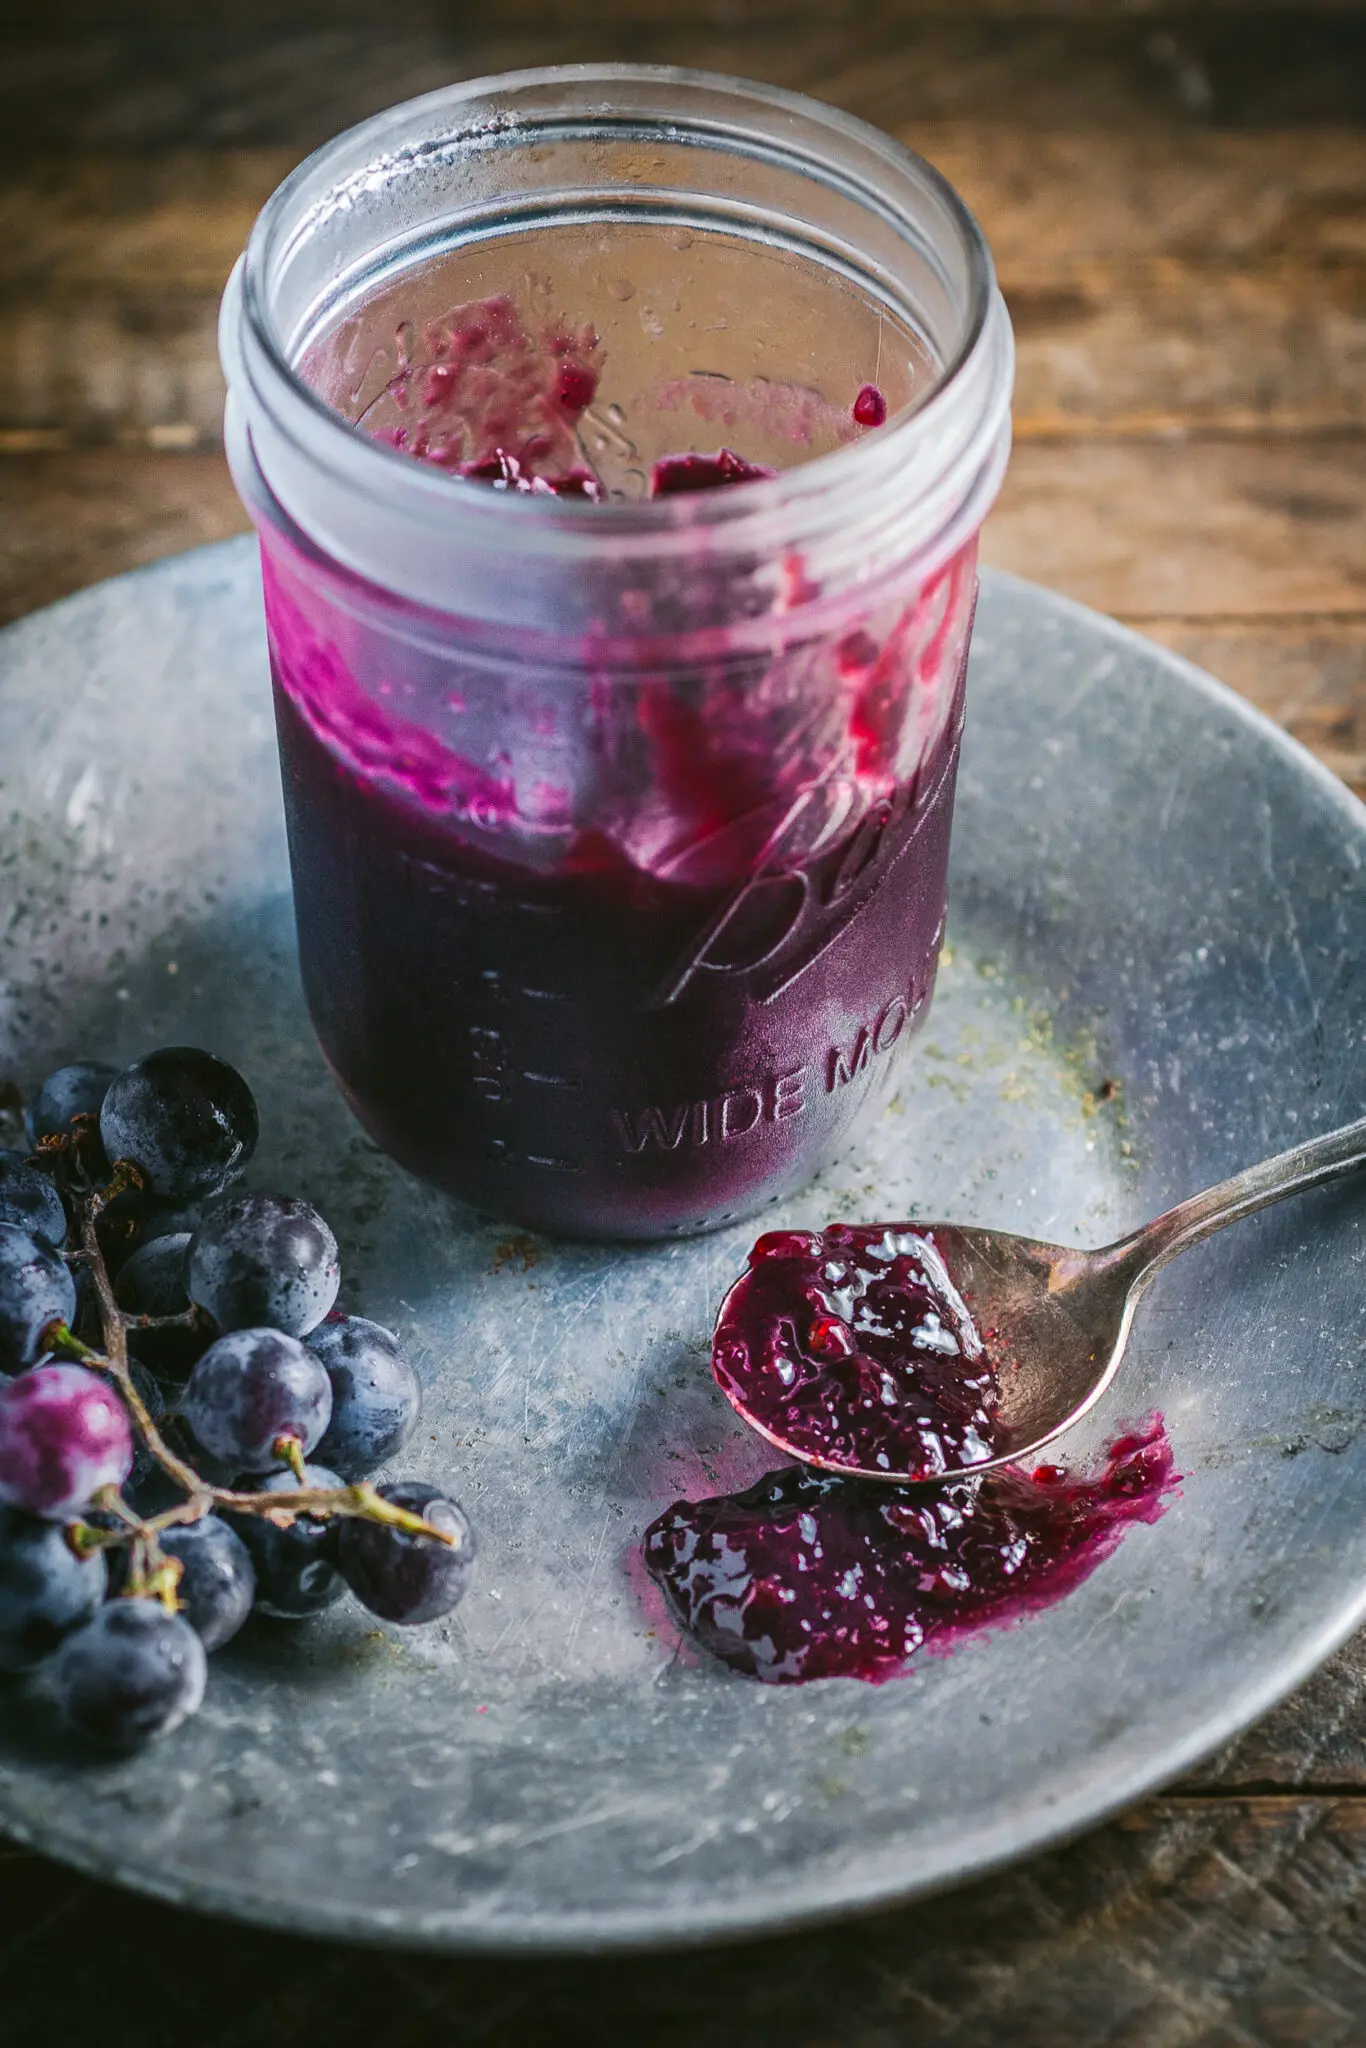
So I decided to have a go with concord grapes. The great thing about these grapes is that, unlike other varieties such as California grapes, they naturally have enough pectin to set by themselves without having to add the packaged variety. We started with this grape jelly recipe from Serious Eats and adapted it a little for taste and amounts.
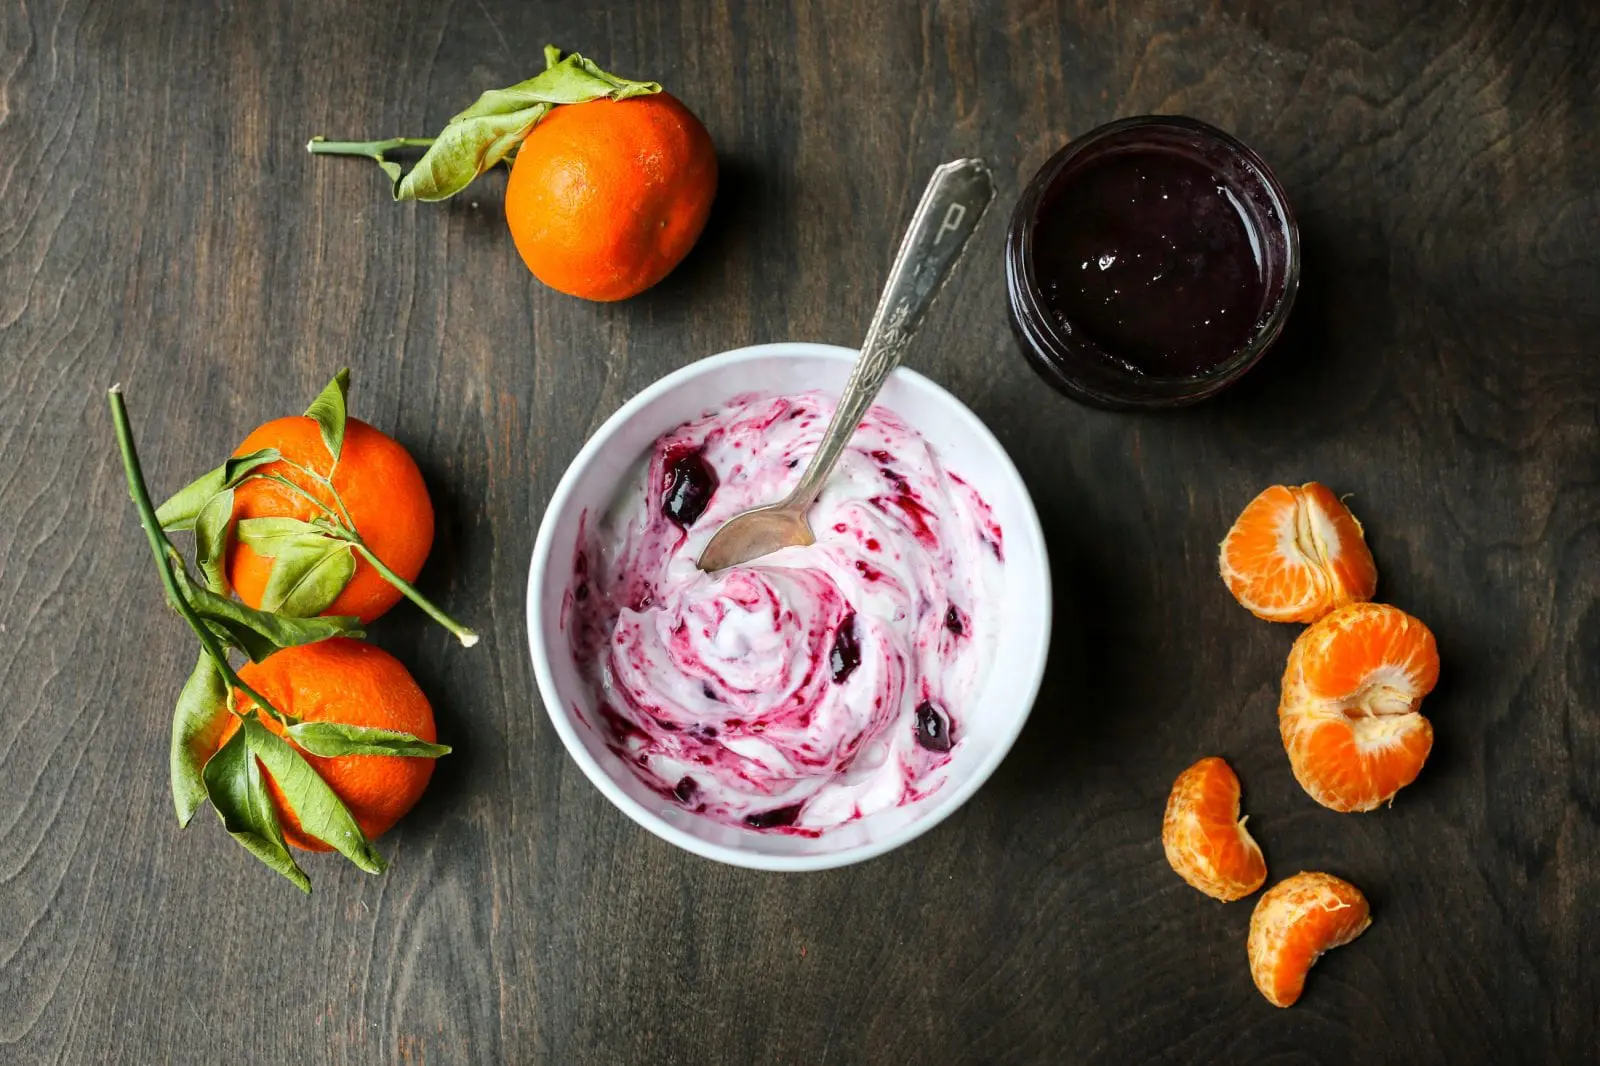
We ended up with some very good jam. The texture is somewhere between a jam and a jelly, to be precise – with grapes, there’s no remaining shape to the fruit once it’s cooked (unlike a berry) but it’s also not a completely clear condiment like you might expect with a jelly. The flavor is really concentrated, and if you’ve only had store-bought grape jelly, you’ll appreciate the difference. Concord grapes have a naturally tart component which makes them ideal for cooking and creating jams – we love this spread on toast, or combined with Greek yogurt for a breakfast treat.

Concord Grape Jelly
Ingredients
- 5 cups Concord grapes approx 2 pints
- 3 3/4 cups 740g granulated sugar
- Juice of half a lemon
- 1/2 teaspoon unsalted butter
- 4 16-oz 1 pint canning (Ball) jars with lids and screw tops
- Jar lifting tool
Instructions
- Put 4 16-oz canning jars and separate lids and tops in a large pot (e.g. pasta pot), cover with water and bring to the boil. Maintain boil for 10 minutes, turn off heat and leave the equipment in the hot water while you make the jam.
- Remove grapes from their stem and separate the skins by hand-squeezing.
- Put the skins into a food processor and pulse gently – don’t fully puree them. Move them to a saucepan with 1/4 cup of water, and bring to a simmer for 10 minutes.
- Bring the de-skinned grapes to a simmer in a separate saucepan and cook until the pulp is fully liquid – about 10 minutes. Pour through a sieve into a bowl and scrape to remove seeds and any tough flesh.
- Combine the pulp and skins in the larger of your saucepans and add the sugar, butter and lemon juice. Bring to a boil, stirring all the while, and simmer until jam is thick and beginning to set. This may take 35-50 minutes.
- You can test the jam by smearing a little of it onto a chilled plate and putting in the freezer for a minute. If it does not run after the chilling, it is ready.
- Remove the sterilized jars from the water using a canning jar lifter. Pour out any water but do not dry them (and don’t touch them! they will be very hot and you need to maintain the sterility of the glassware). Ladle the jam into the jars, leaving 1/4 inch headspace. Wipe any jam from the rims, add the lids and screw tops. Hand-tighten (do not over-tighten).
- If any of the jars are not filled to the top, you should use it straight away and eat fresh. We recommend you keep this jar in the fridge once it’s fully cooled.
- Return the filled, sealed jars to the hot water pot and boil for another 10 minutes. Turn off heat and let the jars rest in the water for 5 minutes. Remove using the jar lifter and leave them on the kitchen counter for at least 6 hours or overnight.

