A successful garlic crop in the urban backyard depends on a lot of factors. We tell you what went right this year for us, what we might do differently, and one option for roasting your garlic once it’s harvested.
There’s a line early on in one of those first-generation text computer adventures – Colossal Cave or Zork or Adventure itself, I think – where the game asks you if you’re a wizard and what the secret incantation is, requiring that you’ve played the game already, or you’ve been told the secret by someone else who has (this was way pre-internet, remember, and this wasn’t the sort of information that libraries tended to know). If you do answer that you’re a wizard, and you get the code wrong, the game scoffs at you and tells you you’re a charlatan.
Gardening is a bit like that. Some years you feel like a wizard and some years you feel like a charlatan, like an actual wizard left you in charge of their garden and you’re just randomly throwing things into the ground and seeing what comes up. I wouldn’t say that I have an innate skill by any means, but I do have an immense amount of fun getting things to grow and gradually, slowly, learning by my mistakes and the variations of the growing season. Last year we put up straw bales for the first time, and had great success there with most of our seedlings. At the time, the raised beds that I’d been relying on were retarded by the branches and roots of nearby maples, which I took down at the end of the summer. This year, the raised beds are going gangbusters, but the straw is not so successful. On the one hand, shazam!!!, but on the other hand, ¯_(ツ)_/¯.
One crop that I’m very happy with this year is our garlic. We’ve tried it pretty much every year that we’ve had the beds, and the first two attempts were quite unsuccessful. I think the combination of the maple tree roots, overwatering on my part, and seeding with generic supermarket garlic led to a generally unhappy bed of garlic.
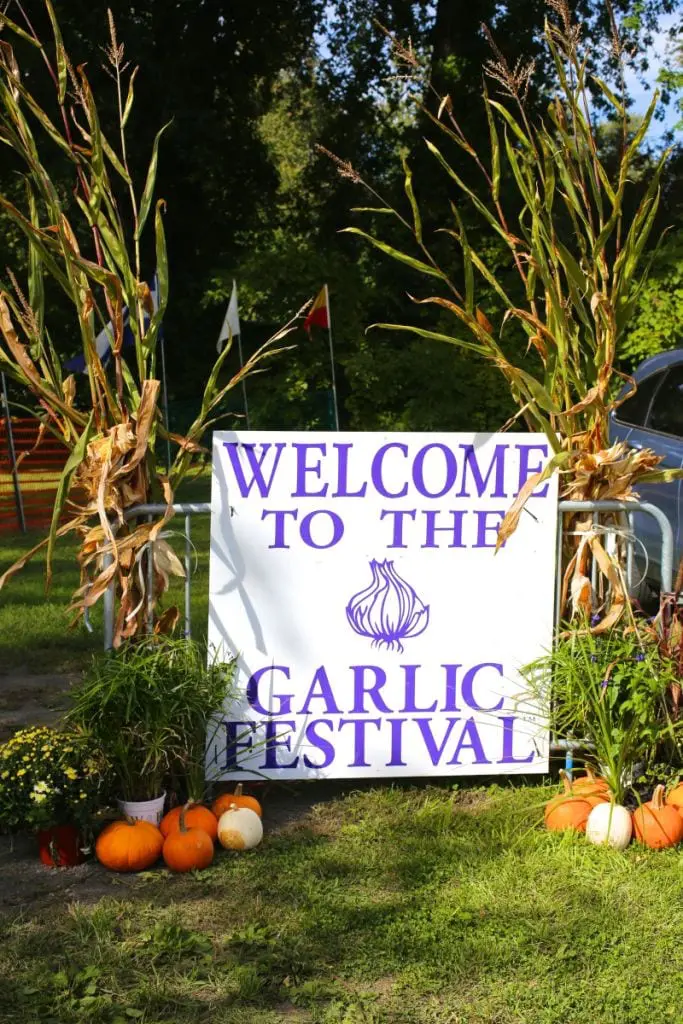
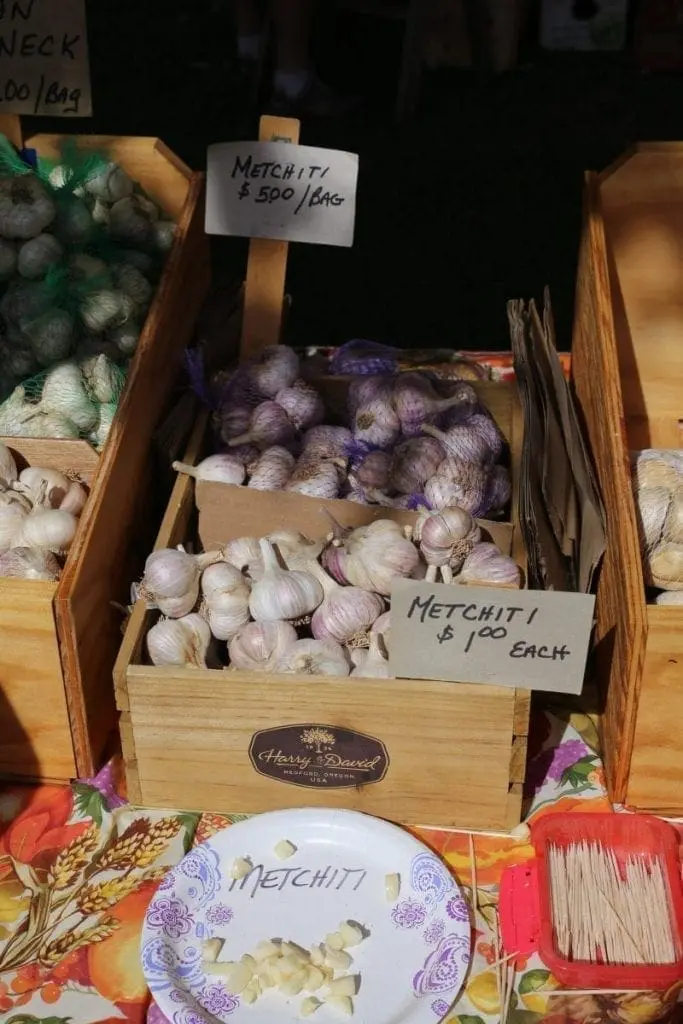
Last fall, to celebrate our wedding anniversary, we took a trip to Saugerties and while we were up there, dropped in on the Garlic Festival which we blogged about here. Everyone was so enthusiastic and well-versed in the ways of garlic that it really encouraged us to up our game. While we did buy heritage garlic there, that actually isn’t what we planted. We spent a day later that month at the Hudson Valley Seed Library in Accord, NY, and got great information from Ken Greene and the team about the ideal process for growing a crop of healthy garlic. And of course they sell their own plantable bulbs, and we ended up seeding our bed with a bag of mixed hardnecks.
Early in the spring, we got the first green shoots poking out of the straw mulch, and they just kept on going! (One recommended step that I didn’t take is to fertilize the shoots in the spring with a high-nitrogen feed such as liquid seaweed. This will give the garlic a boost of nutrients and encourage strong growth.)
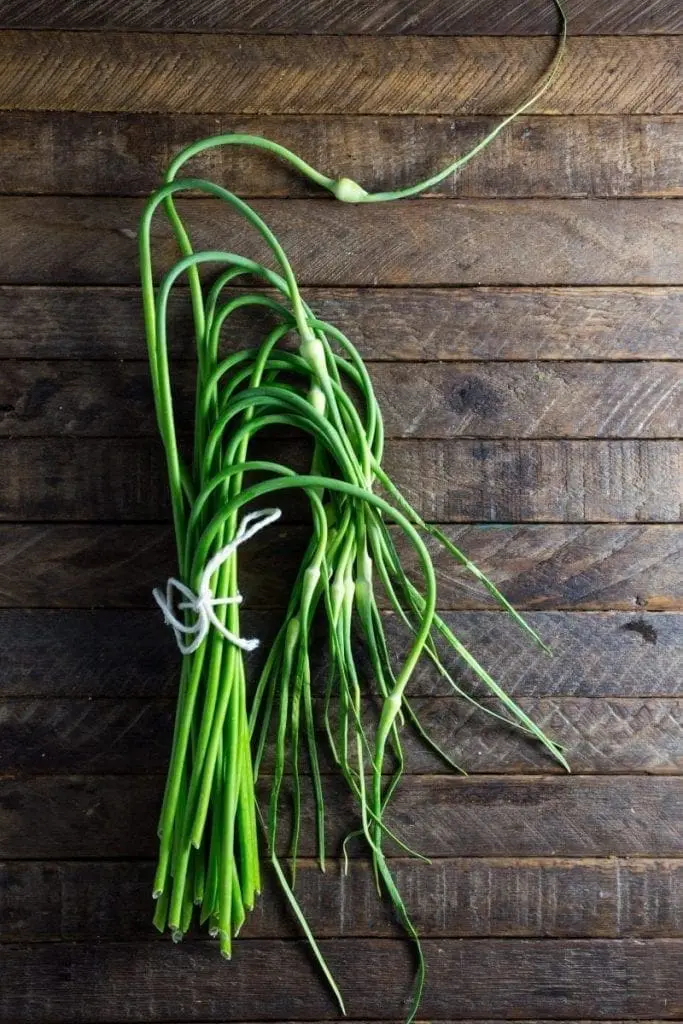
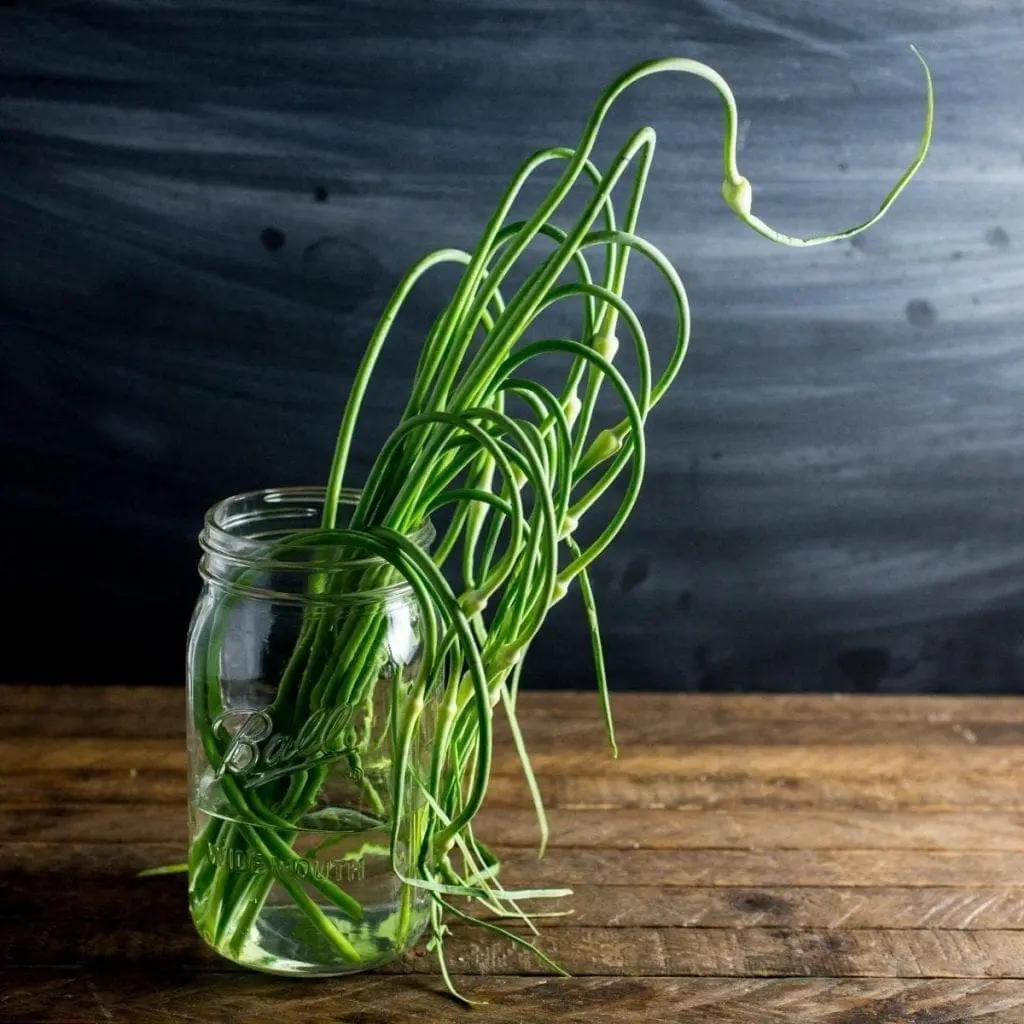
The Scapes
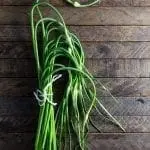
Since these are hardneck varieties, each plant grew a scape, which is the flower stalk (or would be if you let it go all the way to flower.) A couple of weeks ago, these were a good length to cut and cook up, and we used them almost anywhere we would otherwise cook with regular garlic cloves or scallions. They’re really tasty, and removing the scapes also allows the remaining plant energy to go into growing the bulbs. (It’s win-win.)
Briefly, hardneck and softneck cultivars differ in a few factors. Hardneck garlic produces scapes, is hardier to grow in cooler northern climates, has generally larger bulbs with fewer cloves, but does not store long-term so well as softneck varieties, which are preferred in milder southern temperatures and have smaller bulbs. You may have better success with either type depending on where you are and what kind of bulbs you prefer.
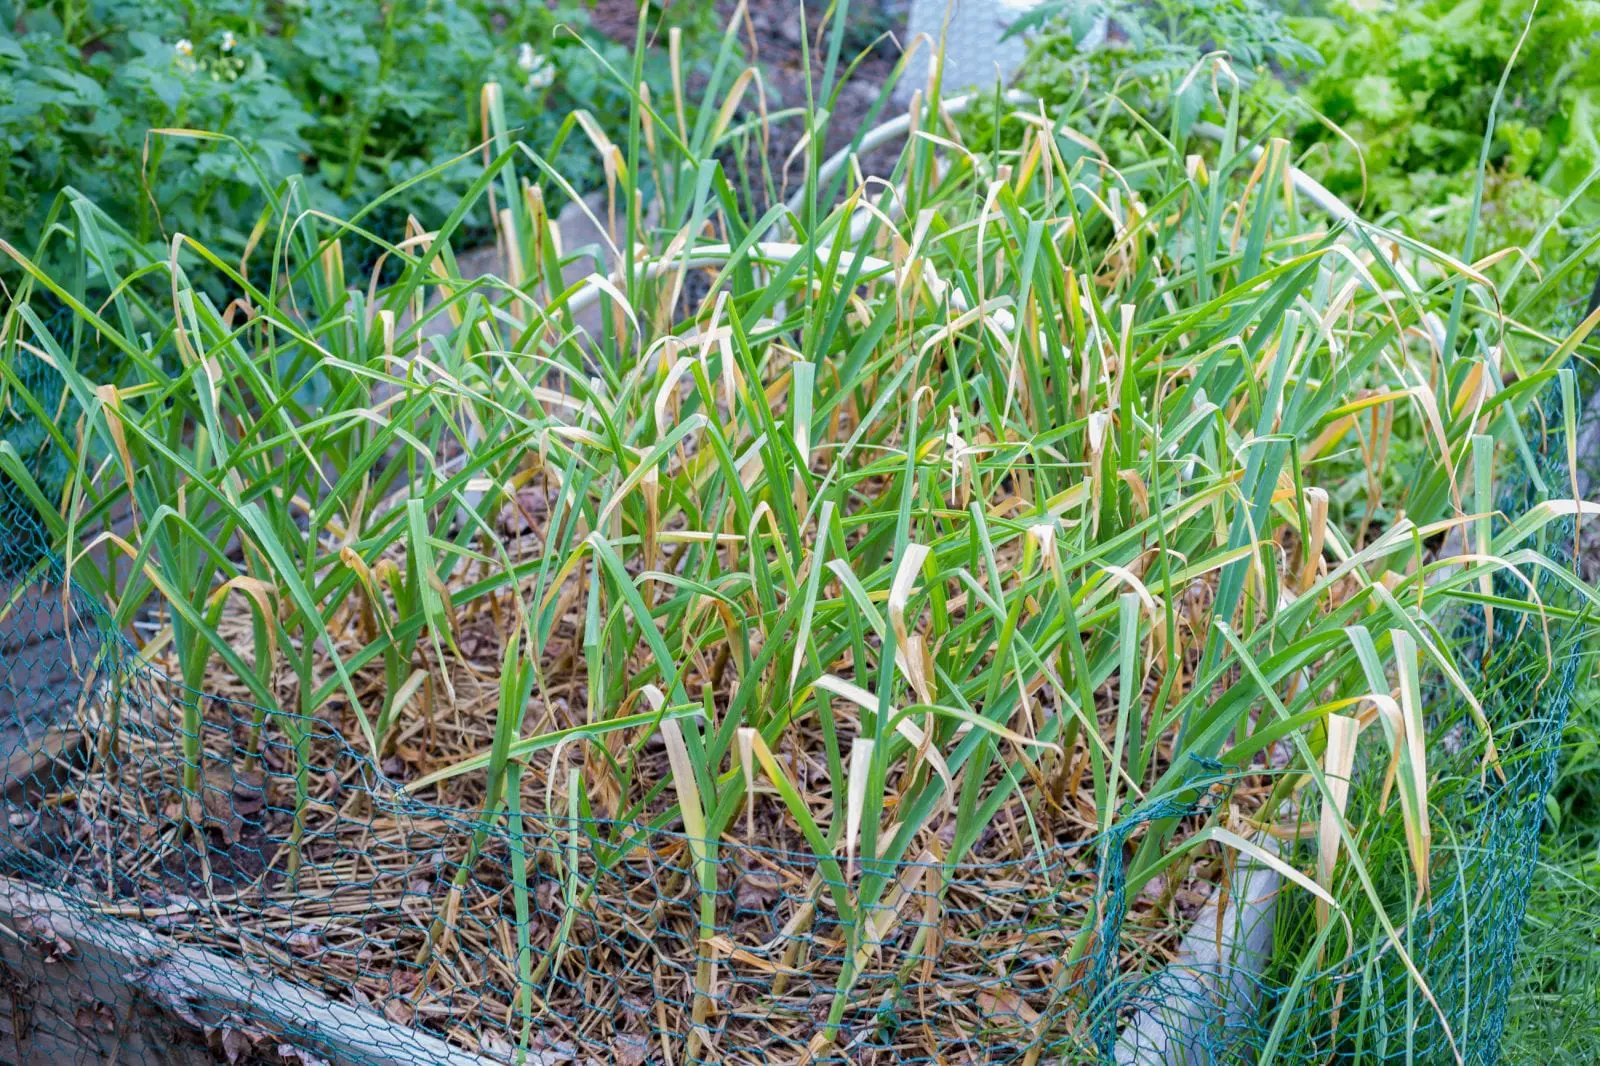
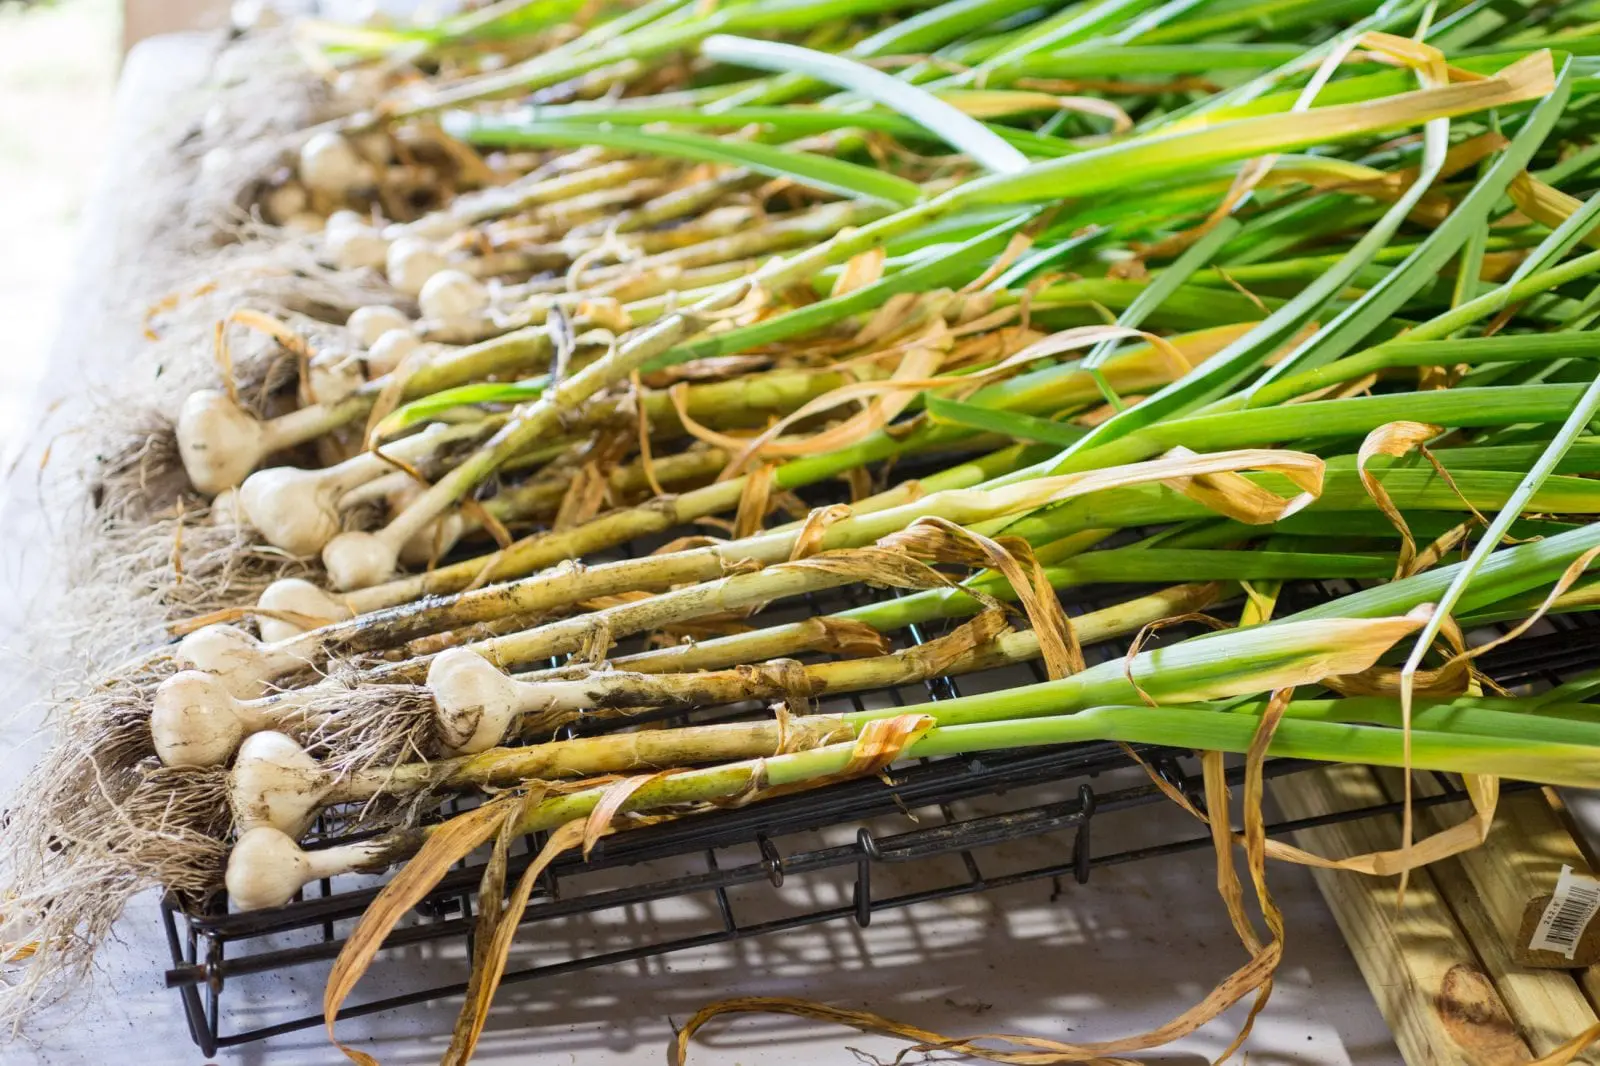
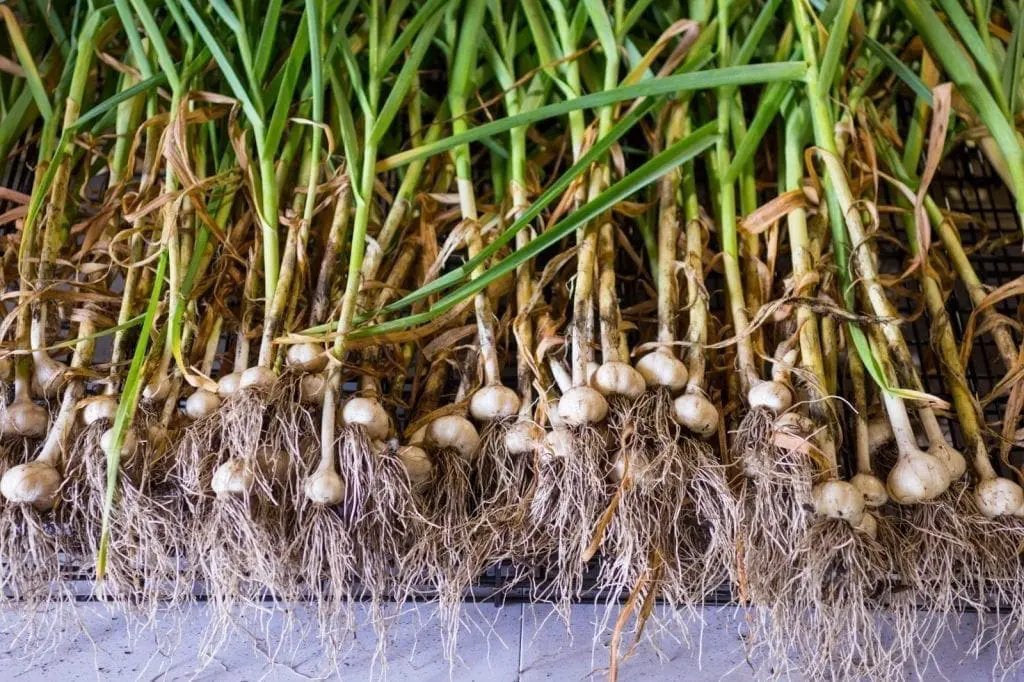
And then, finally, this week, the very tips of the top leaves turned brown and started to wilt, which told us there was no more growth in the bulb. Each leaf translates to a wrapper around the bulb – it becomes the papery skin that protects the cloves inside. While the bulb is still growing, the leaves and wrappers have to be flexible and adapt, so it’s the end of that growing process, and subsequently the dying off of the leaves, that signals it’s ready to come out. If you can sacrifice a couple of bulbs, you can also dig up the plant, cut the bulb in half from top to bottom and look for a gap between the cloves and the scape – that also tells you it’s ready.

We plan to store and use our garlic throughout the fall months, so I’m curing (drying) them on top of a puppy crate in the basement. Our soil was a little wet from recent rains, so I carefully brushed most of the soil off the bulbs. If it’s pretty dry, you might not need to bother. The stems and roots should stay on the plant until it’s fully dried, since their energy will go into the bulbs.
It’s good to have the variety so we can contrast and compare, but since they’re all mixed up (DO NOT DO THIS), I have no idea which bulb is which. Next year I plan to focus on larger bulbs – maybe a German Red variety – since we use garlic pretty much every day and prefer the larger cloves.
Of course you can use them to cook with straight away. We love to roast the heads (see recipe below) which adds a complex, toasty note to all kinds of dishes; it also sweetens the garlic flavor so you can use more than you otherwise would.
The Garlic Calendar
Here, in bullet point form, are the key hints to growing a healthy garlic crop. Some of these apply mostly to the Northeastern US, so your area may have different climate and planting/harvesting times.
- Start with good quality bulbs. Look for local hardneck varieties that you know will grow well in your climate. Imported supermarket garlic often has the roots cut off and will not grow.
LATE FALL
- Separate the bulb and plant the cloves root (flat) end down in well-drained soil before first frost (late October or early November). 3-4″ separation is fine, you should be able to get 16 in a square foot.
WINTER
- Mulch over the winter, but once the shoots are coming up in the spring, remove the mulch to let the soil warm.
EARLY SPRING
- Add nitrogen (eg liquid seaweed) while the shoots are developing
- Don’t overwater! If you’re not getting a lot of rain, a once-weekly watering should be enough.
JUNE
- Watch for the scapes. When they have curled once and are straightening out, cut them close to their base (don’t cut the leaves).
- At this point, don’t manually water further. You should see the bottom 4-5 leaves turn brown, leaving 5-6 green ones.
EARLY JULY
- When the tops of the green leaves start to brown, you can harvest!
- Don’t yank the plants by the stem – dig carefully around the bulb and help it out.
- Brush off the soil if it’s damp, but take care not to tear the wrapper. Don’t wash the plants.
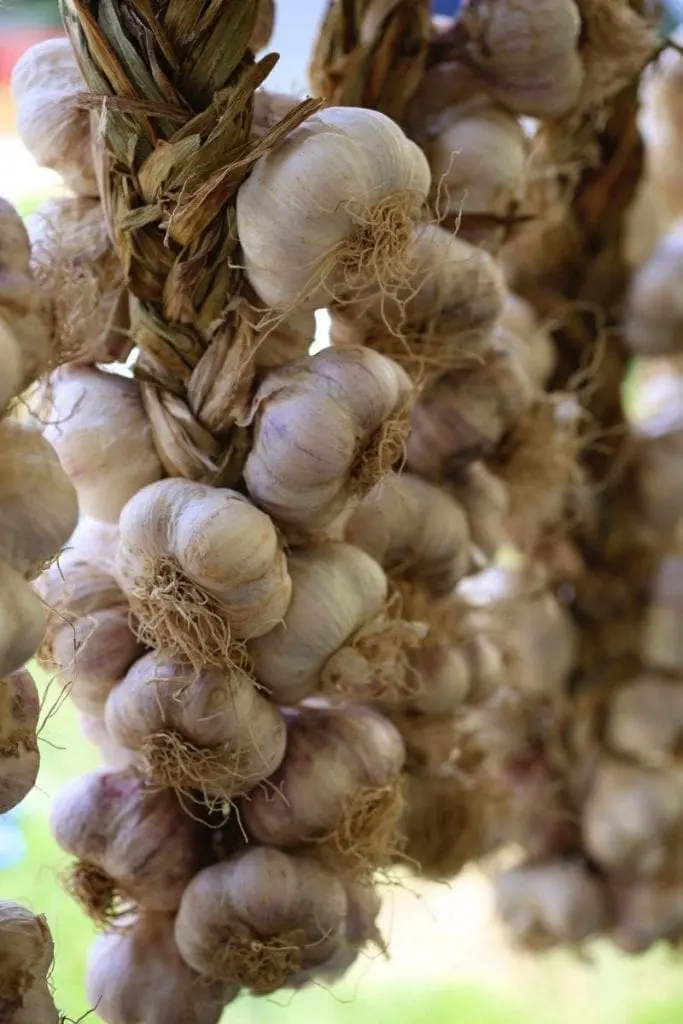
- Store by tying several plants together and hanging, or laying flat on a mesh surface which has air circulation around it (eg, a piece of wire fencing, a box spring frame, or similar). The environment should be <120F.
- After two weeks or so, the leaves and roots will be brown and brittle. Trim them down and store the bulbs at cool room temperature (<75F) if replanting in the fall, or ideally 32F if storing long-term (i.e. your fridge may be too warm).
- You can replace the garlic with fall brassicas (eg broccoli rabe) to take best advantage of the garlic’s microbial soil profile.
Easy Roasted Garlic
Ingredients
- Large garlic heads as many as you want to roast
- Extra-virgin olive oil
- A few sprigs of fresh thyme optional
- Coarse kosher salt and freshly cracked black pepper
Instructions
- Preheat oven to 400F.
- Remove most of the papery wrappers around the cloves, but not too many so that the cloves separate.
- Slice the bulb horizontally about 1/4 of the way down from the top to reveal the tops of the cloves
- Place the bulbs on foil and drizzle generously with olive oil.Add a few sprigs of thyme (if using) and sprinkle with salt and pepper, to taste. Squeeze the foil shut and cook for 40-50 minutes. Cloves should be soft and golden.
- Allow to cool slightly, then squeeze cloves from remaining wrapper and eat on a cracker or use in your preferred recipe.