When it comes to breakfast and brunch, we are a house divided. Matt is firmly in team Sweet (pancakes, French toast, crepes). Whereas I (Emily) am team Savory (eggs benedict, cheesy omelette, quiche). But there’s one place we meet in the middle, and that’s waffles. Or more specifically, these buttermilk waffles. Because this is no ordinary version.
I don’t mean to be that person (you know who I’m talking about. Little mister or missus pickypants.) but when it comes to waffles, they’re almost always disappointing. They’re either too dense, too eggy or too soggy. Sometimes all of the above. I’ve had this vision of the perfect waffle in my head for years: light and airy, super crispy exterior, a little tangy, a little sweet. But every method I tried fell short.
Until now *cue dramatic music*.
Are these buttermilk waffles a little more work than pre-mixed versions? Yes, sure. But the result is worth the few extra minutes it takes to make them.
These are based on a version from Food & Wine, itself based on a cookbook from Cook’s Illustrated editor Pam Anderson. The genius of this method is that it combines several elements that ensure the absolute best texture.
- The addition of cornstarch keeps them super crisp: it inhibits the formation of gluten which makes baked goods chewier and more dense.
- Using oil instead of butter also makes for crispier buttermilk waffles.
- Using two kinds of leavening — baking powder and baking soda — helps the waffles puff up without the need for yeast.
- And, most importantly, gently folding in whipped egg whites keeps the buttermilk waffles extra light and airy.

First, a little arcane waffle history
Waffles originated in medieval Europe, evolving from ancient Greek flat cakes (called obleios). Eventually they morphed into early Christian communion wafers: cooked between iron plates, and often embossed with religious symbols. By the 1200s, there were specialized oublieurs (wafer makers) in France. They evolved from thin communion wafers into the thicker, sweeter street food similar to today’s waffle.
The word comes from the Middle Dutch wafele, translating to “honeycomb” or “cake,” referring to the grid pattern. By the late 16th century, Belgian and Dutch recipes began incorporating yeast, cream, and butter, leading to lighter, fluffier waffles.
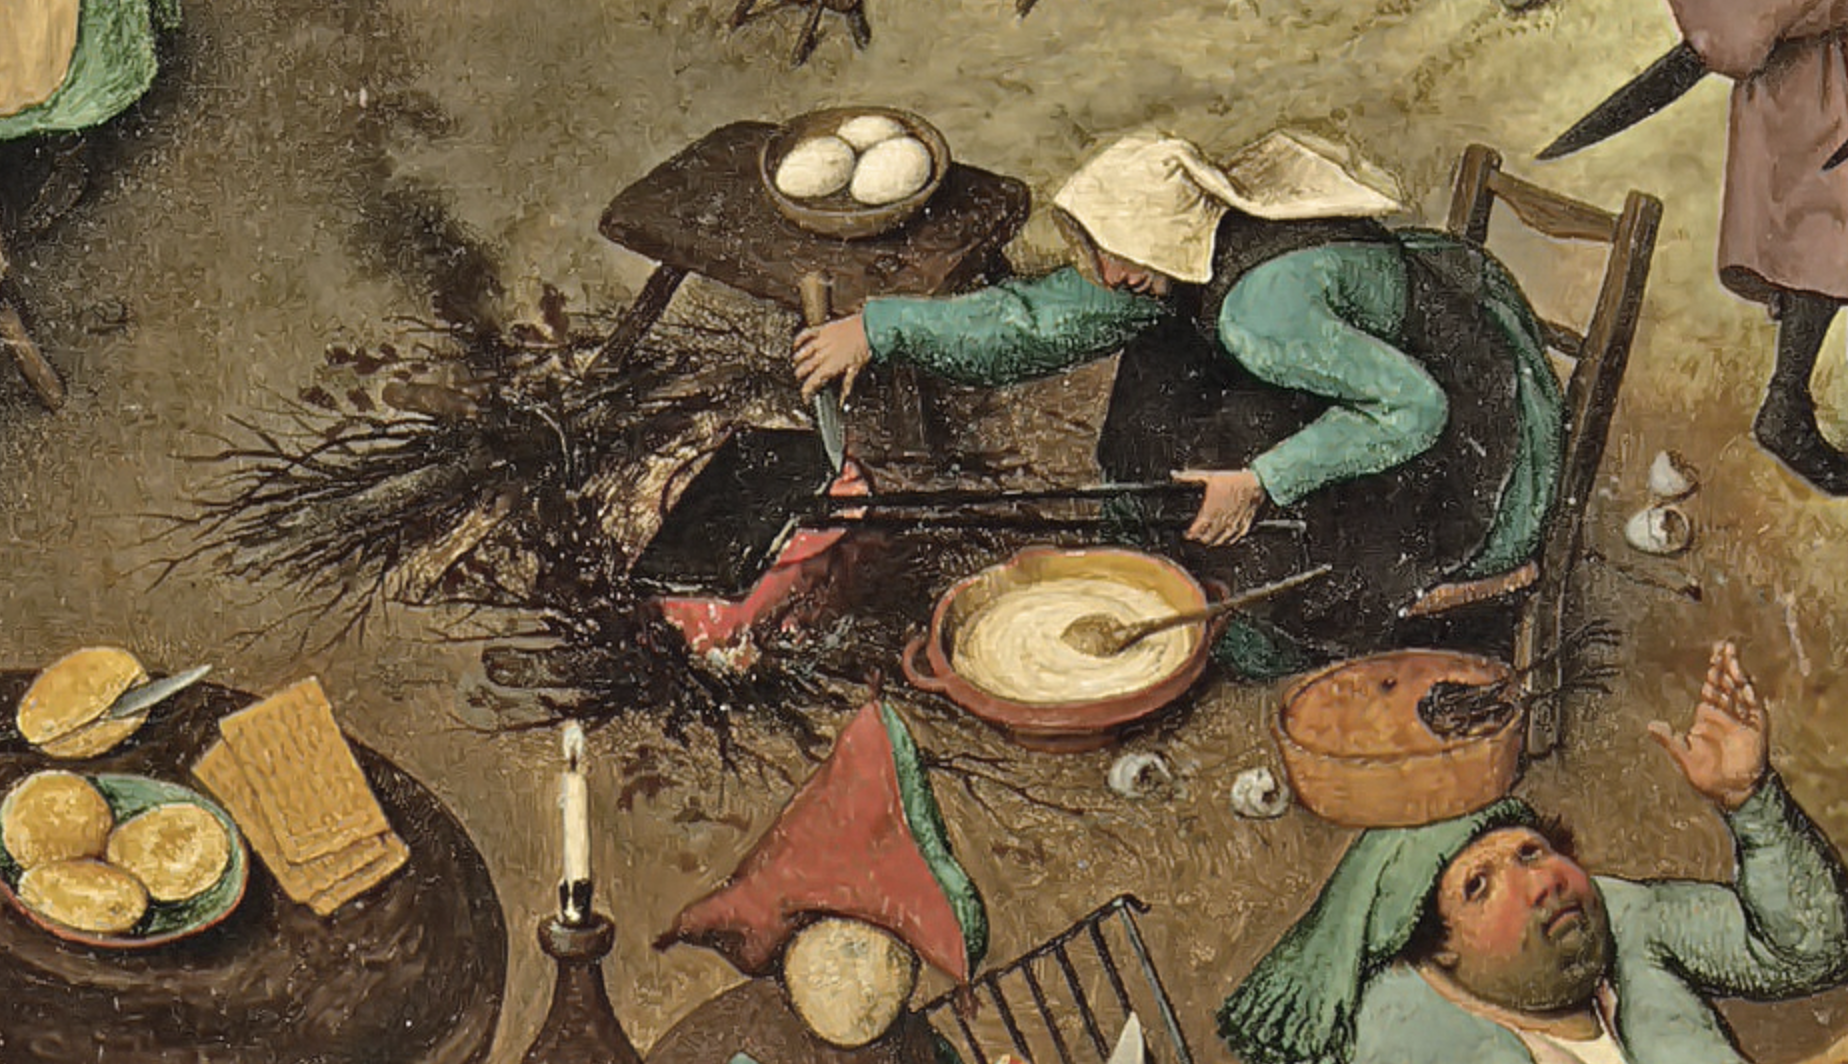
Fun fact: Pieter Bruegel the Elder’s 1559 painting, The Fight Between Carnival and Lent, is a significant historical source for 16th-century culinary history. Note specifically its detailed depiction of — you guessed it — waffles.


Our recommended waffle-makers
I could talk about the intersection of culinary and art history all day, but I suspect that’s not why you’re here, so let’s get to the recipe. We’ll start with the equipment: you can’t make waffles without a waffle-iron.
To keep things simple, let’s talk about the two main types of waffles popular in the U.S.: thicker Belgian-style waffles and thinner, crisper American-style. We’ve tried both, and much prefer the Belgian-style which delivers the crispiest surface with a pillowy, tender center. The thinner ones tend to lean towards just crisp, which are delicious, but to us, less interesting.
Our favorite Belgian-style waffle maker is the Cuisinart Flip Belgian Waffle Maker which comes either in single or double style. We have the double and really love it.
For American-style waffles, we recommend this Breville No-Mess Classic Round Waffle Maker.
This batter will work whether you have a Belgian-style waffle maker or American-style waffle maker. (The cooking times may vary.) Our first tip is to make sure your waffle iron is fully hot before you add the batter. This helps to keep the waffles from sticking, but even more importantly, it creates that crisp exterior we’re looking for.
Prep the dry and wet ingredients first
A quick note about flavor: If you like cinnamon (or pumpkin spice mix) in your waffles, go for it. Sometimes we add it, other times we keep it simple with just vanilla. Either way, they’re going to be fantastic.
Start by heating the oven to 200ºF to keep the cooked waffles warm as you make the rest of the batch. Place a cooling rack onto a baking sheet and set it aside.
Mix the dry ingredients in a large bowl: This will be the bowl you’re going to mix the batter in, so make sure it’s big enough to hold everything. Add the all-purpose flour, cornstarch, kosher salt, baking powder, baking soda and cinnamon (if you’re using it). Give it a whisk until it’s all combined and set it aside.
Mix the wet ingredients in a medium bowl: If you haven’t separated your eggs yet, do it now. Then mix the yolks with the buttermilk, oil, milk and vanilla until it’s combined.
Whip the egg whites: Add the whites to the bowl of a stand mixer fitted with the whisk attachment (or you can use a medium bowl and an electric beater). You can also do this by hand if you’re the intrepid type. If you have cream of tartar, add 1/4 teaspoon, though don’t stress if you don’t have any.
Start the mixer on medium-low speed until the whites turn foamy then slowly raise it to medium-high speed. Once soft peaks form, gradually stream in the sugar. Once the sugar is in, continue to beat until the whites turn firm and glossy, which will take about 2 to 5 minutes (possibly longer) depending on the power of your beater.
A quick note about cream of tartar: cream of tartar is an acidic stabilizer (potassium bitartrate) which, when added to egg whites, helps to increase volume and prevent over-beating or collapsing. It’s basically a little insurance so you don’t have to be as precise when whipping.
Time to mix it all together
Now’s a good time to turn your waffle iron on to make sure it’s nice and hot when you’re ready for it.
Pour the wet ingredients into the bowl with the dry ingredients and stir it together with a whisk or a silicone spatula. You want it mostly combined, but it should still be a little lumpy so try not to over mix it.

Add in half the egg whites, and fold them in by cutting the spatula through the middle of the batter and turning the bowl. Once mostly combined, repeat with the rest of the egg whites, being more gentle to retain as much air as possible. It should be pretty well combined but don’t worry if there’s a few little streaks of white remaining.
Keep them warm and crisp
Oil the hot waffle iron and add enough batter to fill it without overflowing. Large Belgian-style waffle makers will take about 1 heaping cup per waffle, the smaller thin style will take half to three-quarters of a cup. Cook until the waffles are golden brown and cooked through.
Our next tip: your waffle maker is not the boss of you. We recommend you run the machine on its longest setting, and then wait about 30 seconds to a minute after the beep to really get that crisp, deep-golden waffle. Watch the steam coming off — if there’s still a lot, your waffle’s exterior has too much moisture. It’s a delicate balance, because you don’t want to burn it. You’ll get used to your specific machine.
(Remember, the first waffle in each batch is an unrepresentative, sacrificial waffle, and must be eaten immediately by the chef.)
Once the first waffles are cooked, lay them on the cooling rack inside the baking tray in a single layer. Place it in the oven to keep them warm while you continue. Repeat with the remaining batter, but don’t pile the waffles on top of each other, or they will steam and lose their crispiness.
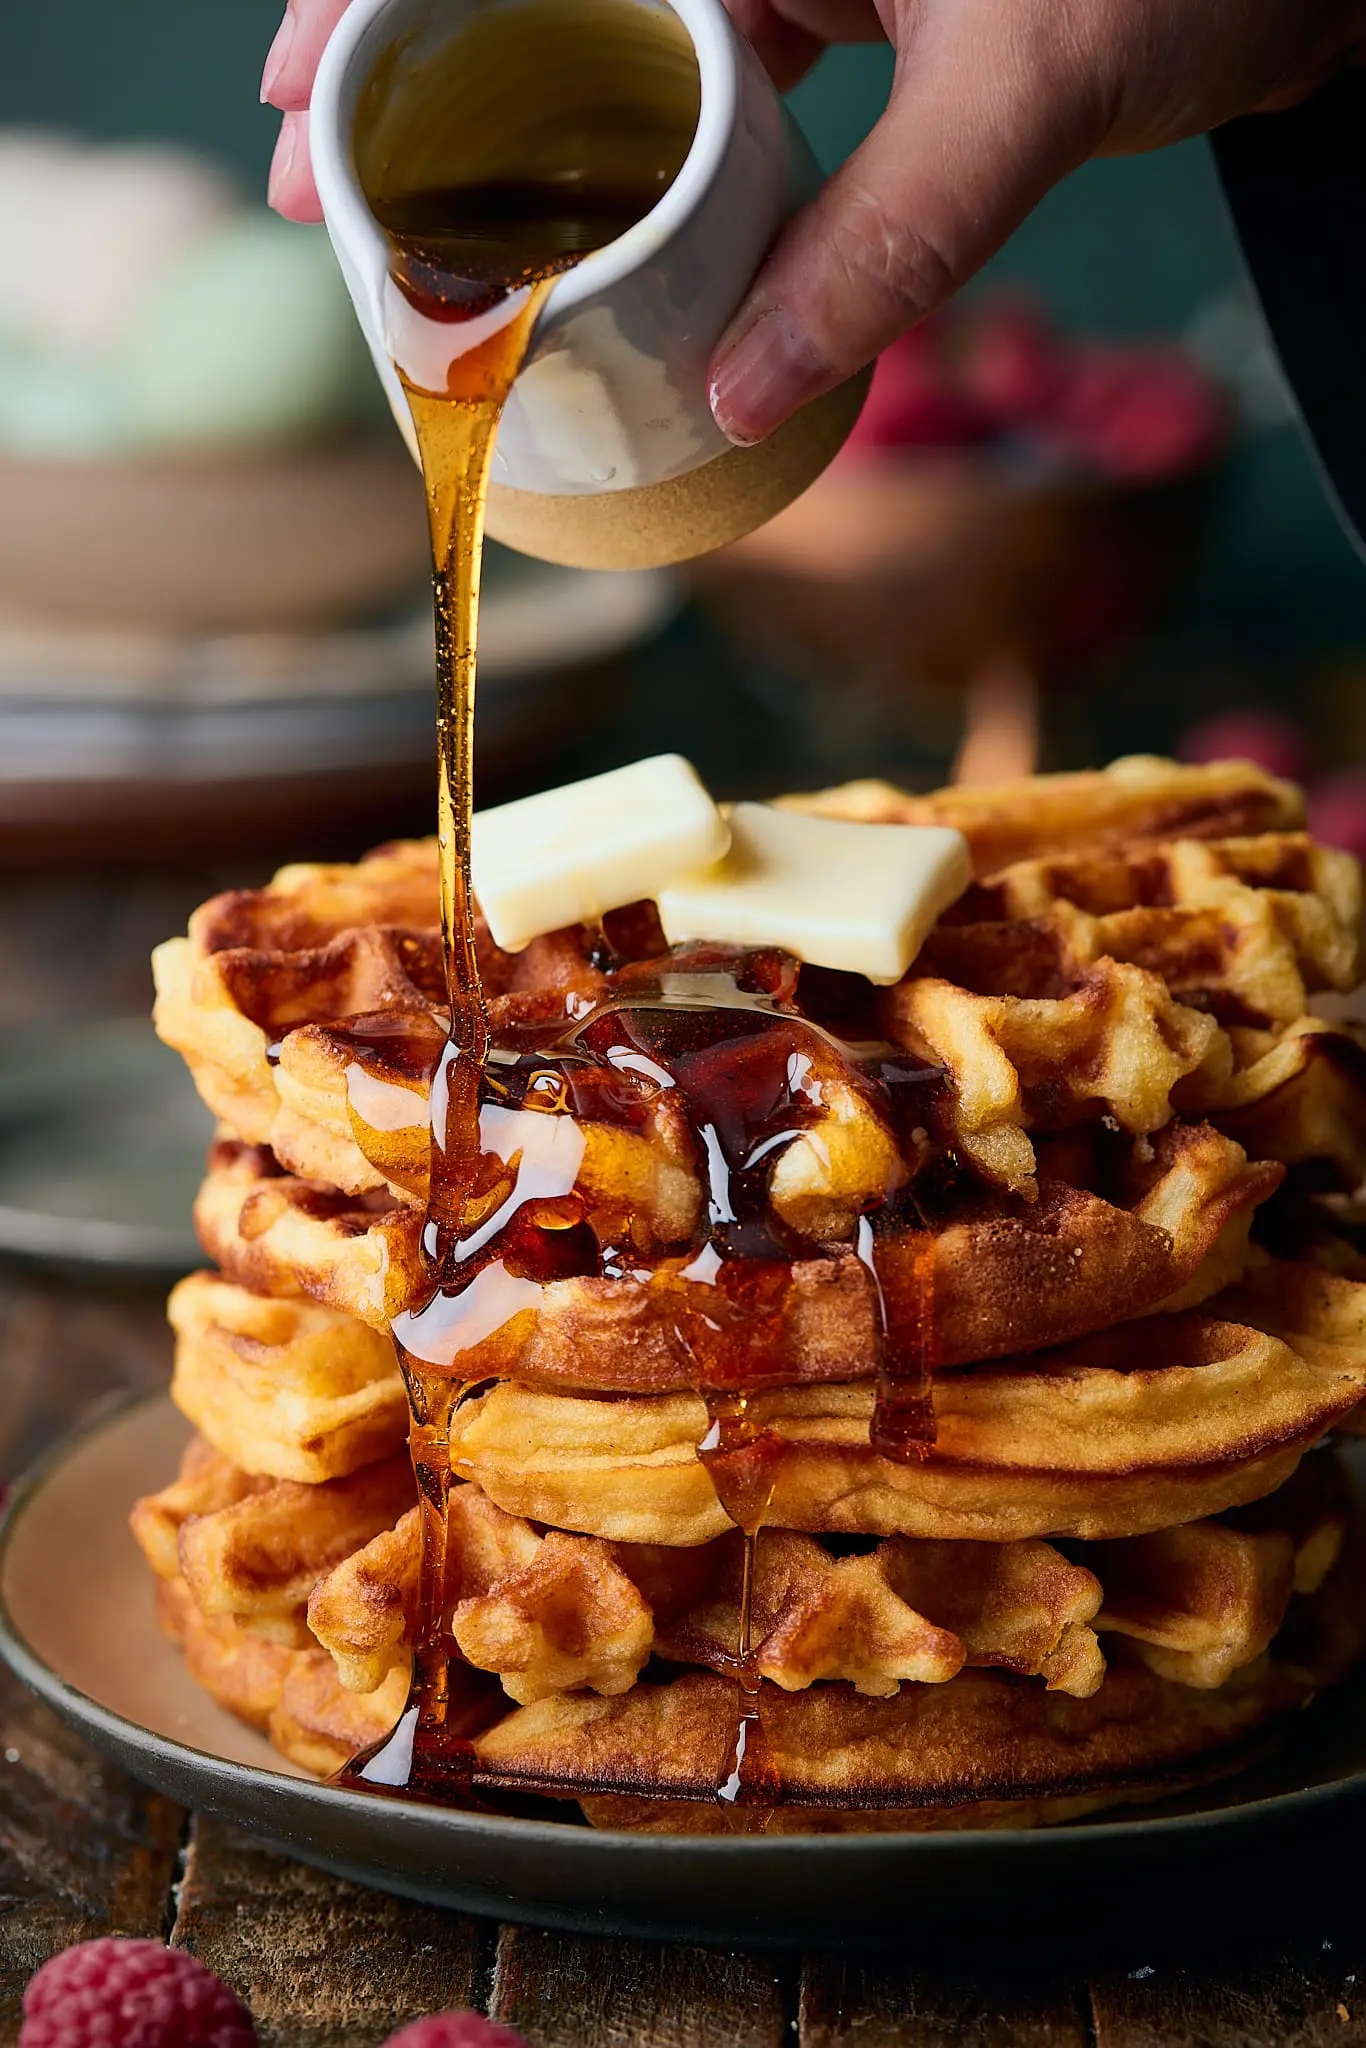
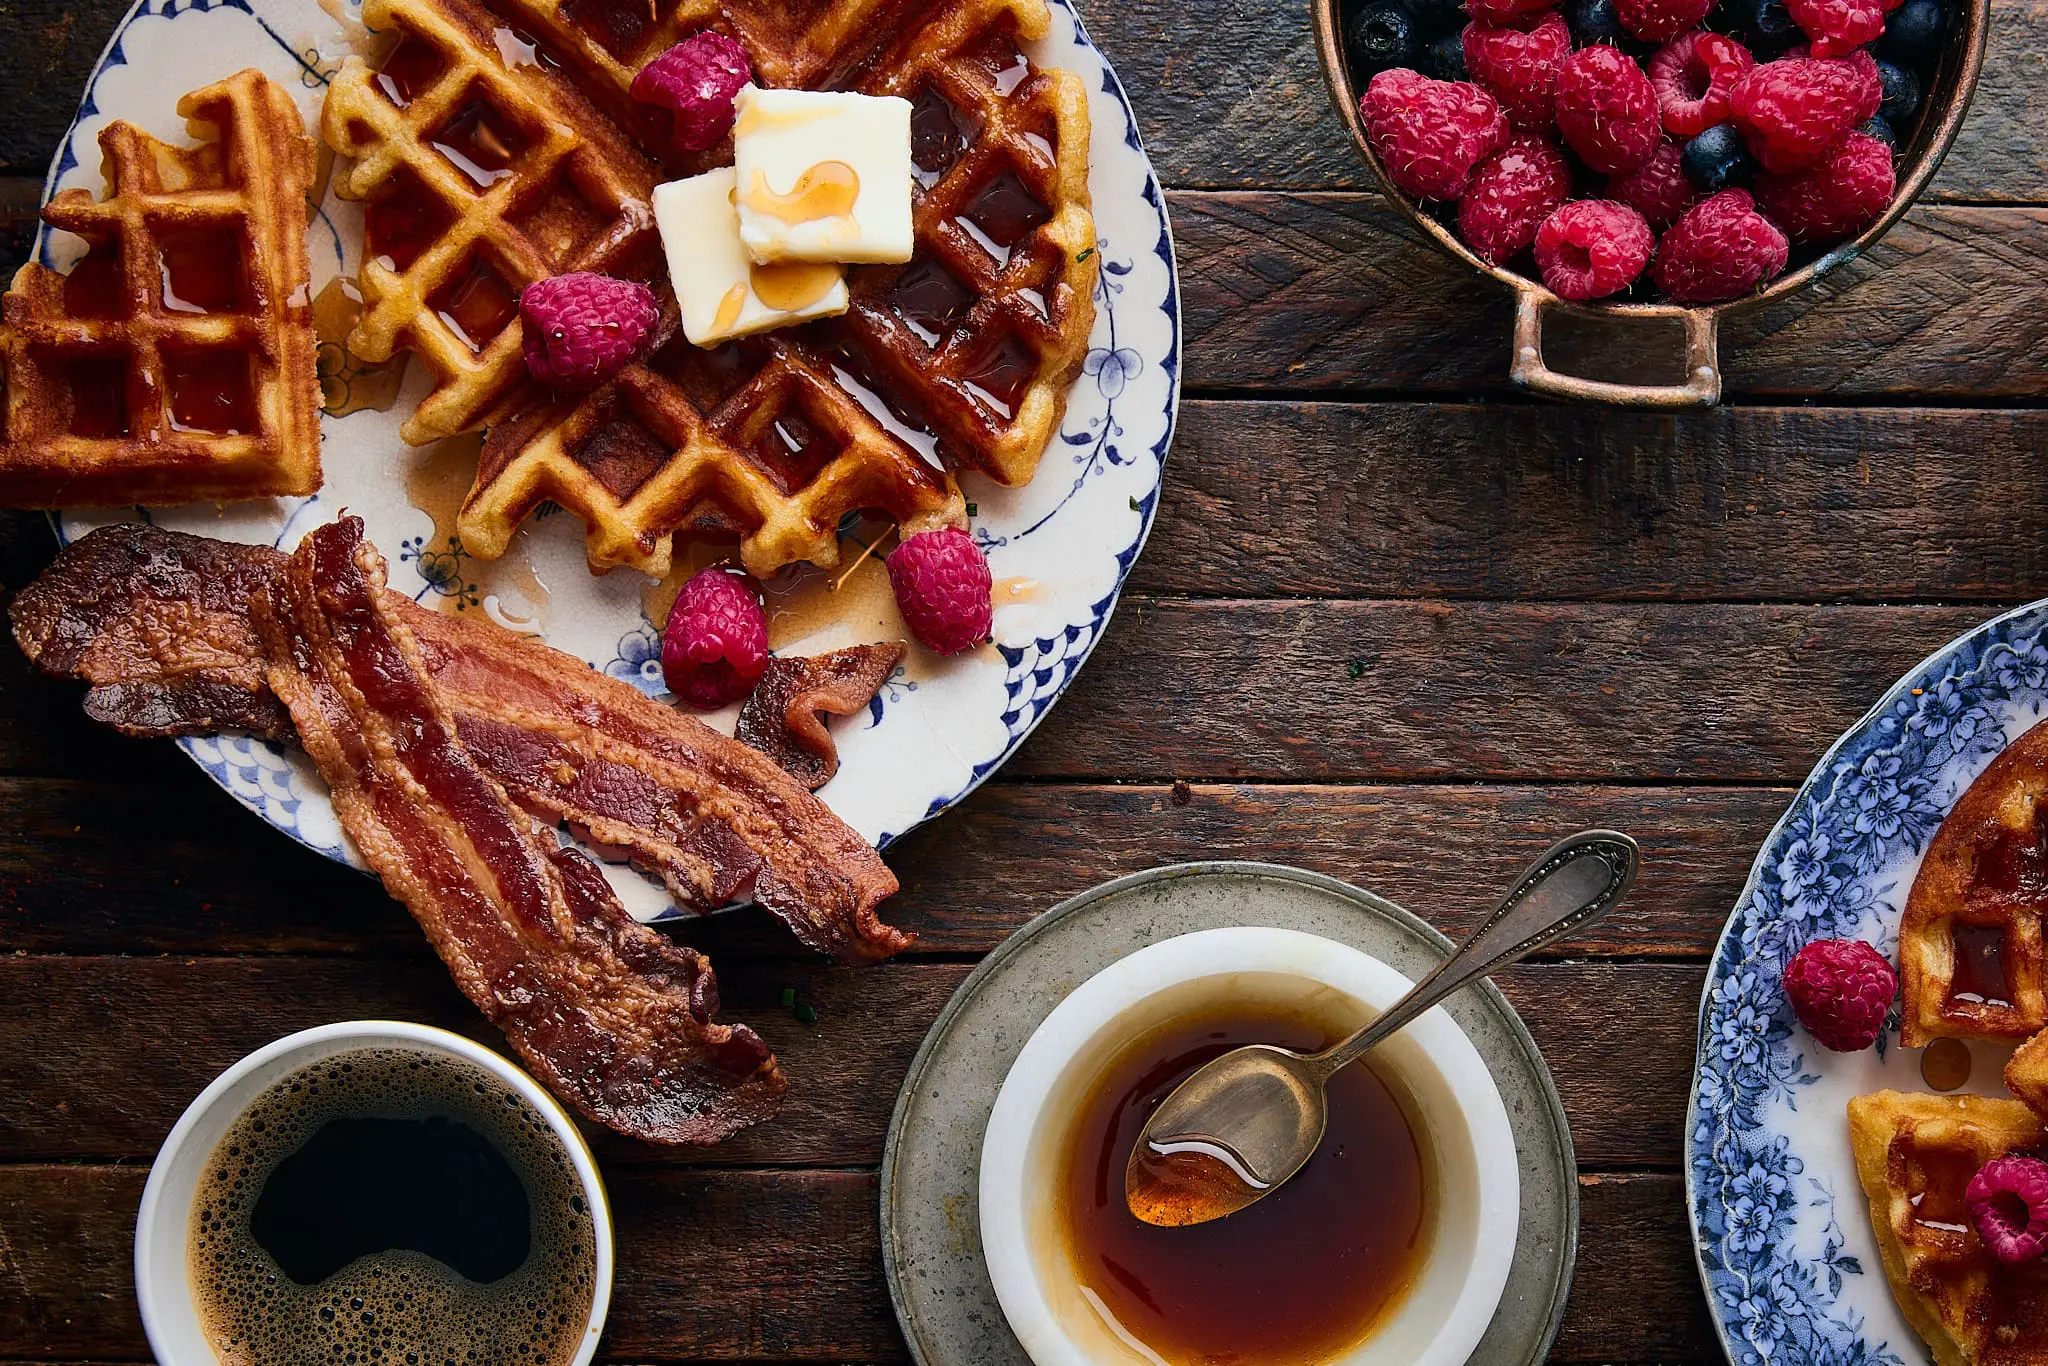
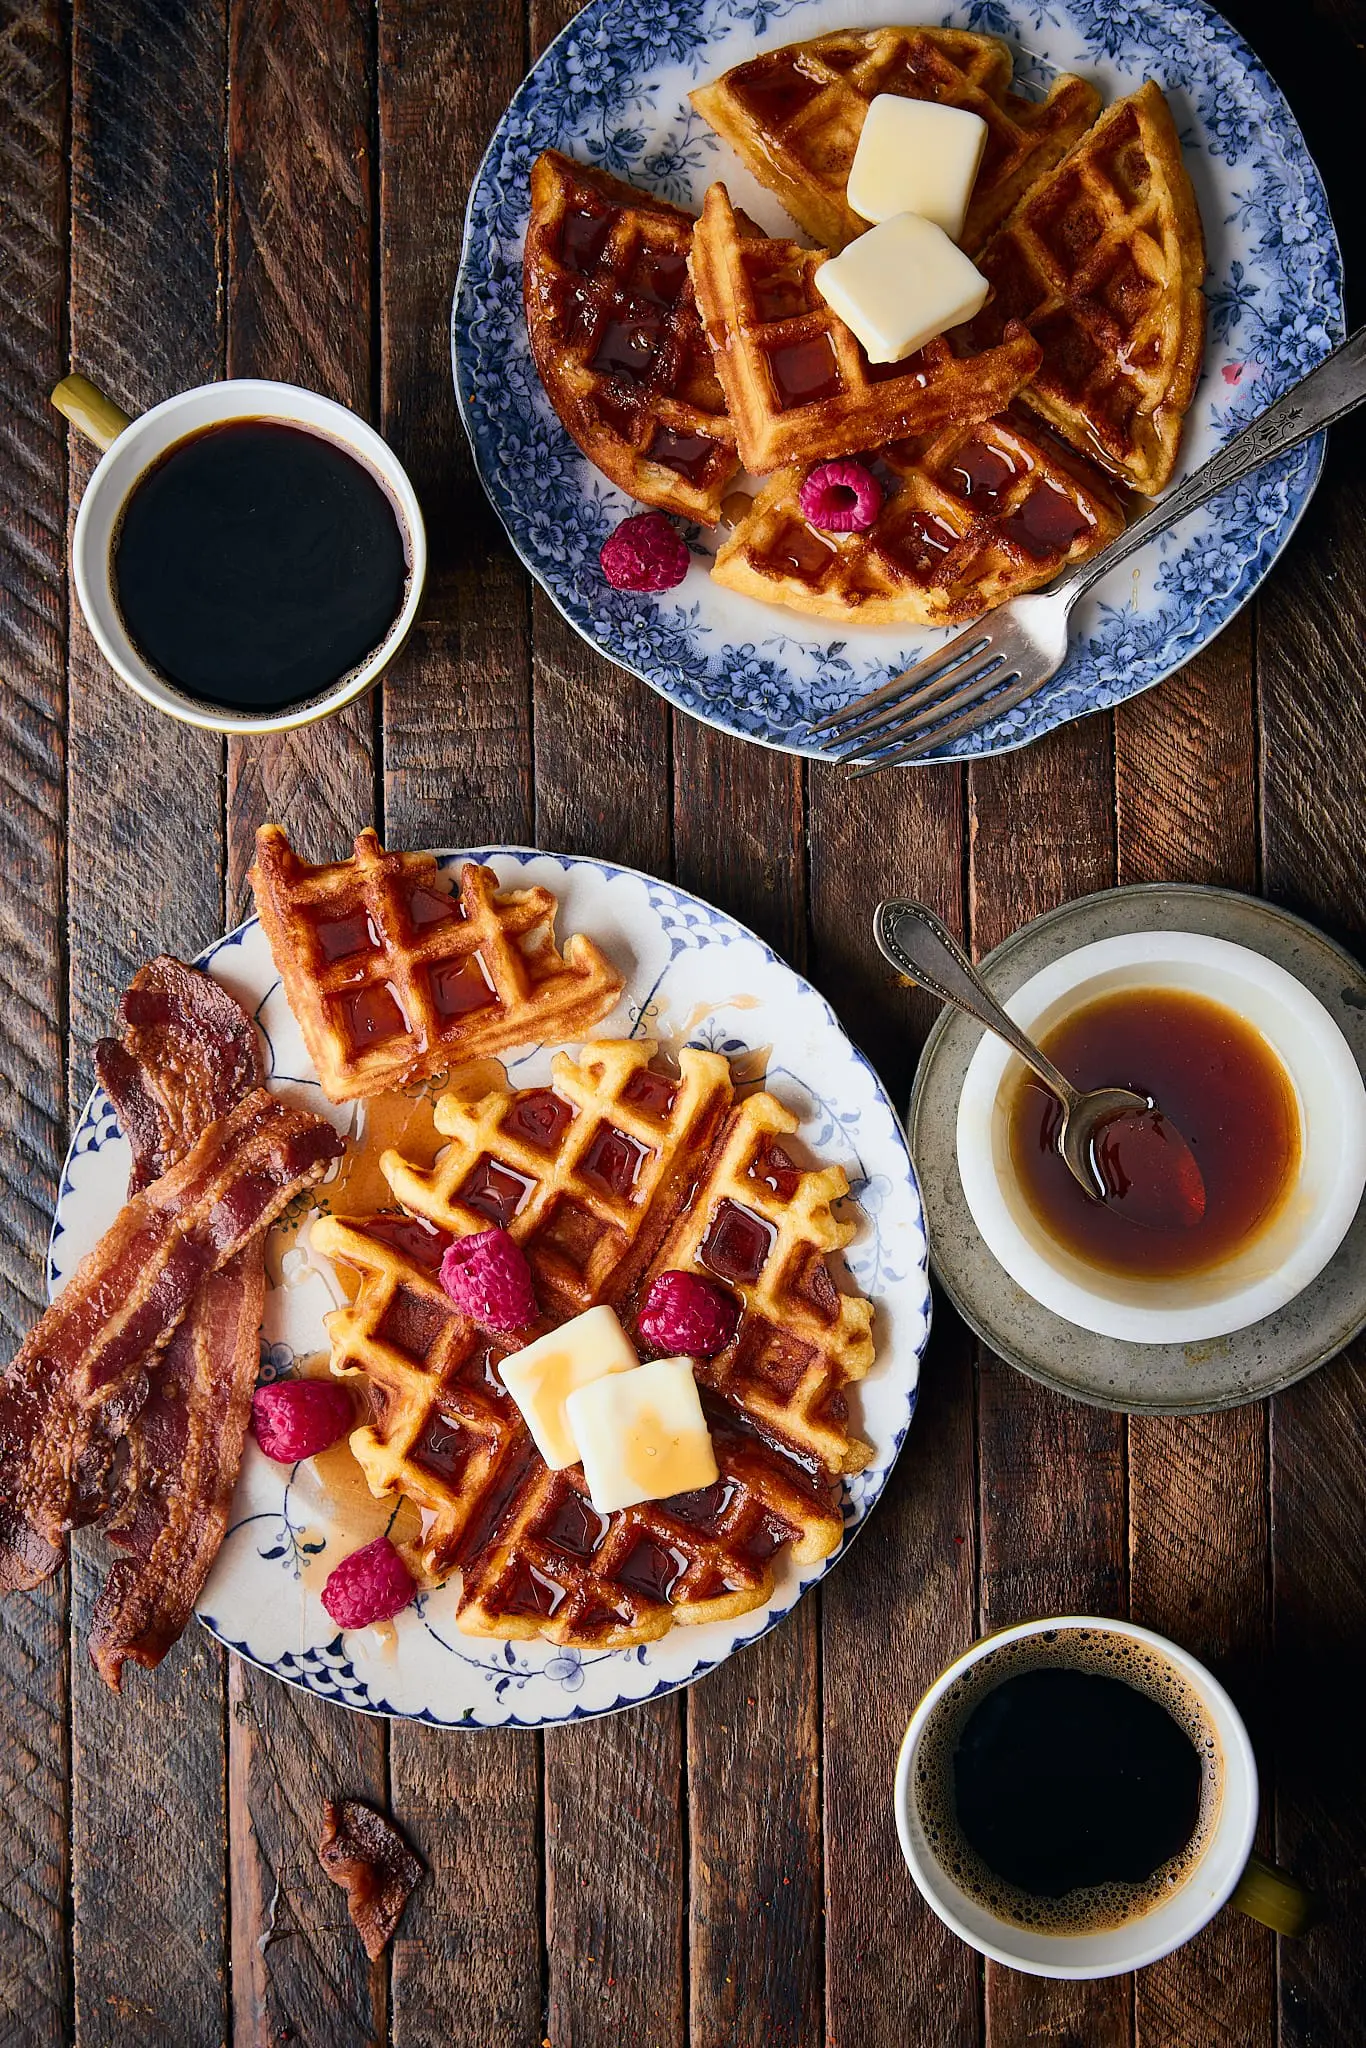
Serve these buttermilk waffles with your favorite toppings, like salted butter, maple syrup, berries and whipped cream.
Tips for freezing and re-heating waffles
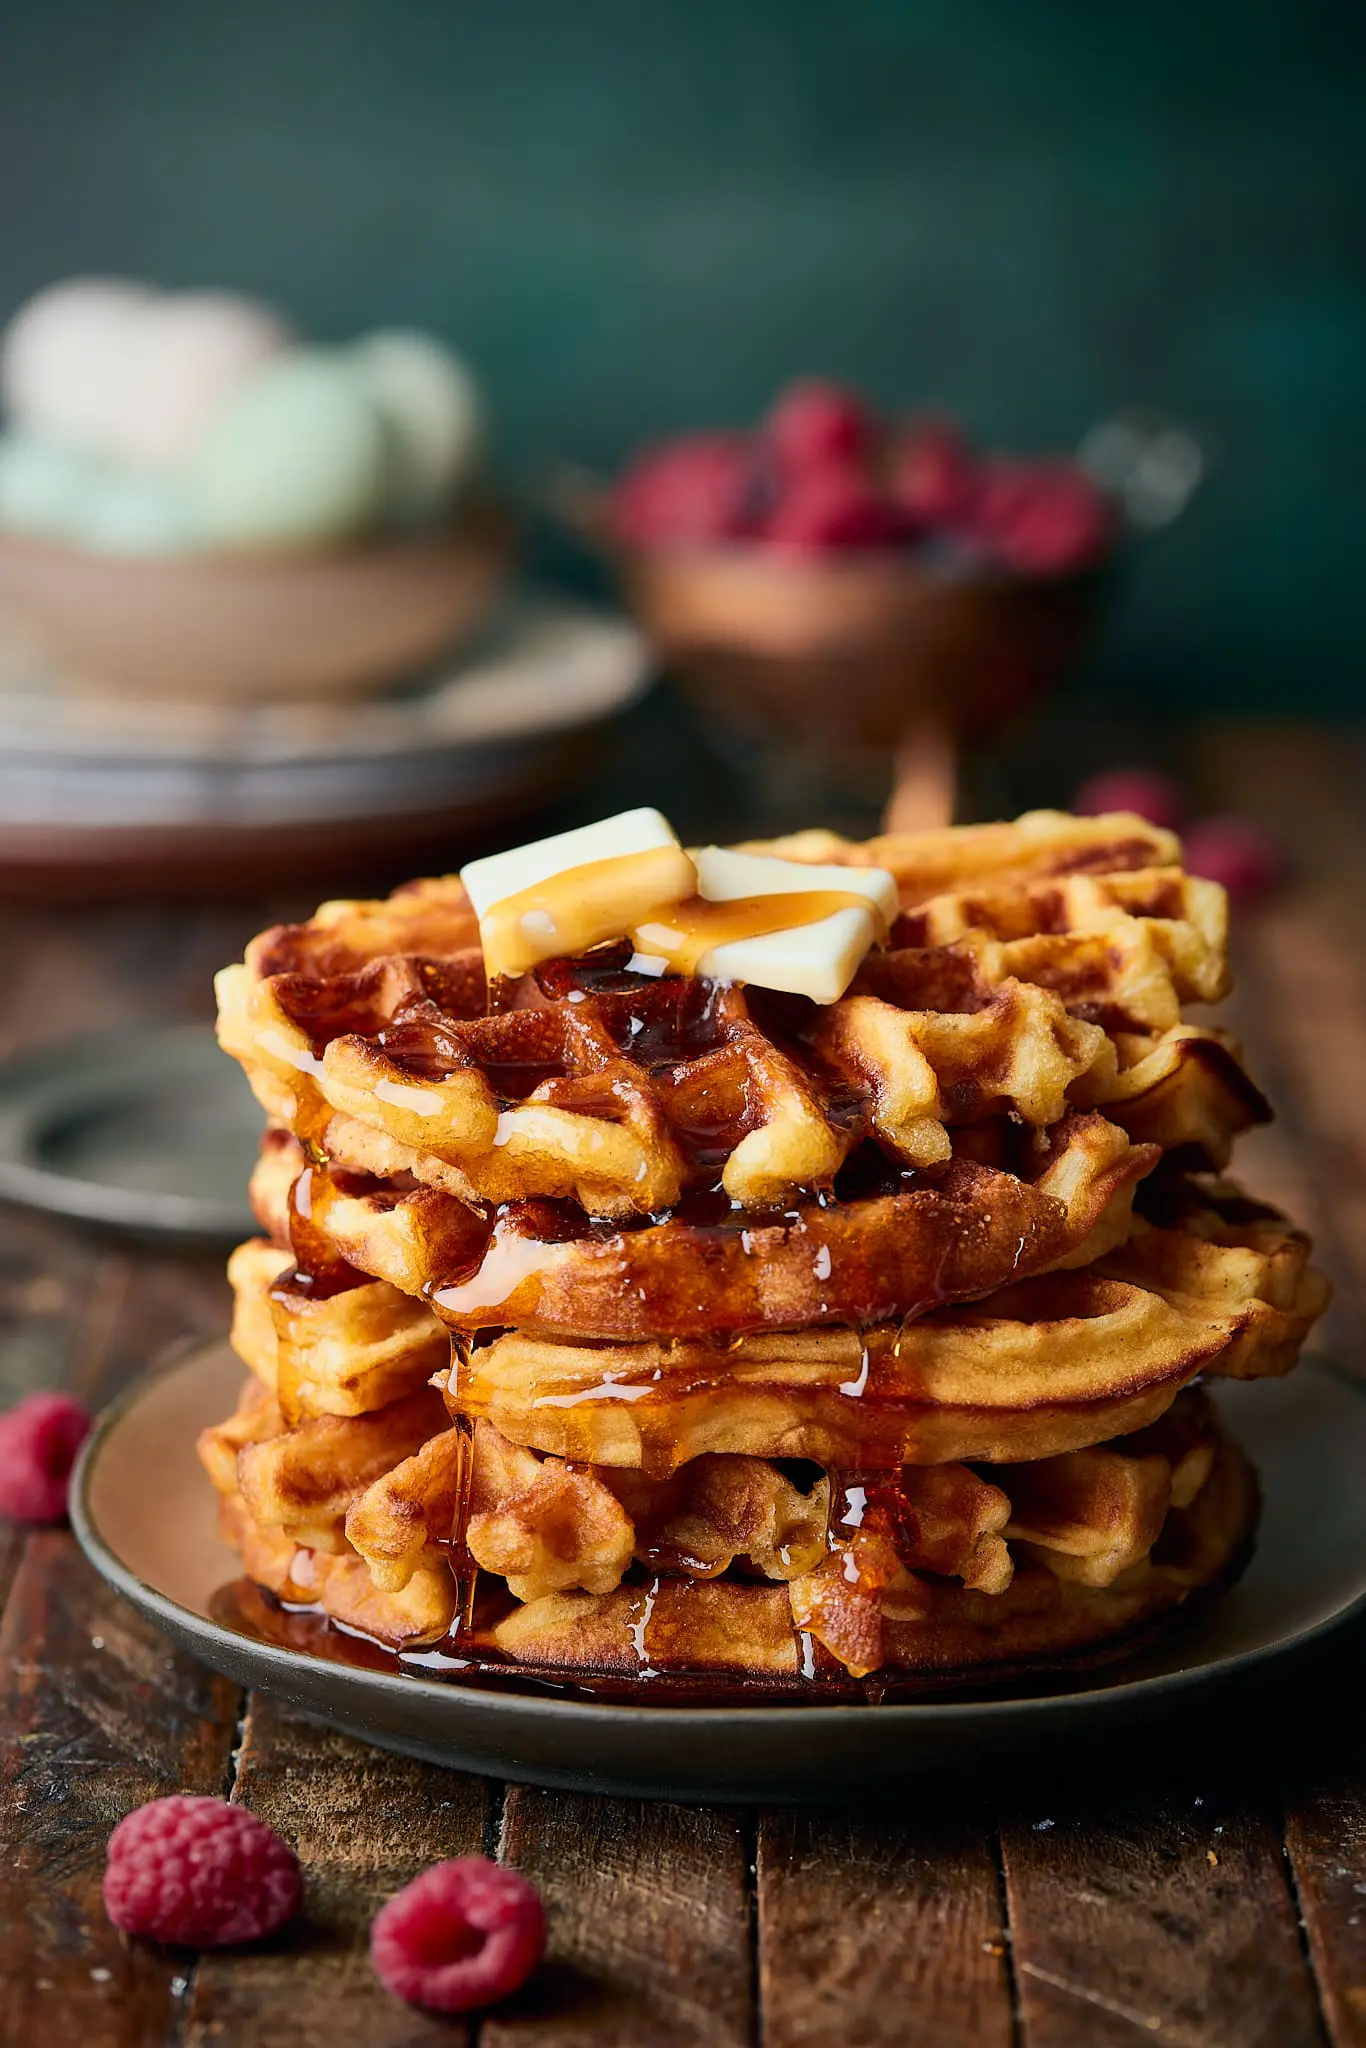
This recipe makes about 6 large Belgian-style buttermilk waffles, or around 10 to 12 thin ones. Even when we’re making them for two, we always make a full batch: they freeze and reheat exceptionally well. There are few things better than waking up and having a batch of delicious, hot homemade waffles ready in just a few minutes.
Once the waffles are cooked, allow them to cool completely on the cooling rack, then freeze them in a single layer on a baking sheet for an hour before placing them in a sealable freezer bag separated by parchment paper.
Thin waffles can be reheated directly from frozen in a toaster, or toaster oven (set at 350°F), or in an air fryer for 3–5 minutes until crispy.
For thicker Belgian waffles, we like to heat them in a toaster oven or air fryer at a lower temperature (275ºF), for a little longer: 7 to 10 minutes. That way they stay crisp on the outside, but remain tender inside.

The BEST Light and Crispy Buttermilk Waffles
Equipment
- 1 Belgian-style (thick) or American (thin) waffle iron
- 1 Stand mixer or handheld beater
- 1 Baking tray with a cooling rack inset
Ingredients
- 1 1/2 cups all-purpose flour
- 1/2 cup cornstarch
- 1 teaspoon kosher salt (for Diamond Crystal. If using Morton’s or table, use half)
- 1 teaspoon baking powder
- 1/2 teaspoon baking soda
- 1 teaspoon cinnamon (optional)
- 2 large eggs whites and yolks separated
- 1 1/2 cups buttermilk
- 3/4 cup vegetable oil
- 1/2 cup whole milk
- 2 teaspoons vanilla paste or extract
- 1/4 teaspoon cream of tartar optional
- 2 tbsp granulated sugar
Optional Toppings
- Salted butter
- Maple syrup
- Sliced bananas
- Mixed berries
Instructions
- Preheat the oven to 200°F. Fit a cooling rack into a baking sheet and set it aside.
- In a large bowl, whisk together the flour, cornstarch, salt, baking powder, baking soda and cinnamon (if using). Whisk until combined and set aside.
- If you haven’t separated your eggs yet, do it now. Mix yolks with the buttermilk, oil, milk and vanilla until combined.
- Add whites and cream of tartar (if using) to the bowl of a stand mixer fitted with the whisk attachment (or use a medium bowl and an electric beater.)
- Start mixer on medium-low until whites turn foamy, then slowly raise speed to medium-high. Once soft peaks form, gradually stream in sugar. Continue to beat until whites turn firm and glossy, about 2 to 7 minutes, depending on the power of your beater.
- Pour liquid ingredients into dry ingredients and stir with a silicone spatula until just blended (a few lumps are fine). Fold in half the beaten egg whites until incorporated to lighten the batter. Then, a little more gently, fold in the rest until fully combined, though a few small streaks of egg white are fine.
- Preheat waffle iron (Belgian or American) to the highest setting and oil it lightly. For Belgian-style, pour about a heaping cup of the batter into the preheated waffle iron (for thinner waffles, use about a 1/2 to 3/4 cup). Cook until browned and very crisp (about 5 minutes, depending on your waffle iron).
- Transfer the finished waffles in a single layer (do not stack) to the baking tray with the cooling rack and place in oven to keep warm and repeat with the remaining batter. Serve hot with maple syrup or your favorite toppings.