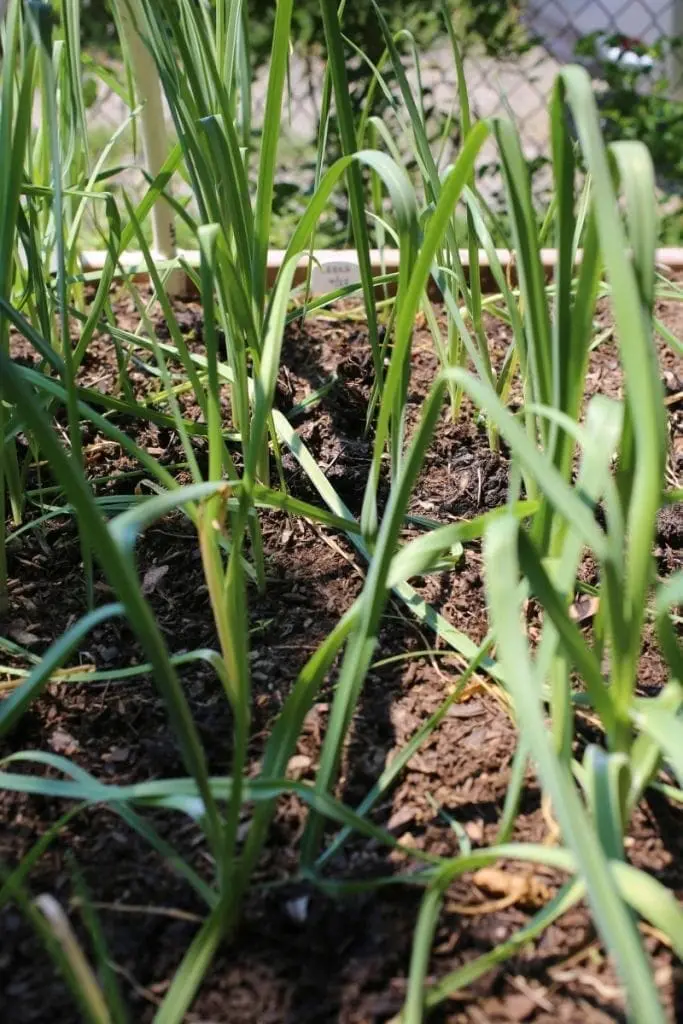
This is our first year in the country with a yard. It’s great to have all that space, and Arya loves having the freedom of running around the house and barking at cars and passers-by, but right now that’s really all it is – space. Almost from the first time I saw it, I have been wanting to dedicate some of it to planting vegetables. Emily’s lovely parents gave us a gift certificate to White Flower Farms, which sell seeds, flowers and other accoutrements. So why not give it a go?
There are quite a few challenges to the practical use of our garden. Most of it has a slope of some degree – quite severe around the back of the house, and less so elsewhere, but there are very few completely level areas. Where there IS level ground, tree roots tend to limit how much digging can be done. I planted crocuses alongside the porch in early December (JUST beginning to see them emerge…) and most of the trowel work involved battling the root system of nearby trees.
So without serious landscaping (which isn’t going to happen while we’re renting), we needed to find workarounds to let us get some actual planting accomplished. Our first solution is the raised bed. This is a bounding structure which sits on top of lightly- or un-worked soil and gets filled with whatever mix of soil works best for your selected plantings.
Here are the instructions I followed to build an 8-foot by 4-foot raised bed.
How to build a raised garden (sunset.com)
And here are the observations made and lessons I learned in the process. Please be aware that I am a carpentry idiot and have not made anything with wood since I made that napkin ring at school. (The damage was mostly limited to the woodworking room, and the charges were later dropped.)
– First, “2×6” does not literally mean “2 inches by 6 inches”. You actually get more like 1.5″ x 5.5″. Similarly, my piece of 4×4 is really a three-and-a-half-inch block. For this project, it doesn’t matter all that much – it’s not load-bearing and it essentially just sits on the ground and gets filled with soil – but if the structure were any more complicated (hello, chicken house), I would definitely want to measure carefully and compensate for different wood sizings.
– It would have been an excellent idea to print out the instructions to refer to while I was building the bed. For some reason I had it in my head that the corner posts were the same height as the rest of the bed – about a foot – so I merrily cut four 12″ pieces before finding out that they actually needed to be 16″ (so that they would get set into the ground to support the structure). Fortunately, I had 4 feet of uncut wood left, so could get three legs cut the right length. For the remaining leg, I sliced two 2-inch pieces from one of my short cuts, and screwed them either side of another short piece with 3.5″ screws. It resulted in a bit of a gimpy leg, but it’s not load-bearing and nobody will see it.
– Before you screw into wood, definitely pre-drill, and definitely use a drill bit that’s almost exactly the same size as the screw (the screw thread should very slightly overlap the bit if you hold them one behind the other). I started out using a bit that was too narrow (believing that, since the screw would be doing “more work”, the joint would be more stable) and my cordless driver had a brave go, it really did, then it gave up and just coughed for about ten minutes, like a smoker on a fun run.
– A Makita cordless drill battery will give you about an hour and a half of help, and then it will die. Have a recharger handy.
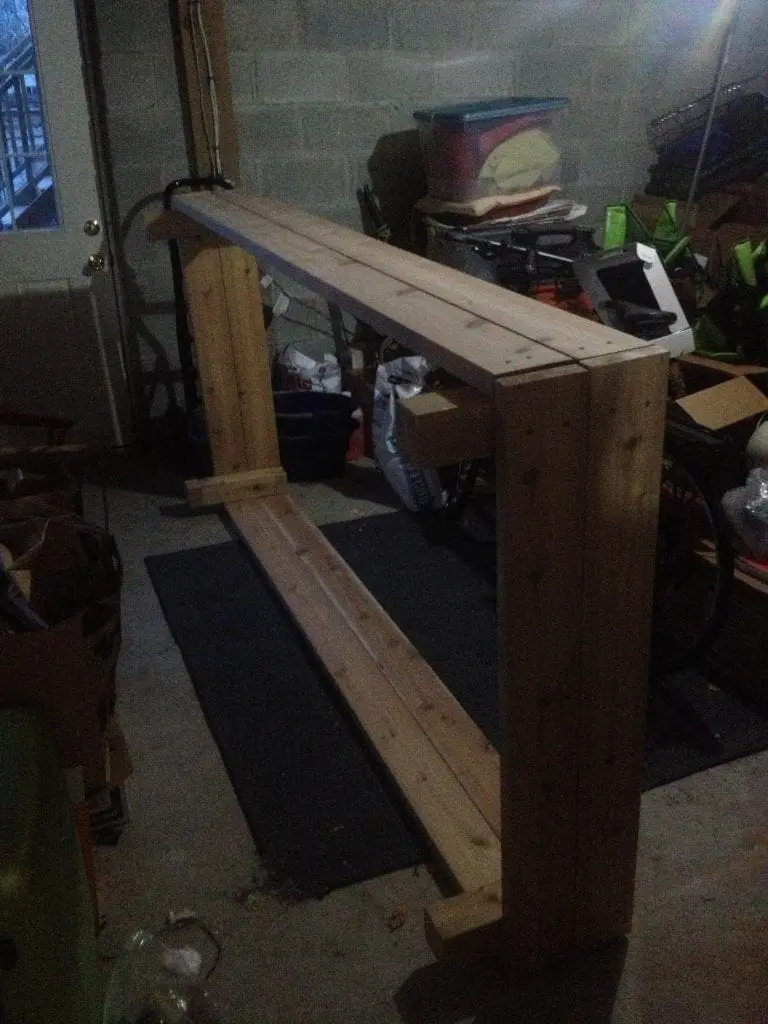
Here’s a really bad picture of the finished piece.
I’m not yet sure if I want or need to treat the exposed edges. The wood is cedar, which is supposed to be resistant to rot, but it’s a very plain color, and I think would look better with a slight stain. (The picture of the bed in the linked article above has a great color to it.) However, I don’t want to introduce chemicals to my soil. So I need to do a little research on that. I also need to get the hardware mesh for the base, and screw in supports for the PVC pipe cover.
More later…


This was the first garden post I made, and, as such, is sadly bereft of any actual garden. Other posts in the Garden category do show the plants we have grown in the last few years! (And some plants we’ve killed.)