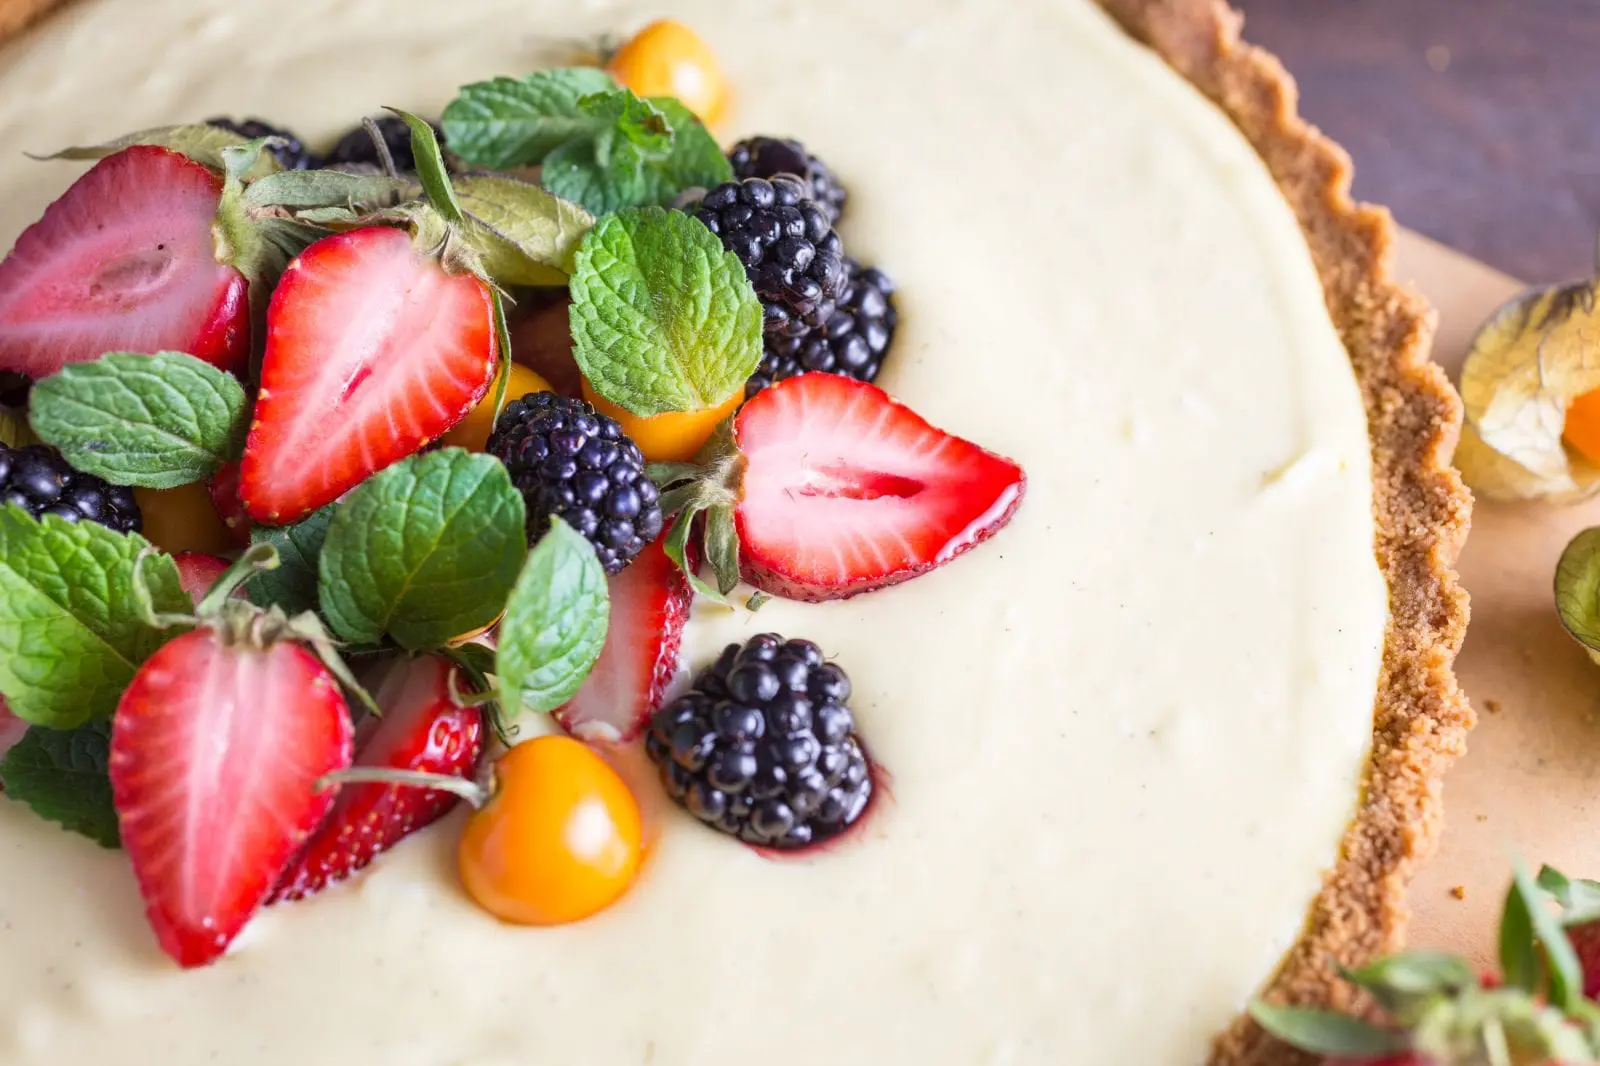
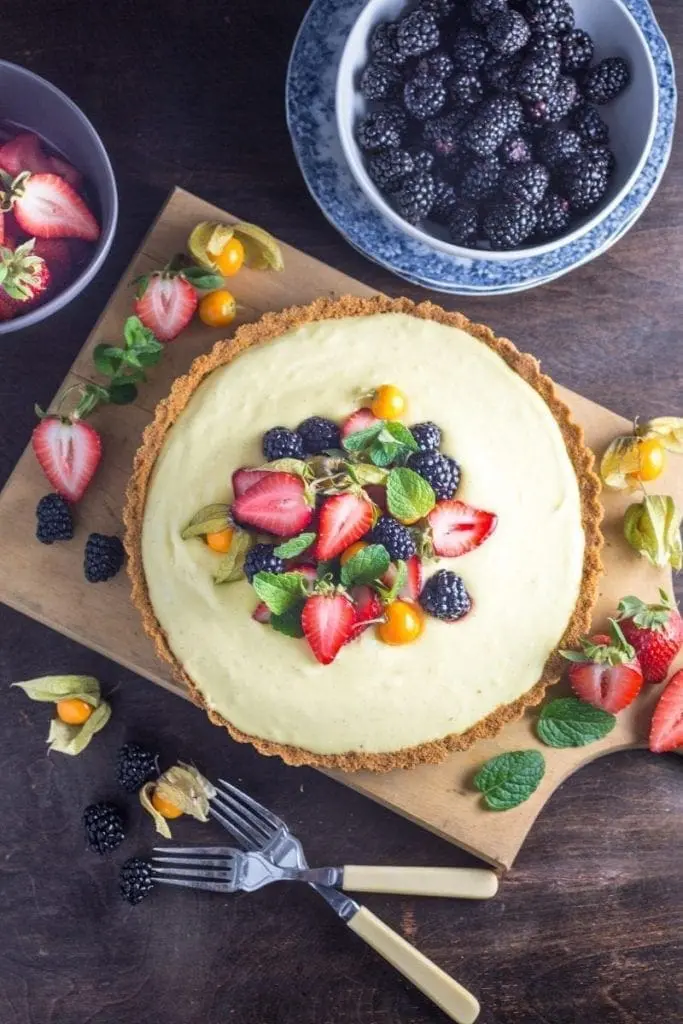
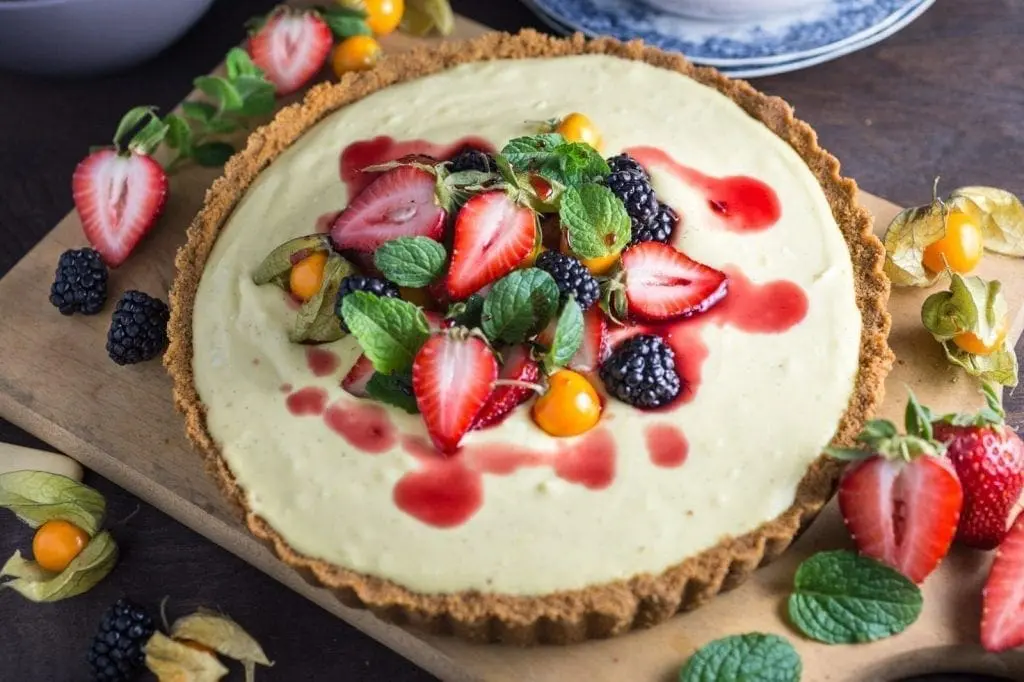
Vanilla custard tart made from homemade pastry cream and an easy graham cracker crust, topped with fresh summer berries. Perfect for summer parties!
If there’s one challenge to keeping chickens – there aren’t, of course, there are dozens: keeping the dog out of the chicken pellets and poop, keeping the chickens out of the vegetable patch and flower border; keeping Bernie Sanders, our runty salmon favarolle, from being bullied by the other, bigger, chickens – but if there were only one challenge, it would be: what the hell do we do with all these eggs?
With seven hens, even giving them away to our friends and neighbors, we’re never shy of around six dozen eggs on the counter at any one moment, with five or six being added to the stock every day. Yes, there are worse problems to have, and most of the solutions are pretty delicious.
How do you feel about custard, for example? I used to buy it in a can, so, you know, I’m easily impressed. Custard, depending on its formulation, can have a pouring consistency (the classic creme anglais). This type of custard uses no flour or corn starch, relying only on the eggs for thickening.
A thicker custard that you can slice once chilled (creme patissiere, or pastry cream – “creme pat” if you’re in the biz) uses flour, cornstarch, or a mix of the two.
The only custard which must never be considered or even mentioned is school dinner pink custard (*Matt makes the sign of the cross and spits*).
But I’ve come to really enjoy making pastry cream from scratch – it’s actually a lot easier than you might think. The trick is using a recipe that results in the texture you need for what you’re making. If you’re pouring, there’s a lot more flexibility. If you want to make a tart, the custard needs to hold up. The recipe we include below will work well – but there are a couple of nerd tips at the end that will help ensure your tart comes out perfectly.
We have previously blogged a baked custard tart with pears and ginger, as well as a summer berry tart, which had a whipped mascarpone cream filling instead of custard. So this custard tart recipe is kind of a combination of the two. It uses the graham cracker shell method which we’ve honestly found is the simplest way of forming a crust other than buying a ready-made pastry shell. If you want to make a shortcrust pastry, that would absolutely work too, of course – we just happened to have a big box of graham crackers in the larder and wanted to use them up.
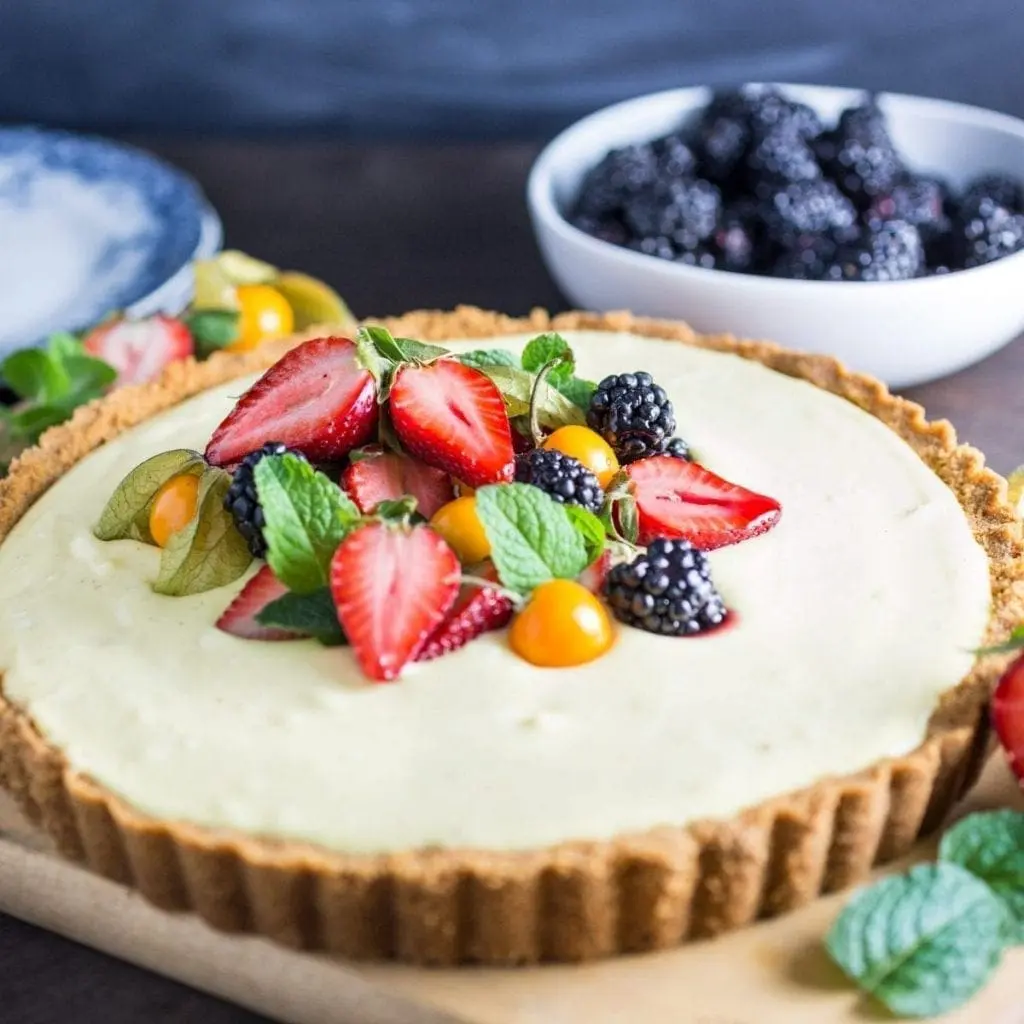
And then there’s the berries. Look, I’m perfectly aware they weren’t in season (at least, not where we live). But sometimes – sometimes, you know, you’re in the grocery store, and there’s a big pile of imported berries, from Mexico or California or wherever, and they smell kind of vaguely berryish – not super-aromatic, you know, like ACTUAL fresh local berries, they’ve clearly been in a refrigerated truck for three days, but dammit, they’re the first fresh things you’ve seen for months. We also added some mint leaves which actually were from our herb garden, and they add a great bright touch to the ensemble. We served this custard tart at an early summer garden party, and pretty much everyone ended up with custard on their face, so we’ll count that as a victory.
There are many tutorials on the internet for making pastry cream if you feel nervous but it’s really not very hard. Here are a few tips we think might be helpful.
Nerd Tips:
- Once you add sugar to the eggs, whisk it thoroughly right away or the sugar can “burn” the yolks. Once it’s combined, it can sit for a while.
- Tempering the eggs is an important step. Here’s a great tutorial on the tempering process.
- Keep whisking the pastry cream the entire time it has heat under it. Once the pastry cream bubbles, continue whisking over low heat for two additional minutes. This is the trick to making sure it stays thick and doesn’t separate.
- Cold pastry cream doesn’t look creamy at all (it will be kind of thick and rubbery). Before using, it needs to be whipped. You could do this by hand or with a beater or stand mixer.
- You can lighten the pastry cream by folding in whipped cream before using (great for dolloping over berries).
- If the berries are not very sweet, place them in a bowl and sprinkle a little sugar over them (to taste, but start with a couple of teaspoons). Mix it gently and let it macerate for 20 minutes or until ready to serve.
Vanilla Custard Tart with Berries
Ingredients
For the Crust: (use 9-inch tart pan with removable bottom)
- 12 whole graham crackers 1½ cups, 7oz
- 6 tablespoons unsalted butter melted (85g)
- 3 tablespoons brown sugar 34g
- ¼ teaspoon fine sea salt
For the custard:
- 2 cups whole milk or half & half
- 1/3 cup + 1/4 cup granulated white sugar divided
- pinch kosher salt
- 5 large egg yolks room temperature
- 3 tablespoons cornstarch
- 4 tablespoons unsalted butter
- 1 vanilla bean scraped (or 2 1/2 teaspoons vanilla extract)
Instructions
For the crust:
- Position a rack in the center of the oven and heat the oven to 350°F
- Place the crackers in the bowl of a food processor and process until fine crumbs form. Add the salt, sugar and melted butter and process again until well combined.
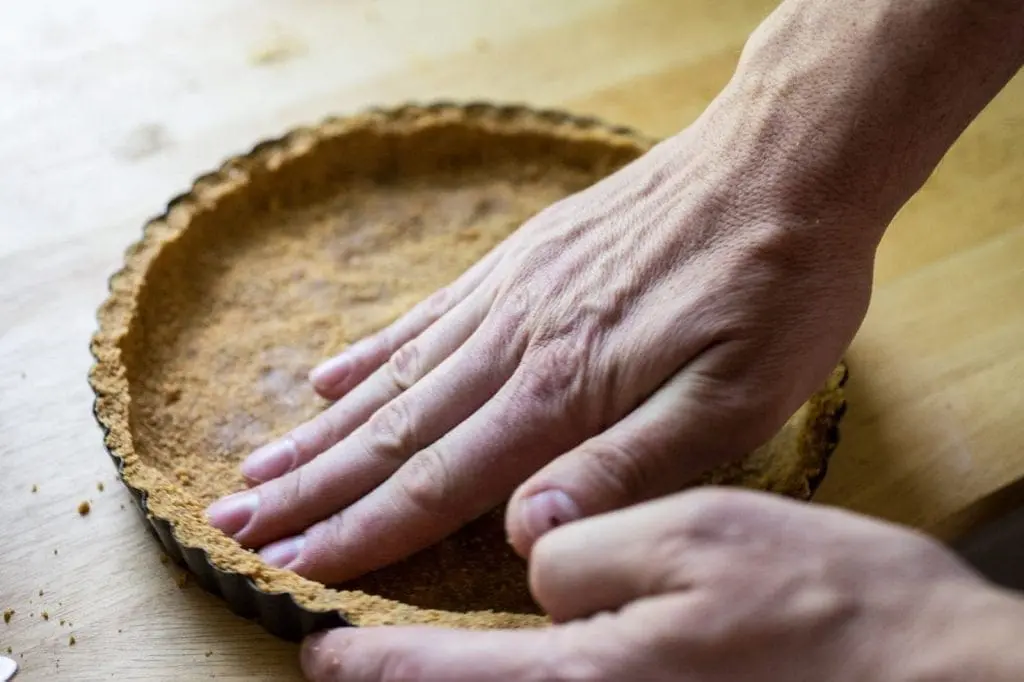
- Place the crumbs into the tart pan and evenly spread the crumbs so that they cover the bottom of the pan and sides. Press down on the bottom firmly to make a compact layer. Use your fingers to pinch and press some of the crumbs around the inside edge of the pan to cover the sides evenly and create a rim about a ¼ inch thick. Bake the crust until it’s golden brown and smells nutty, about 10 minutes. Set the baked crust on a rack and let cool. Note: The crust can be made up to a day ahead and stored at room temperature, wrapped well in plastic.
For the custard:
- Add milk, 1/3 cup of sugar, salt, scraped vanilla seeds, and the pod to a medium saucepan. Bring to a simmer over medium/high heat, but don’t let it boil. Turn off the heat and let sit for 15 minutes while the vanilla infuses. (if using extract, no need to let it sit. Add it later).
- In a medium bowl, whisk together the egg yolks, cornstarch and remaining 1/4 cup sugar until fully combined.
- Once the milk has infused, remove the vanilla pod* and bring mixture back up to a simmer. When it’s ready, turn off the heat and, while whisking, slowly drizzle in about half the milk to the egg yolk mixture (this tempers the yolks so they don’t turn into scrambled eggs). Then, while whisking, pour the tempered yolk mixture back into the saucepan and cook over low heat, stirring constantly with a wooden spoon, until the mixture thickens, 5 to 7 minutes. Don’t worry if the custard looks like it’s curdled when it comes to a boil; just switch to a whisk and beat vigorously. Cook, whisking constantly, for another 2 minutes; the custard will come together and become very thick, like pudding.
- Remove from heat and whisk in butter and vanilla. If there are any lumps, strain the pastry cream into a bowl through a fine mesh sieve or strainer. Press a layer of plastic wrap directly on to the surface and refrigerate until cold and set, at least 3 hours or up to 2 days.
- *Don’t throw away scraped vanilla pods. Rinse them well and let them fully dry. Then add to a jar of sugar to make vanilla sugar. Keep adding pods as you use them
To assemble the tart:
- Using a hand whisk or a stand mixer with the paddle attachment, whisk 3 cups of cold pastry cream until it’s light and very smooth, 1-2 minutes. Pour into cooled tart shell and top with berries and mint sprigs, as desired. Can be refrigerated for up to a day before serving (add fruit just before serving). To get a shiny look on the berries, brush them with a little jam thinned with hot water.


If this tastes half as good as it looks, it is a winner.
Thank you Victoria!!! Hope you’re well 🙂
This is so gorgeous!
Thanks Deb!
Perfect – I *just* purchased a tart pan this week and have been on the hunt for recipes, and this one seems great but also accessible! Beautiful photos as always 🙂
Yay! Tart pans are so great. I love that you can remove the bottom. It makes. Life so much easier 🙂
5
5
5
4
This tasted heavenly! It was super easy to make and my party of 6 helped themselves to generous servings and were fighting for a second serving. The base was maybe a bit crumbly but it was workable. Will definitely make again!
Just made this and it came out perfect! I had to double the crust recipe for my 13″ pan, and it was just right. My custard took a long while though, I needed up turning it back up to medium heat when whisking to get it to actually big and thicken (took m 30 minutes instead of 5-7) so if you have an older range, like me, don’t be afraid to slowly turn up the heat if it’s not thickening! Really delicious, and it came out perfect for my friend’s birthday. Thanks for the great recipe!
I love that it doesn’t have tons of sugar in the recipe. I will try this
in my new rectangular tart pan. Thank you!
Loved how easy it was to put this together, the custard wasn’t too sweet at all! Although the pie crust was a bit sweeter for me, I think next time I’ll add cinnamon instead of brown sugar.
Another thing, my custard came out a bit liquidy even after I chilled it for five hours. Should I add more cornstarch next time to thicken it?
Hi Magdalena, it’s possible it didn’t cook quite long enough in the pot, to allow the proteins in the eggs to thicken fully. Adding a little more cornstarch will definitely make it thicker though adding too much will change the texture a little. Glad you liked the flavor!