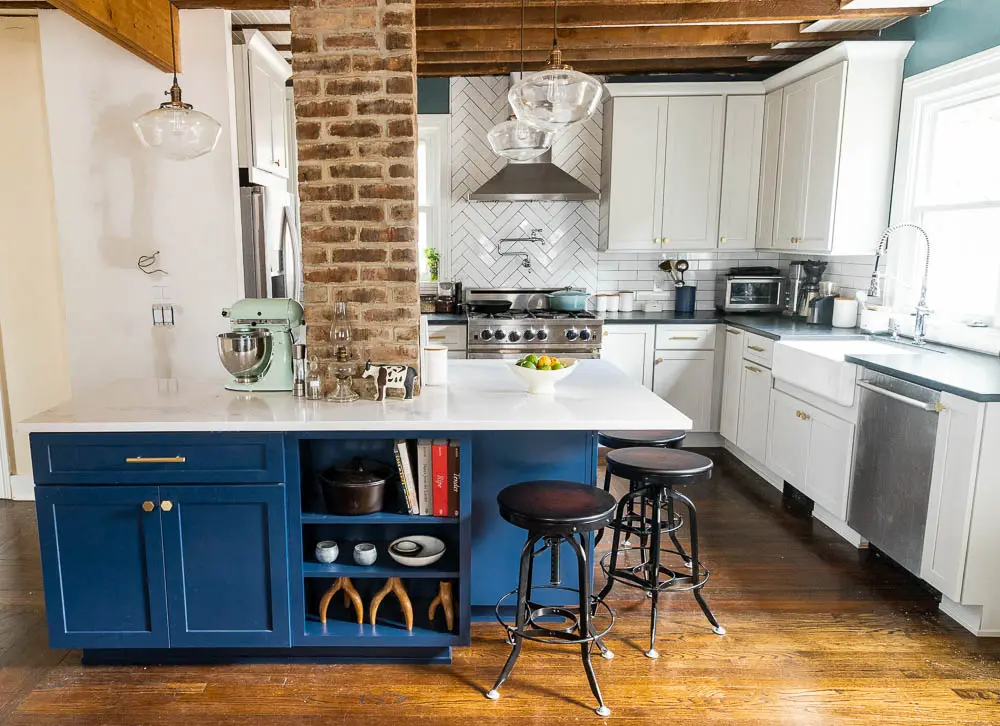
Last year, like most people, we spent a LOT of time inside the house. Coincidentally, we also planned a gut renovation on our kitchen. Did we lose our minds in the process? Read on to find out! (PS, the answer is “yes”.)
(Part 1 of the kitchen renovation journey can be read here.)
Neither of us grew up with large kitchens. In both New York City and suburban London, kitchens were often added as an afterthought, often in whatever space was available between one room and another. It wasn’t until we moved out of the city, to Beacon, in the Hudson Valley, that we had more than just a few square feet of dedicated cooking space. Our kitchen in Brooklyn was so small that we had to make our own counter space by laying a cutting board over the sink. Even so, we managed to cook a full Thanksgiving dinner for 14 people in that kitchen, though I’m pretty sure it took several years off my life in the process.
We Get to Beacon
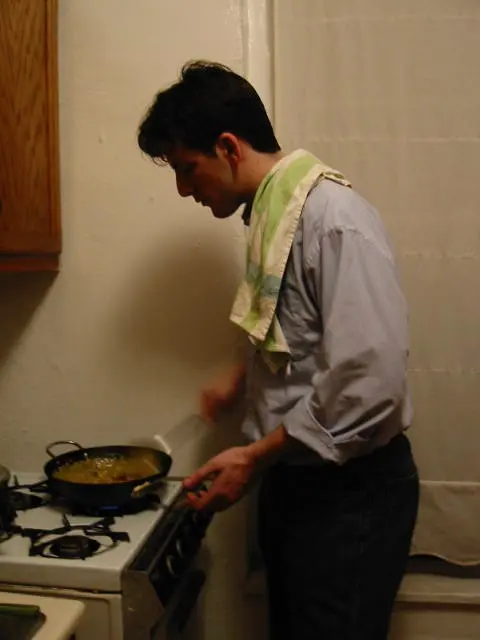
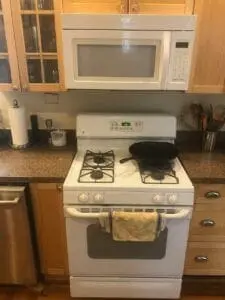
When we decided to move to Beacon in 2012, the house we have now was actually the very first house we looked at to rent. “What a dump,” I thought, seeing only the peeling salmon-colored paint, moldy water marks and overgrown yard. That is, until we looked at the other houses available. (This one was a veritable palace in comparison.) It had two and a half bathrooms (!), great light, and the builder’s-grade kitchen felt huge compared to what we were used to. It wasn’t particularly pretty, but it was functional. So we rented the house for a couple of years, fixing it up in dribs and drabs just to keep it standing, until we decided in for a penny, in for a pound, and bought the place.
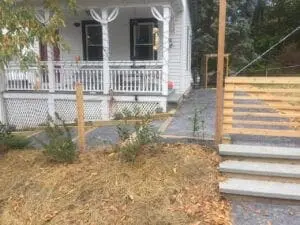
For the first few years, most of the improvements were invisible: insulation, window replacements, yard drainage, that kind of thing. Nothing particularly sexy. Then we replaced the crumbling front steps, tamed the yard and built a larger (and safer) deck.
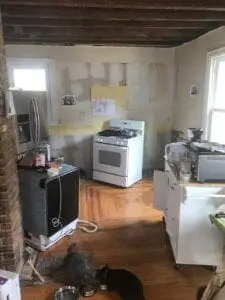
By this point Nerds with Knives was a few years old (we started it the year after we moved to Beacon), and we were cooking a lot. A lot. And the kitchen that had at first felt like an upgrade to us became a constant source of frustration: not enough counter or cabinet space, the tiny sink had raised edges that were hard to clean, and there was no ventilation which meant we were setting off the smoke alarms constantly.
Then The Oven Broke
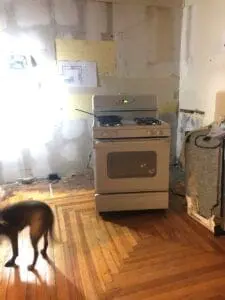
Then, one fateful day, our oven stopped working, and you can probably guess what happened next. What started out as a plan to replace the oven with something better, became a plan to replace it with something bigger. That would require pulling the cabinets out and if we were going to do that, we might as well make some other small improvements. Several weeks and a home equity loan later, we were signing a contract with a local contractor for a whole gut kitchen renovation. Terrifying!
The Plan
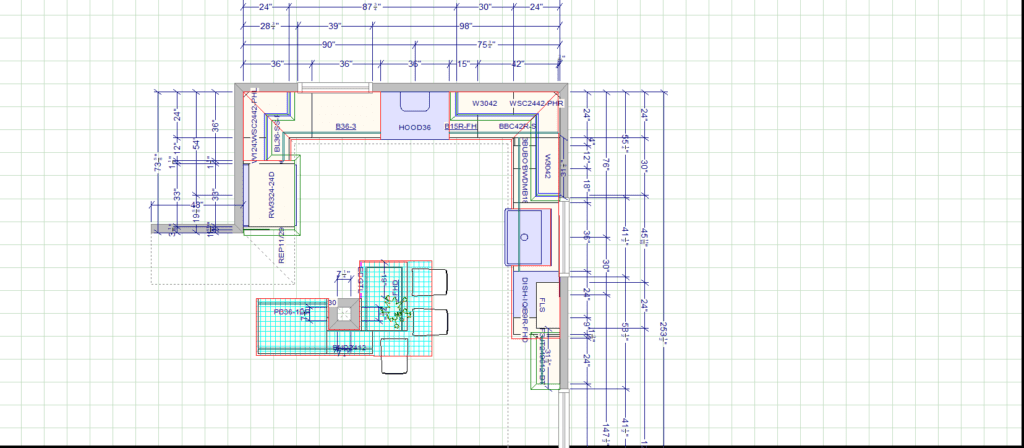
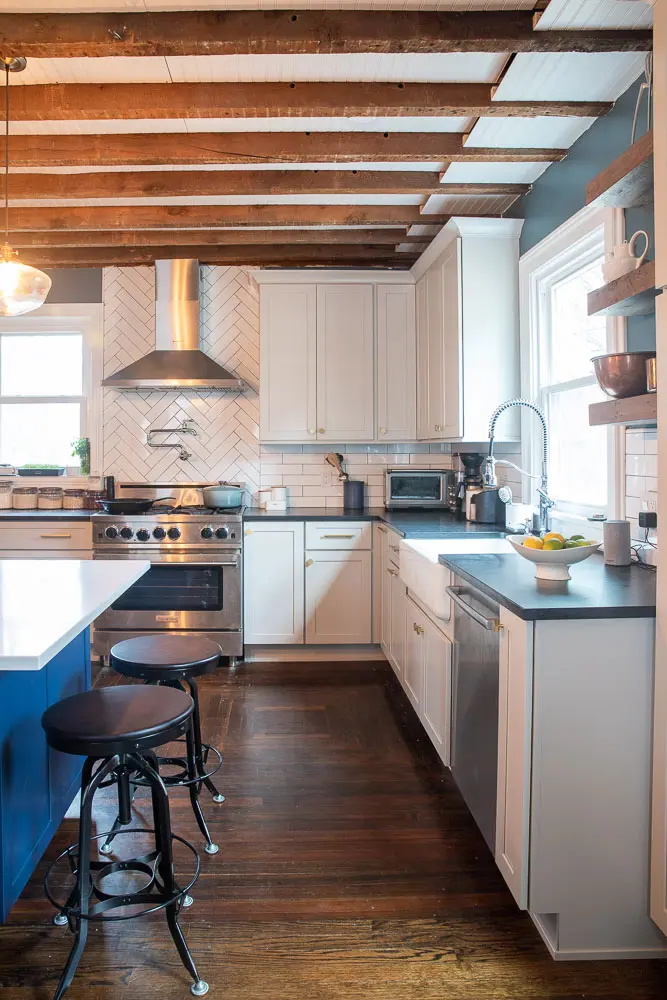
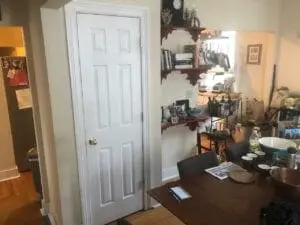
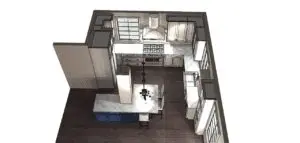
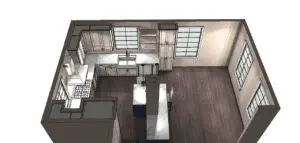
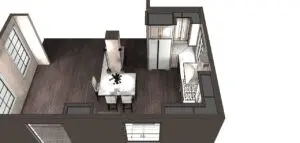
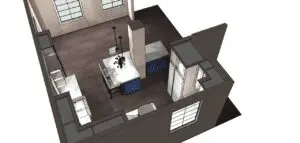
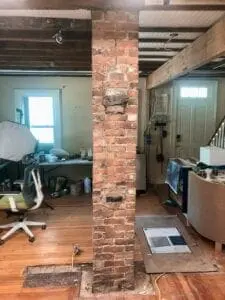
After much back and forth and hand-wringing, we settled on a final plan. The countertop would expand from just one wall to two, making an L, in the process moving the sink over to the new wall. We would also remove the half-wall between the dining room and kitchen and turn it into an island. The slight L-shape of the island was a recommendation from Emily’s dad and step-mom, who are both architects. It was a small change, but made a huge difference in the usability of the space. The brick chimney that could not be removed (it vents our furnace) would become a feature.
The estimate was that it would take 8 to 12 weeks to complete the kitchen renovation which, to a couple who run a food blog, seemed like a terrifyingly long time, but we were hopeful it would all be worth it in the end. The timing at least made sense because we’d just signed the contract to write and photograph our second cookbook, and the renovation period would give us time to research and develop the recipes. Once the renovation was finished, we could use the new kitchen to cook and test everything. Perfect, right? We thought so too!
We Tear It All Down
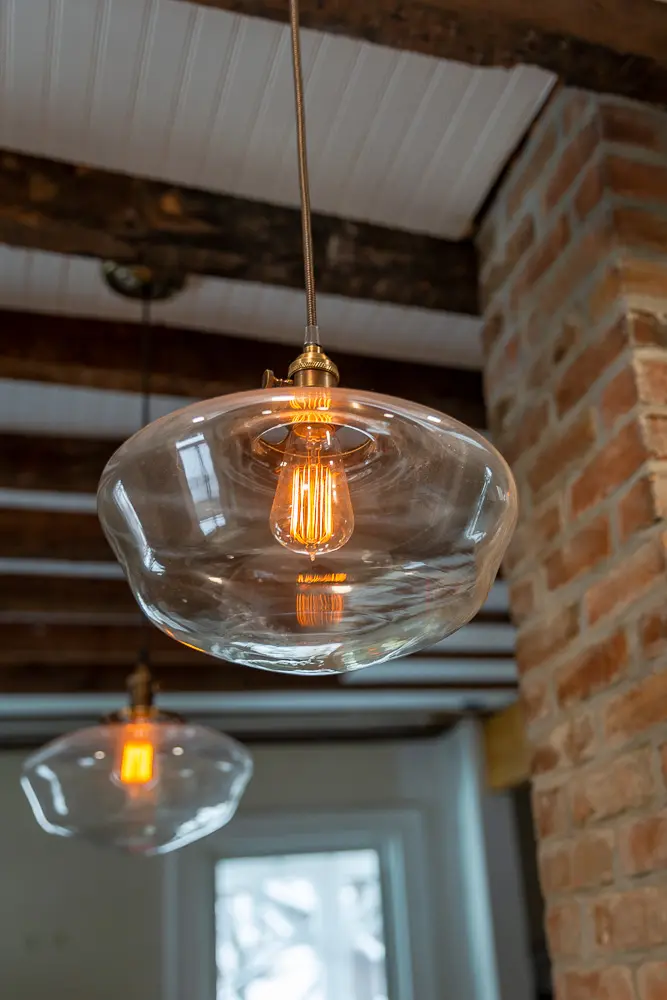
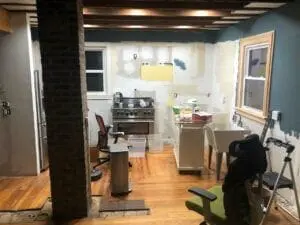
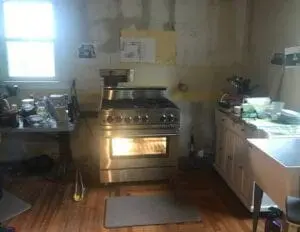
So on February 18, 2020, we ripped out the old kitchen and donated the original cabinets, Our contractor tore down the wall between the kitchen and dining room, and took down the drywall ceiling to expose the beams which would be part of our design.
We were able to get the broken stove to work well enough, so we decided to hold on to it for the time being. That was a very lucky decision because, as it turned out, not more than two weeks later, New York City declared a state of emergency due to Covid and all work shut down. We assumed it would only be for a week or two, no big deal. We were wrong. Very, very wrong.

The Kitchenless Food Writers
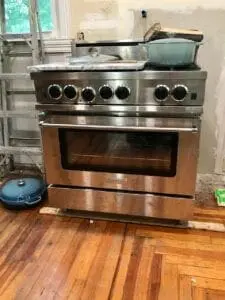
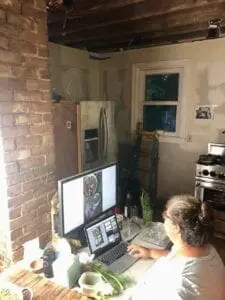
It took more than 3 months to even get ceiling lights in the kitchen. Cabinets, plumbing and flooring would take much longer. Fortunately, we’d splurged on the oven-of-our-dreams early, so we were able to take possession of that in April. Armed with a new oven, a LOT of folding tables, and a jerry-rigged laundry sink, we set about writing and shooting the new cookbook.
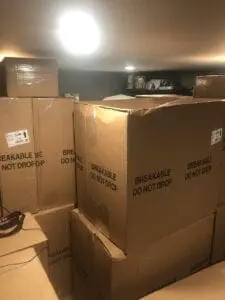
The basement, where we usually shoot our photographs, was now packed floor to ceiling with the boxes that contained our kitchen cabinets, which couldn’t be installed until a million other things were finished. So THAT was out of commission. The living room was packed with boxes filled with the items which normally lived in our kitchen. There was months and months of stop and start work on the project, during which we desperately tried to keep our sanity, stuck in lockdown in a house of chaos.
It felt like a miracle, but finally, a little more than 8 months after we gutted the space … the kitchen renovation was finished (mostly).
The reveal!
All the resources are linked at the bottom of the article.
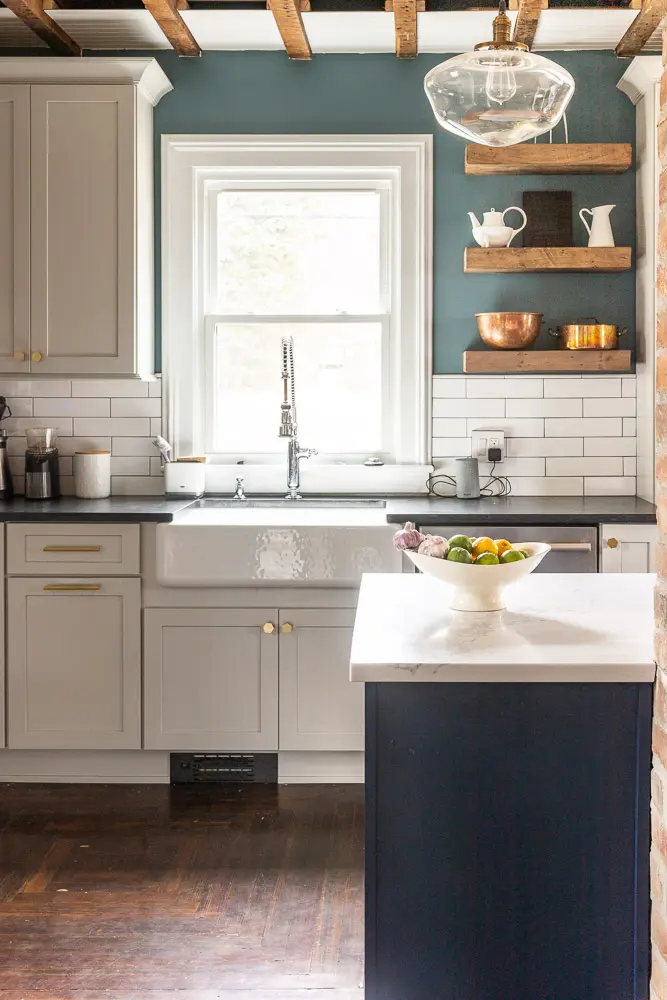
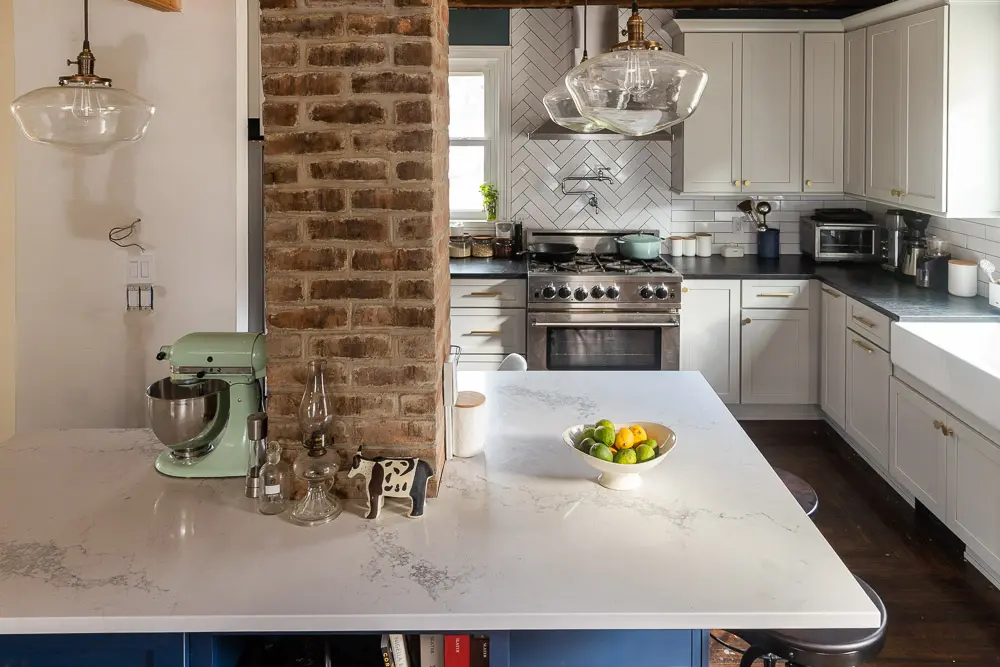
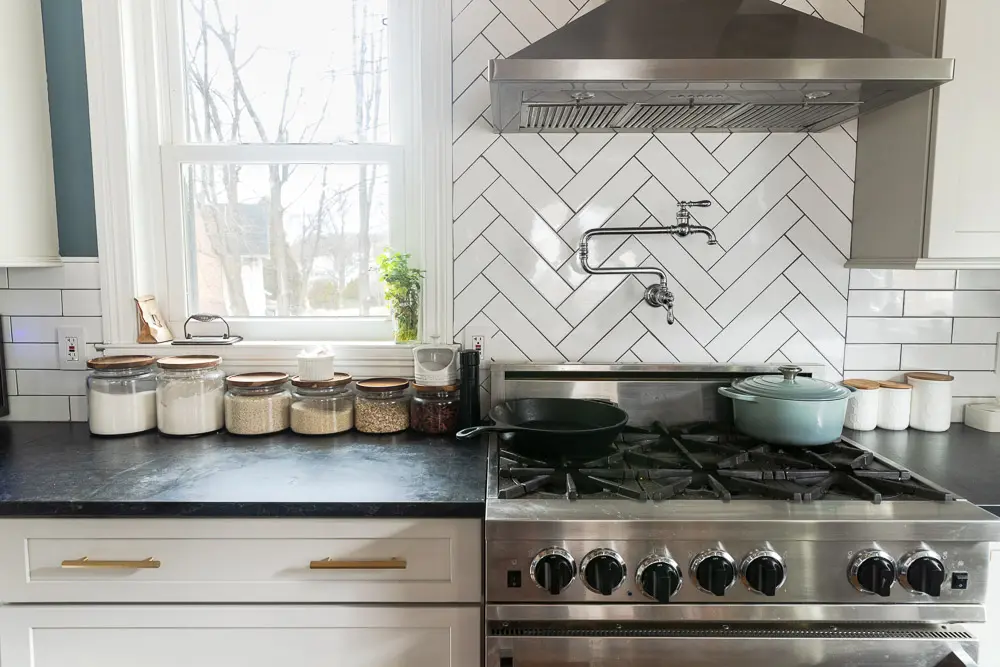
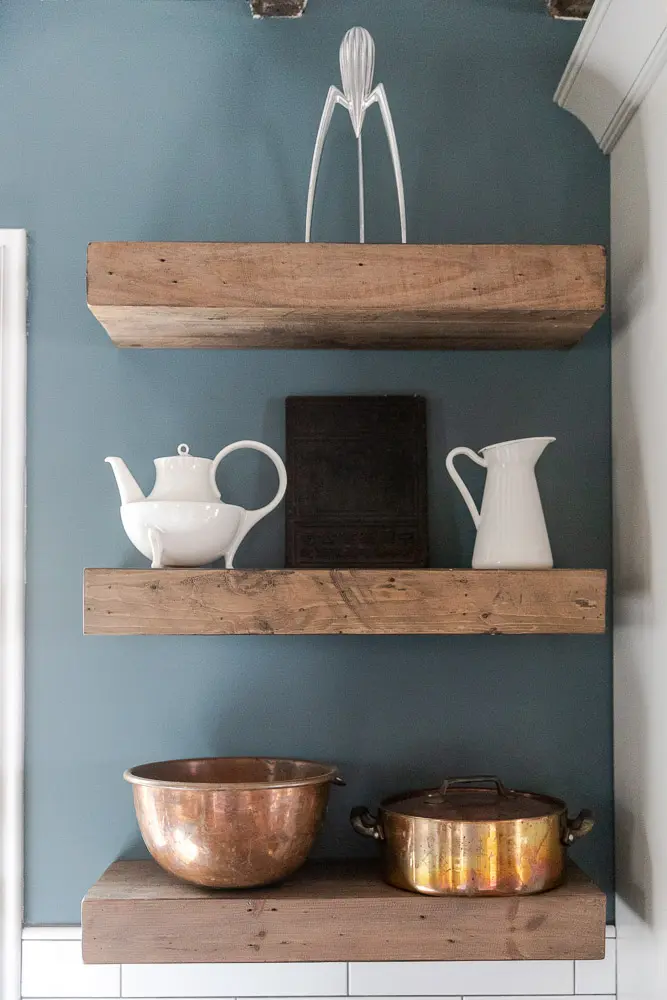
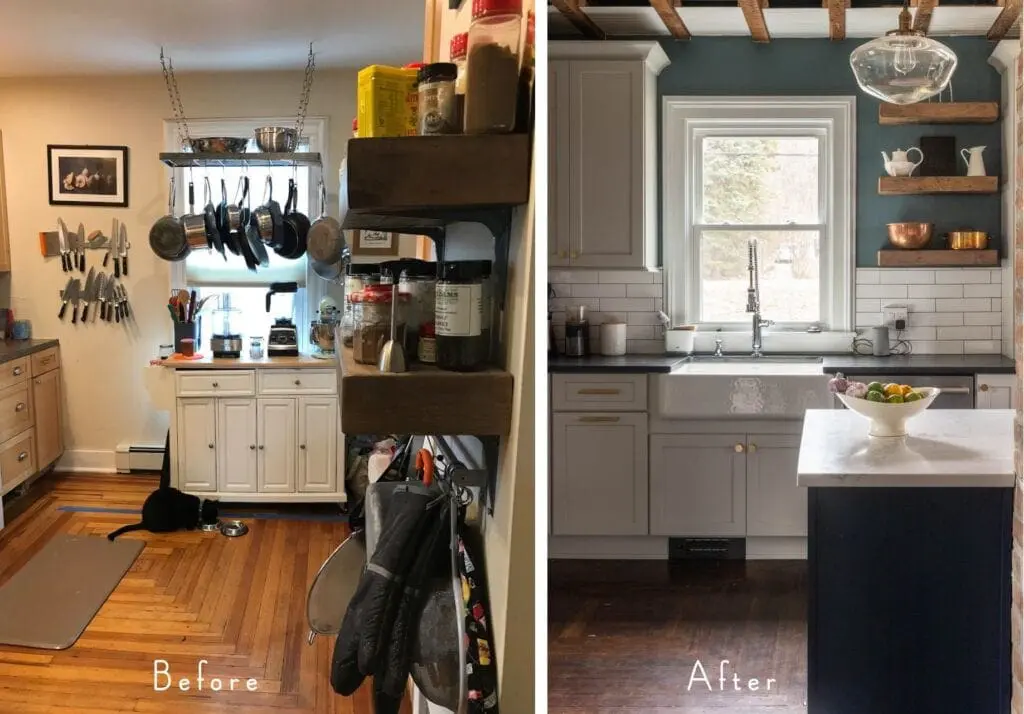
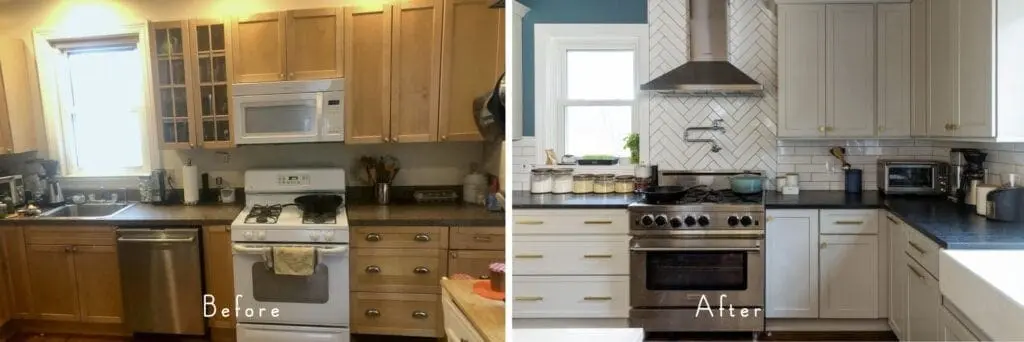
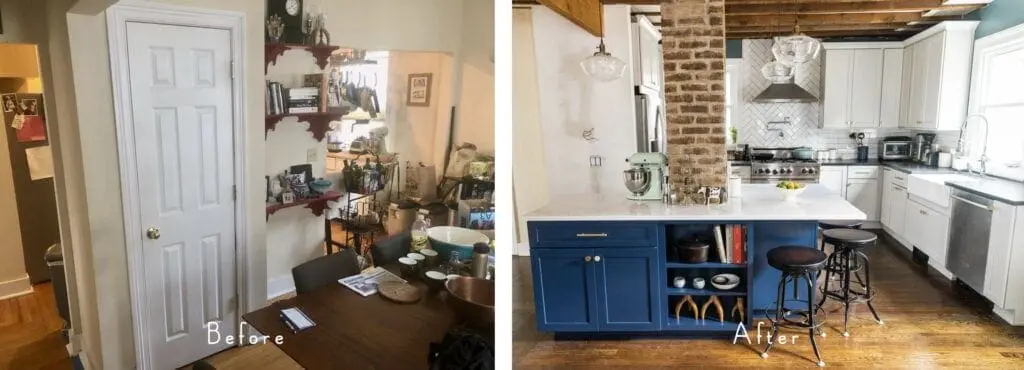
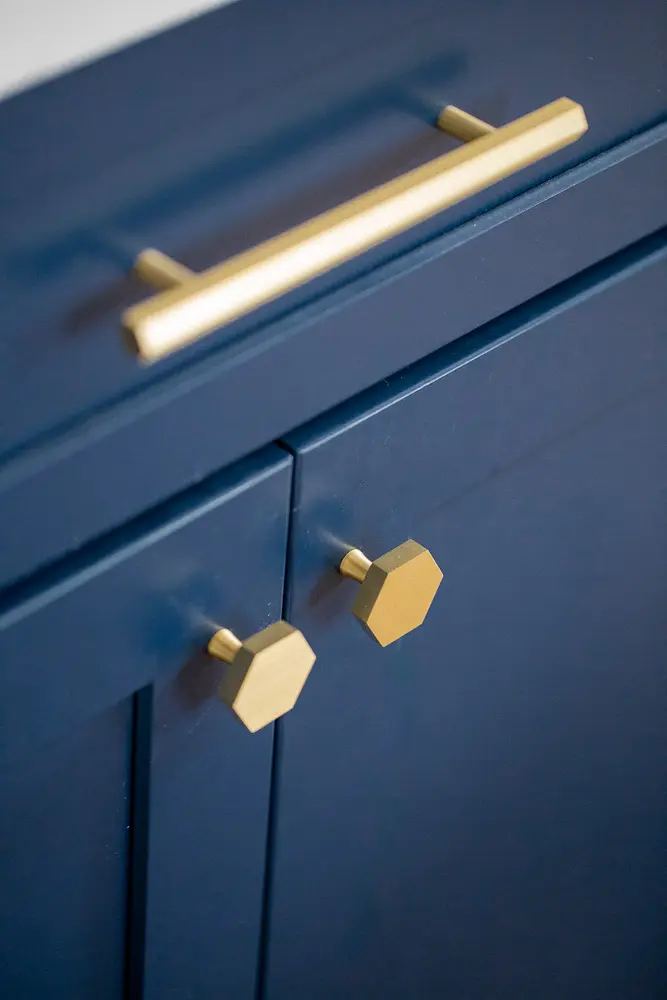
Main Contractor: A&E Cabinets, Beacon NY
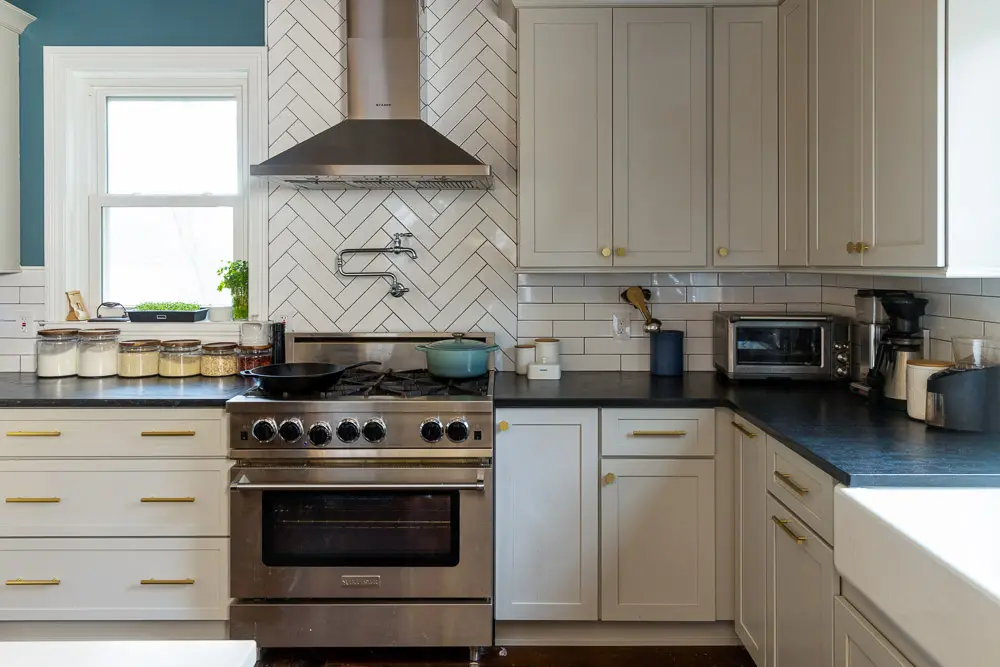
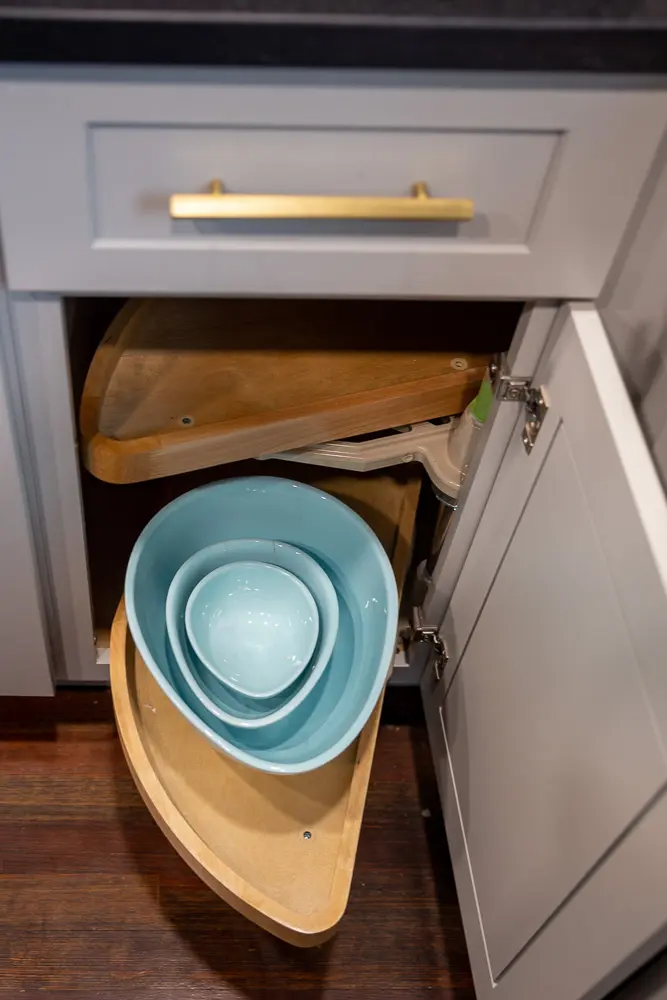
Cabinets: Shiloh Cabinetry, Perimeter- Repose Gray / Island – Naval
Oven: BlueStar, 36-inch, open gas burner / gas oven
Countertops: Caesarstone Statuario Maximus polished (for island) and Black Tempal matte (for perimeter)
Pendant Lighting: 12″ clear Schoolhouse pendants and 8″ semi-flush Schoolhouse from OldeBrickLighting on Etsy
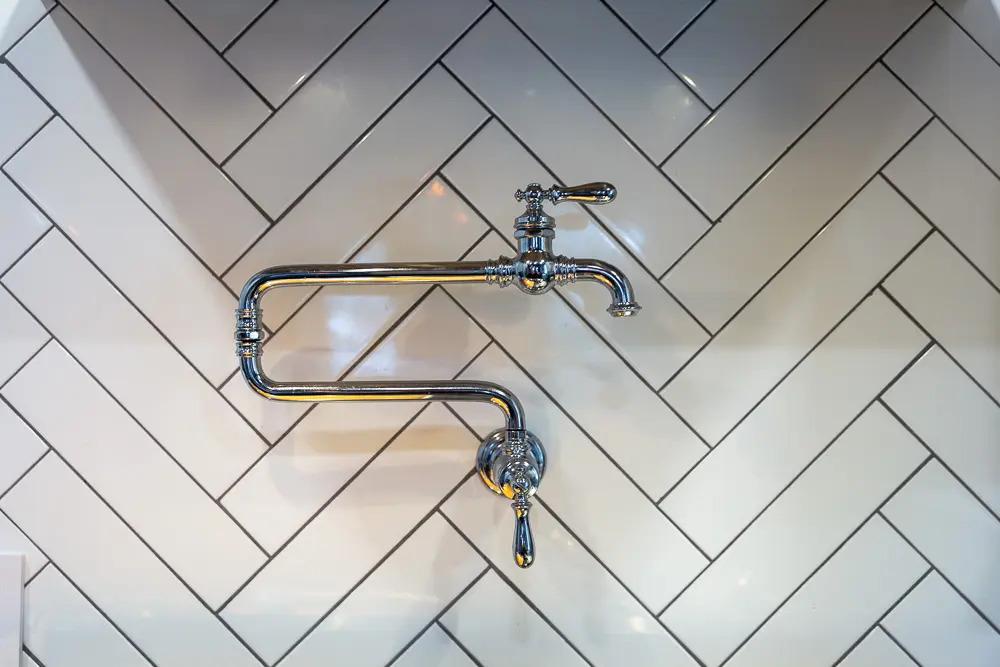
Faucet and Pot Filler: Kohler K-77515 Pulldown Faucet and Kohler Artifacts Pot Filler
Floor stain: Dura Seal Dark Walnut
Wall Paint color: Custom Benjamin Moore mix based on Farrow and Ball De Nimes
Backsplash tile: Brixton White 3″ x 12″ from Best Tile, with Mapei Pearl Gray grout
Pulls and Knobs: Brass Hexagonal knobs and bar pulls from Anglehome on Etsy
Stools: Toledo barstools from Restoration Hardware

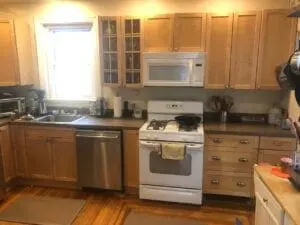
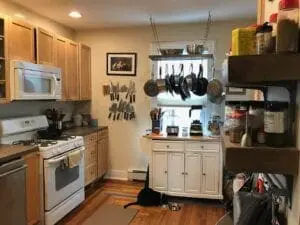
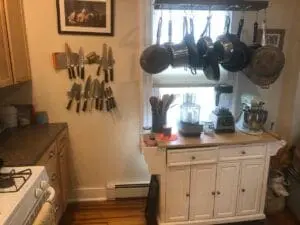
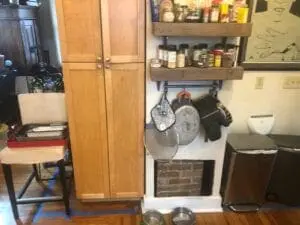


What a transformation! I can’t believe the before kitchen turned into the after- it’s definitely huge! Can you tell me your favorite part of your new and improved kitchen space? Any thing you’d do different or anything you absolutely can’t live without?
My favorite part is definitely the island – we can do food prep there, have breakfast, hang out with friends. The dining table is jealous! (Good thing, because right now it’s covered with gardening supplies.)
Beautiful! So worth it, right? Architects in the family! Love it! You two rock.
LOVE this. Great information! This was super helpful!