Jump to: CAMERA BODY AND LENSES | POWER | MOUNTING | SHOOTING SURFACES | LIGHTING | OTHER RESOURCES
(And see also our Workflow Guide for Shooting Images and Workflow Guide for Shooting Video.)
We’ve been shooting food professionally since 2013, and we’d be the first to say that we’ve come a very long way. This technical guide to food photography gives you an overview of our process, and some of the things we’ve learned.
The shooting workflows for images and videos are very different, so we cover our video process in a separate article.
We won’t revisit too much basic photography instruction here, but I will explain our thinking and why we chose the equipment and software that works for us. Of course, these may not be workflows that are appropriate for the way you work. But we hope you find some useful advice here.
Here’s our most important piece of advice. Ready?
Work within your limits!

Unless you have an unlimited budget and a huge studio space to work with (we don’t, on either count), you’re going to have to make concessions to the equipment that you can purchase and fit into your working area. If you’re just starting out on the food photography path, know that you will also make some missteps. This is normal. We started with a small table light on our dining table. We’ve used folding tables. We’ve used tripods and C-stands, as well as using the camera hand-held. We’ve used batteries and power packs, wired connections and wireless, and a variety of lenses.
Everyone’s needs and budget are different. You’ll figure out what makes sense for you as you go along. Don’t feel that you need to spend thousands of dollars on a professional setup before you even take your first shot. Start simple and upgrade as you go.
And, for what it’s worth, when they say “the camera never lies” — well, that’s a lie. The camera may not tell fibs, but it can be damn selective in what it’s focused on.
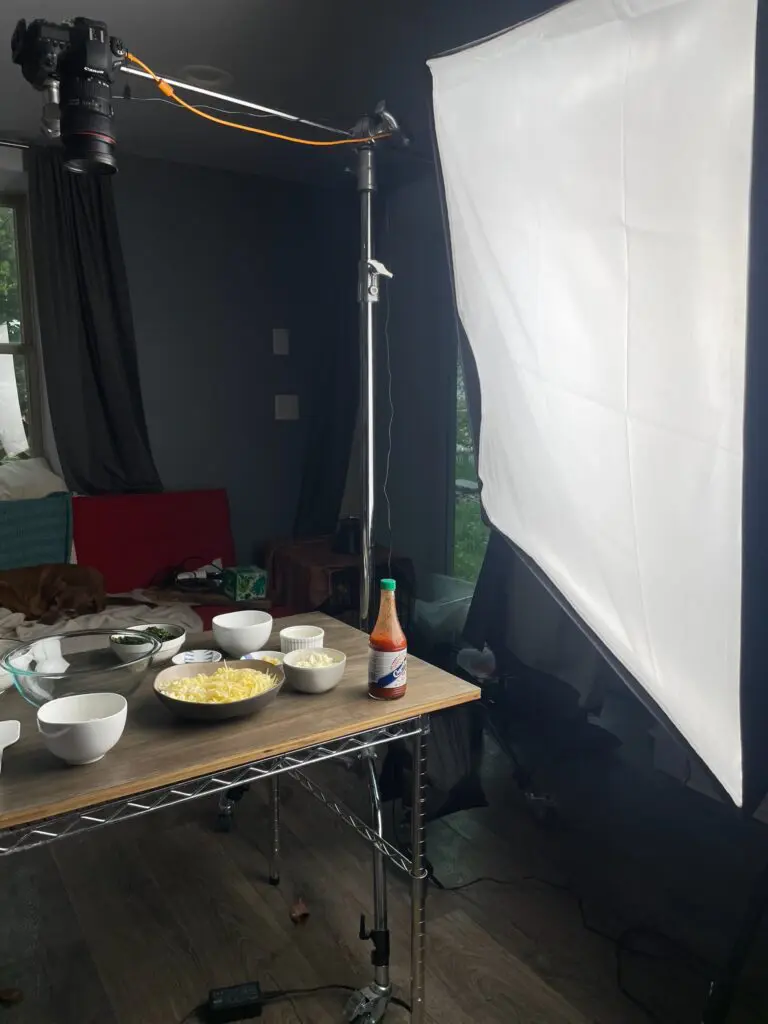
For example, here’s the basement room we shoot in, and a typical arrangement of our camera equipment. It’s not pretty. (Note, especially, the highly-trained photo assistant carefully watching the strawberries.)

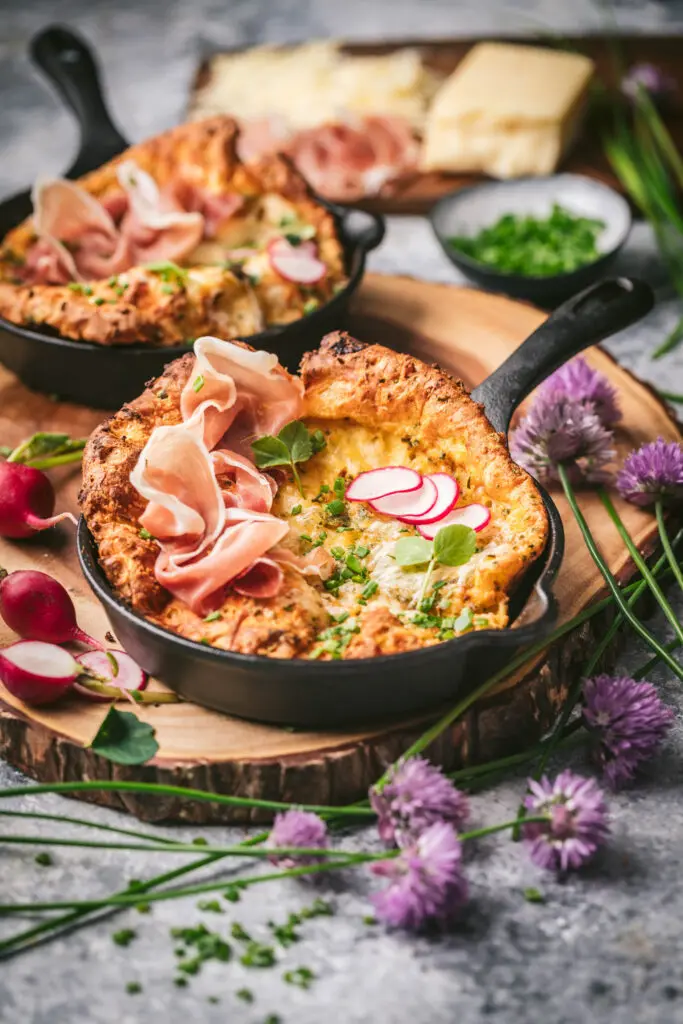
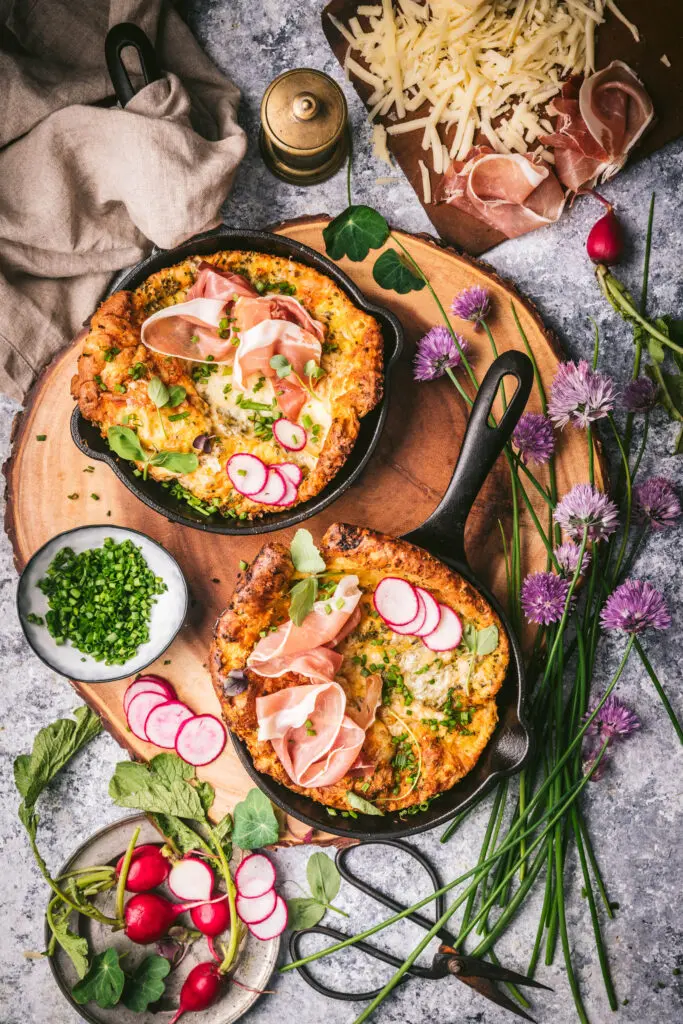
And here’s an image from that shoot. You can tease out a little order from chaos.

Camera Setup
We started our blog in 2012 using just our iPhone camera and honestly, it was all we needed for a long time. If you’re just starting out, save your money and practice with your phone until you know what kind of photos you want to take. Having professional equipment is great, but you can learn about light, composition, food styling, and prop use with what you already have.
Once you’re sure it’s your passion, then it’s time to invest in a camera. If I had to choose between spending a lot of money on a camera body or on a lens, I would choose the lens every time. A lens generally has a greater impact on a photo’s feel and look. A high quality lens can definitely make your photos sharper, and give the images more contrast and clarity.
Body and Lenses
We currently use a Canon R5 Mk. I mirrorless camera, and started out with the Canon 6D and 6D Mark II DSLRs (we needed an emergency backup body when the original 6D went in for repair). We moved up to the R5 mostly to improve our video shooting and increase the resolution for stills. The 6D cameras are limited to HD resolution; the R5, even the original version that we have, has the ability to create 4K video.
Our first lens, which we used exclusively for about 3 years was an inexpensive Sigma 50mm f/2.8 EX DG Macro. It was a great starter lens (there’s a reason food photographers refer to the 50mm lens as “nifty fifty”). It’s easy to use and looks great, though we don’t really use it anymore.
We now use these two main lenses:
For overhead shots, we usually stick to the Canon 24-70mm f/2.8L zoom lens, and we keep it at around 40mm to 70mm to avoid distortion. Having a zoom for overhead shooting makes it easy to focus in on one element of the composition or pull out to see a wider frame. Now that we have a camera with higher resolution, we can push in a little more when we’re editing the image, but it’s good to have that option in camera too.
For side shots, we’ll use our Canon 100mm f/2.8L lens whenever we can. It’s really sharp and creates beautiful shots. We usually end up with the camera around 3 feet away from the subject when using this lens. This gives us excellent choices when it comes to depth of field — we can opt to keep everything in focus with a wide-open aperture (for example, f/14), or step the aperture down (say, f/3.5) to bring only one element into focus and have the rest of the composition blurred.
Very occasionally we’ll use the 100mm lens overhead, but because it requires a lot of distance from the subject, it needs to be mounted pretty high on a C-stand, making adjustments unwieldy.
Since both lenses are EF mount (built for Canon’s DSLR camera series), we needed to buy an RF adaptor to fit them to our newer mirrorless camera. If we were starting from scratch now, we’d buy the corresponding RF-series prime and zoom lenses.
Camera Settings
This is a complex subject and depends on a lot of factors. Since we use artificial light and can somewhat control how bright our subject is, our first creative decision is usually aperture. A wide aperture, like f/2.8 will allow in significantly more light and create a shallow depth of field with a blurred background. If we want more of the scene in sharp focus (like for overheads), we would use a narrow aperture, like f/9 or higher, which creates a deep depth of field.
That means we generally control exposure using the strength of our strobe light. (See below for why we don’t mess with shutter speed.)
Because we want crisp images that we can license through our image library partners (here and here), we need to keep the camera ISO set to 100. If you’re just starting out, setting the ISO to a higher number will give you much more flexibility with your camera settings and lighting options. Just be aware that a higher ISO will introduce noise to your image.
Powering the Camera
Yes, all DSLR cameras have rechargeable batteries. And we used them for years. But if you’re working in your house or a dedicated space, and you’re not moving your camera around, do yourself a solid and use a power pack. Your camera battery running down is one more thing to worry about, and for a lengthy session you may well need to swap out a spare battery. That’ll require turning your camera off, possibly removing it from its tripod adaptor if the adaptor covers the battery port, and likely breaking your tethering connection. And then set it all up again — it’s going to break your flow.
A power pack connects your camera directly to mains power, usually by replacing the battery with a cabled dummy battery, so no actual batteries need to be used. We’ve used this power adaptor successfully with our 6D Mk. II.
Newer cameras with USB-C power delivery (the curved rectangular connector that your phone probably uses) will allow you to connect any modern 20-30W USB charger with a USB-C cable. The one disadvantage I’d mention there is that USB cables don’t lock into the camera and have a tendency to become dislodged if knocked around.
Mounting
Some people love to shoot handheld and I understand why: it’s much easier and quicker to shoot a variety of different angles, without having to move the equipment around each time. But for me, learning to shoot on a tripod (as well as tethered to a laptop) was a huge step forward in capturing the types of images I wanted to create. It forced me to really think about composition and framing before any food even hit the set.
It also sets limits on your composition — once the camera is placed, that’s where your elements need to be arranged. When you shoot handheld, you’ll want to try a little to the left or right, a slightly different angle from above, and so on — a great exercise when you’re starting out or when you have time to play, but you won’t always have that luxury. And finally, setting your camera on a stand frees your hands up to work on the shot!
You’ll probably already have an idea of what kind of shots you want to take. For a side angle (like the example on the left below), you’ll hold the camera to the side of the food (facing it straight-on or at an angle). For an overhead (or “flat lay”), you’ll need to be above the subject.
To keep the camera in one place, you need a mount. Typically this is a tripod (for side-angle shots, or very low overheads) or a C-stand with an arm (for overhead shots).
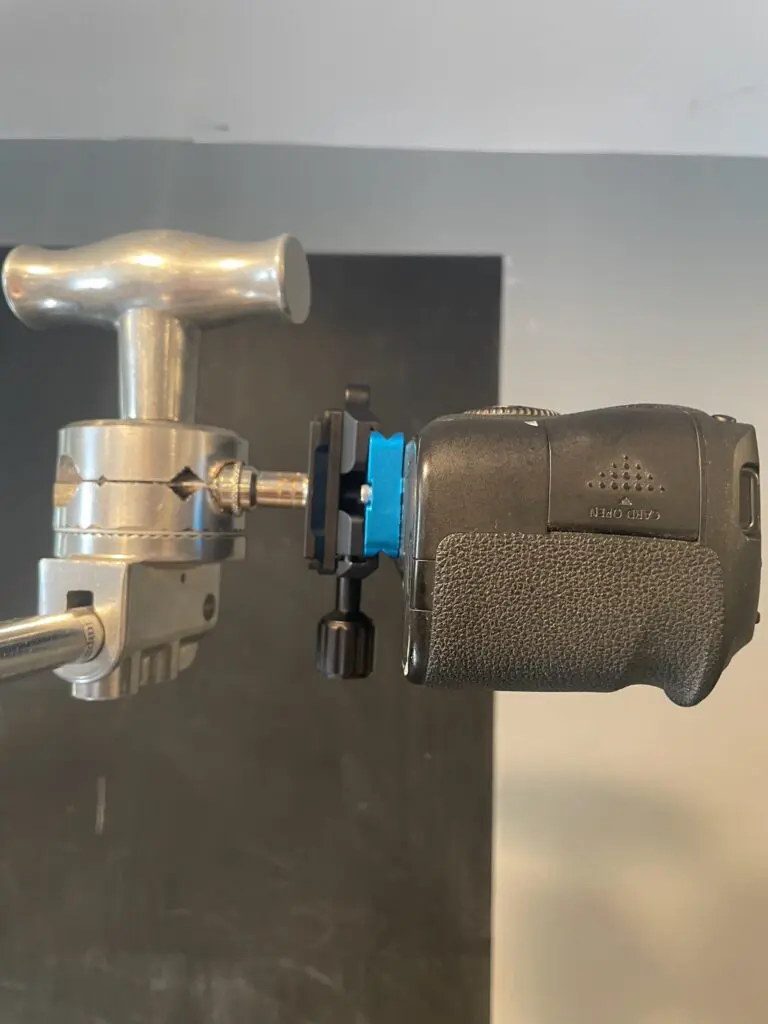
We use a bubble cube set in a dual shoe adaptor (so we can keep one hotshot for our flash transmitter), or balanced on the camera, to ensure that the camera is level when taking overhead shots. For a tilted side angle shot, a bubble level is no help, but if you’re aiming at the subject directly from the side (at a 90º angle), it will help you keep the camera straight.
We currently use the Manfrotto 055 tripod and have also used this one from Vanguard. We’d love to be able to adjust the legs more accurately (I guess we could hand-draw a ruler on them, but we’d love to see that built-in), but at least the tripod has a balance bubble on top so we can make sure it’s level.
Our favorite tripod head is this Benro GD3WH precision gear head. You can adjust each of the three movement dimensions minutely, or release a clamp to make a larger adjustment. We’ve used a trigger ballhead too, but it didn’t give us the precision control of the gear head and the camera tended to slip down even after the head was locked.
For overhead shots, we use this Impact C-stand and arm, and attach the camera base with a 1/4″ to 3/8″ screw adaptor.
There are better clamp solutions available, but we find this one works well, and is stable enough, and is quick to put together.
However you set up your camera, you don’t want it to move, and you don’t want it to fall on the floor. Make sure your clamps are tight (but not so tight that you can’t disconnect them by hand), and that your stand is secured. Use sandbags like these. (You’ll need to buy the bags and fill them with builders’ sand yourself.)
Cables
We may live in a wireless world, but in a food photography studio, you’re going to have cables. Lots of them. Your camera’s power supply will have a cable. (And no, don’t use your camera on batteries at home; see above.) Your light will have a cable. And unless you hire a professional gaffer to manage your electrical
As much as possible, tuck or tape your cables out of the way of your movement around the room. Run them along a wall, tuck them under a rug (as long as it doesn’t add a risk of tripping), or use a rubber cable cover to keep them out of the way. Our tethering cable is the longest wire in the room, and it does need some flexibility to allow us to move the camera, so we screwed cup-hooks into the ceiling and ran our cable through those.
Shooting Surfaces
For almost all our shoots, we use a combination of hand-made, purchased or ad-hoc backgrounds. (We have separate guides for finding inexpensive backgrounds, buying designed and textured photography backgrounds, and (coming soon) making your own backgrounds.) Sometimes we’ll use one of these backgrounds propped up vertically to act as a backdrop for a side angle shot where we might otherwise see our raw (and ugly) room wall.
The backgrounds sit on a wire rolling cart which is about 2 feet x 3 feet in size. Yes, we’ve shot on a dining table, on folding tables, and many other types of surface, but for the shoots that we’re doing, and for the room that we have, we find this works really well, and the castors make it portable enough that we can move it around or rotate it when needed.
To build it, we used these 42″ x 24″ shelves, these posts in 24″ height, and these 5″ castors with brakes.
Lighting
When you’re first starting out, the idea of natural light is extremely appealing. Who doesn’t love a soft-lit morning breakfast, or the sun dappling in from a south-facing window?
However, you can’t rely on natural light always being available. If you only get that lovely morning light between 7am and 9am, and only in the spring, that’s going to seriously limit your shooting time. Also, don’t underestimate how much light you need.
For still (image) shooting, you can use either continuous lighting, or strobe lighting.
A strobe light is essentially a very big flash. Because it only needs to fire for a fraction of a second, it can put out much more intense light in that short period than can a continuous studio light. Because a strobe is so powerful and quick, and your shutter speed will be set correspondingly, your camera will essentially ignore most other lighting sources. This means that you may be able to keep your room lights on, provided that their light is neutral (“daylight bulbs”, neither blue/cold nor yellow/warm). More powerful light sources, such as sunlight directly through a window, will likely still need to be blocked.
A continuous light is just that — it’s always on. These types of lamps tend to get very hot, and because they’re always running, they don’t reach the brief intensity of a strobe light. Continuous lights are essential for videography, and can be used successfully for image shooting. You’re likely to need to get your light very close to the subject for maximum exposure.
We’ve shot with both styles of lighting. We used continuous lighting for our two books, and have since moved exclusively to strobe lighting for photography.
A well-lit shot using an inexpensive camera will always look better than a poorly-lit shot from a top-of-the-range camera. If you’re going to spend money on one thing, make it a good light.
POSITIONING THE LIGHT
For food photography, light should be either to the side or slightly behind your subject. This will give you highlights and shadows that will give your food depth and contrast.
To make things easier on ourselves, we agree on our naming for directions and angles. For example, you can call the “top” of a frame “North” (the left would be West, the right East); you could use clock numbers so that the top is 12 o’clock.
So our studio light, typically, comes into shot from the Northeast, or around 10-11 o’clock.
This also helps when we need to work together on the composition. “Can you move this jug a couple of inches North?”, for example.
A note on shutter speed
When using strobe light, you can’t use your camera’s shutter speed to manage exposure. Because the flash period is fixed, the only additional light with a longer exposure will come from any ambient light in your room. While this may result in an interesting effect, you normally will want the only light source for your shot to be your studio lights.
Likewise, when using a strobe, you can’t increase your shutter speed to reduce the exposure of your shot: you risk not capturing the full period of the flash, and you’re likely to see a black image or one with dark bands.
The usual rule when using a strobe light is to set your camera’s shutter to 1/250 of a second and leave it there. That’ll match your flash sync speed.
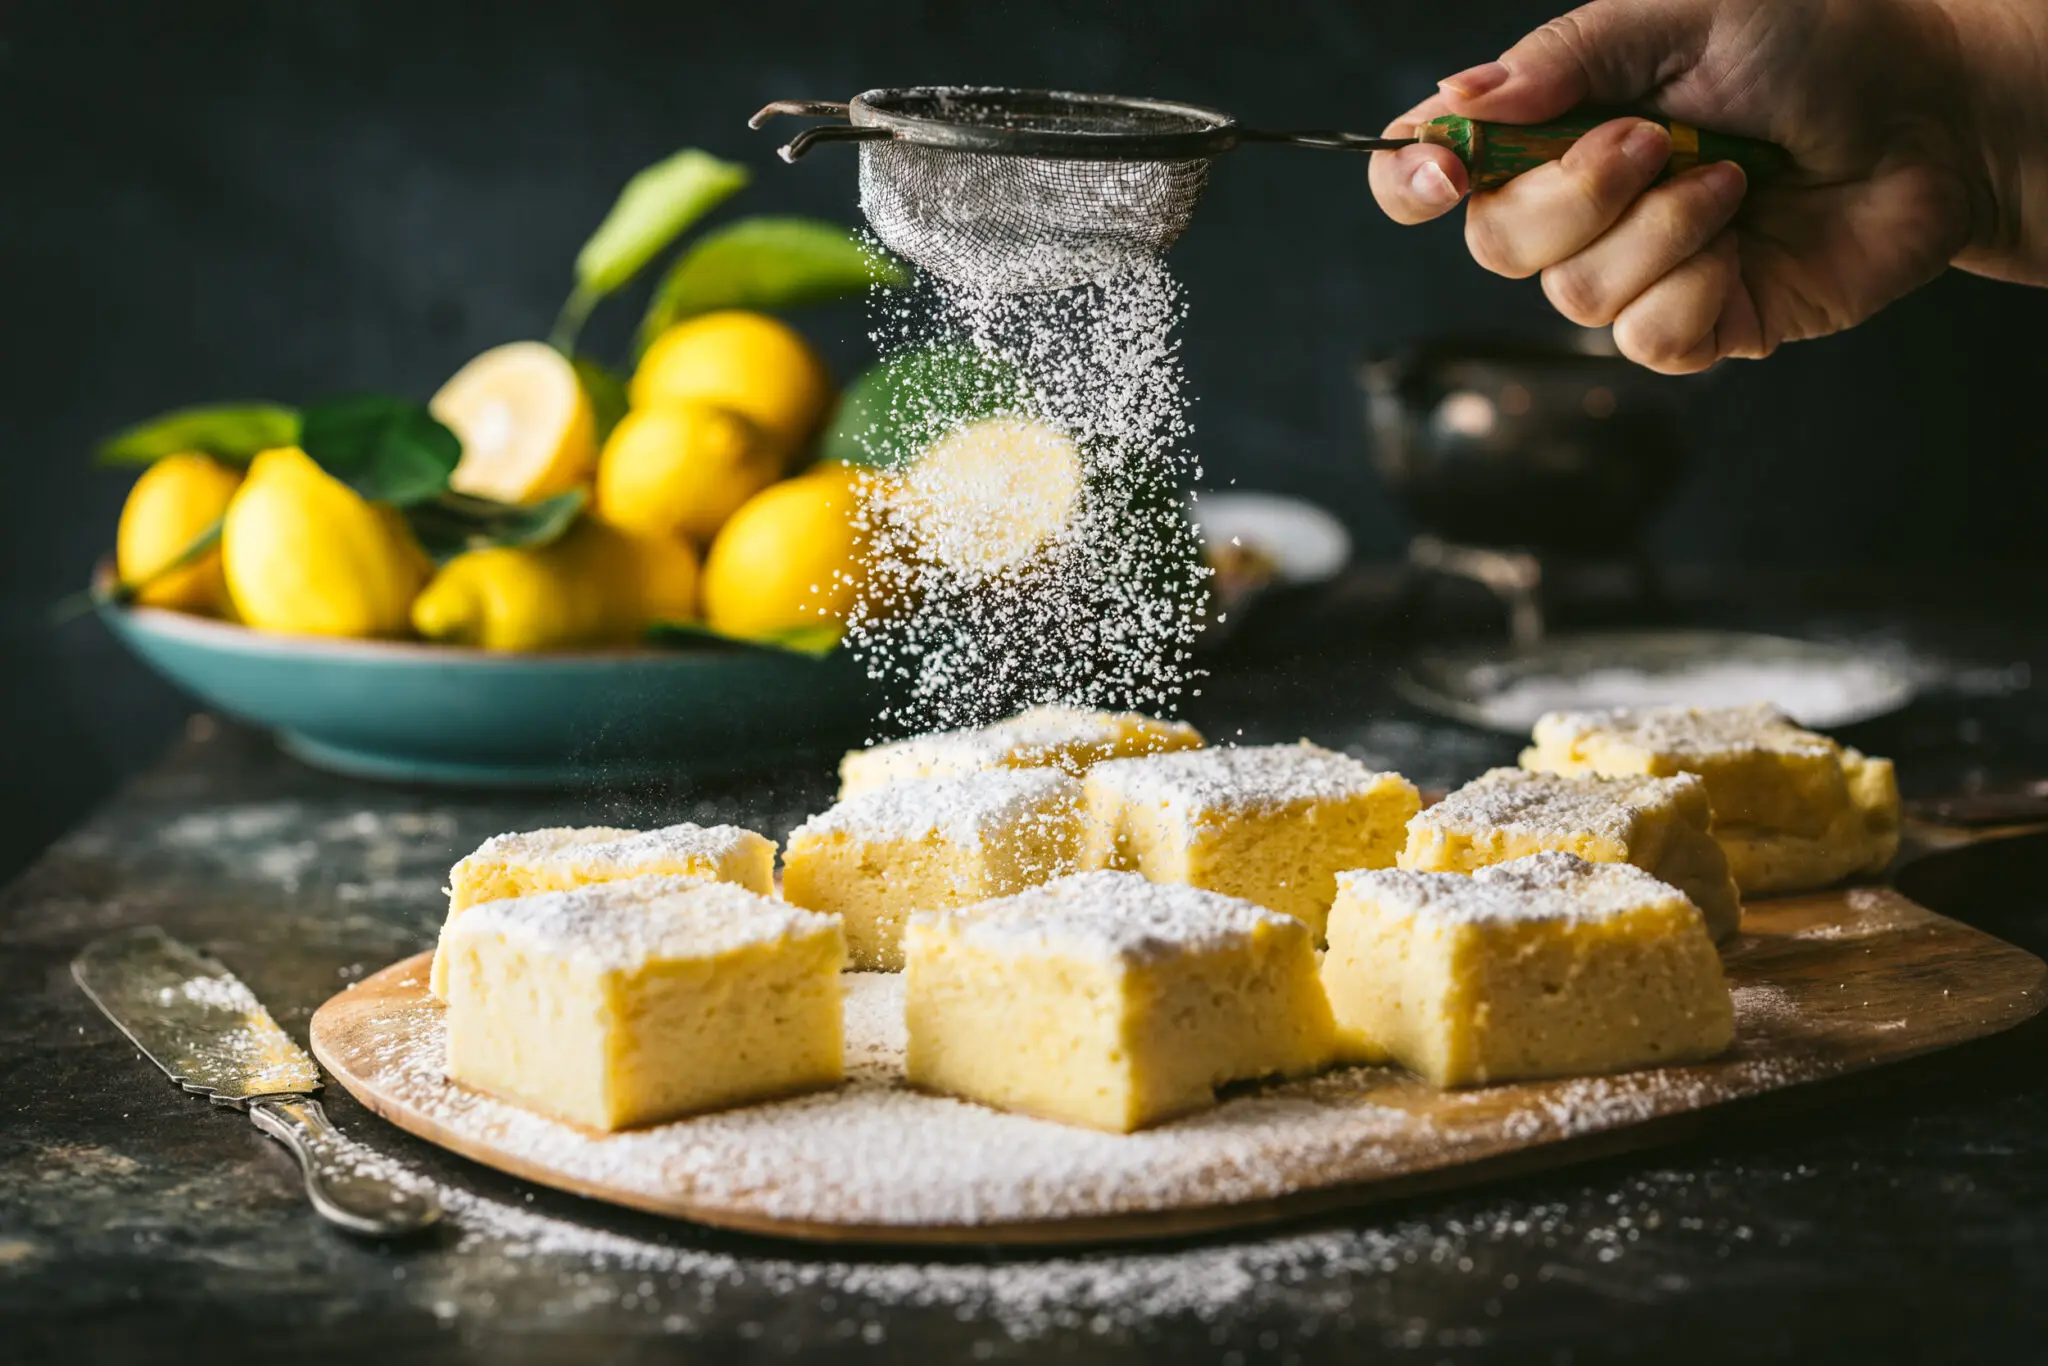
Shutter speed control doesn’t only affect exposure; it can stop or blur motion. Now, most of the time, your food very likely won’t be moving. The one exception is high-speed sync (HSS mode), where you want to capture motion at a high frame rate (for example, pouring liquid or sprinkling flour). This tells the flash to fire even more briefly than usual, and the camera will take a large number of shots in quick succession. Both camera and flash must support HSS and they must both be set into that mode.
What We’re Using
The light we started out with, a Lowel Ego light with screw-in fluorescent bulbs, is no longer being sold, but newer LED light panels are freely available. (We don’t have direct experience using them, so read reviews carefully.) You can also make your own DIY version with a Philips 100W Equivalent Daylight 5000K LED Light Bulb and some translucent paper.
Once we needed a larger light, we moved onto a Raya Octalight continuous lighting unit (comes with its own proprietary softbox) for many years which served us well.
Currently, for strobe lighting, we’re using the Godox/Flashpoint AD400Pro. It’s a good mid-range strobe suitable for studio use. As a continuous light (and for video shooting), we use the Godox SL150III and we will almost certainly need a second continuous lamp to add more light to our video shoots.
We don’t have enough space in our shooting room to have multiple softboxes unfolded and set up, so we generally use the same square softbox with both lights.
Light Modifiers
There are several types of modifiers which are used to shape, control, and alter the light in a photograph. Softboxes come in different shapes and sizes, and they use diffusion material to spread the light, making it softer. Reflectors bounce light onto a subject, filling in shadows or adding highlights.
Our most-used modifier is the Godox octagonal soft box 48”. It’s large enough to light a 4-foot setup and creates beautiful soft light. For shooting anything reflective (glassware, etc) we use an Impact Square 40×40 plus grid. For small subjects and moodier shots, we use a Westport 2×1 rectangular soft box plus grid. We also occasionally use a Bowens mount snoot which directs light onto a very small area.
Other Educational Resources
We call ourselves “self-taught” but that’s not really true. We’ve learned so much from some very talented educators in the food photography space. These are the educators and courses we’ve used that have been instrumental in our growth.
- Joanie Simon — The Bite Shot // Joanie is a very talented food photographer and an incredible educator. She has many free instructional videos on her Youtube channel, but it was her Artificial Academy course that really helped us bring our work to the next level. It was absolutely worth it. (Her book Picture Perfect Food is also highly recommended.)
- Rachel Korinek — Two Loves Studio // Rachel is a fantastic food photographer and we’ve used many of her tutorials over the years. Highly recommended.
- Skyler Burt — We Eat Together // Skylar a commercial food, beverage and product photographer. He has a lot of very helpful tutorials.
- Lola Faura — Lola is a professional food stylist with many free helpful tutorials. If food styling is your passion, her full course is well worth the money.
Thanks for reading! Our other technical guide focuses on our food photography workflows. Go check it out!